
SRX RWD V8-4.6L VIN A (2006)
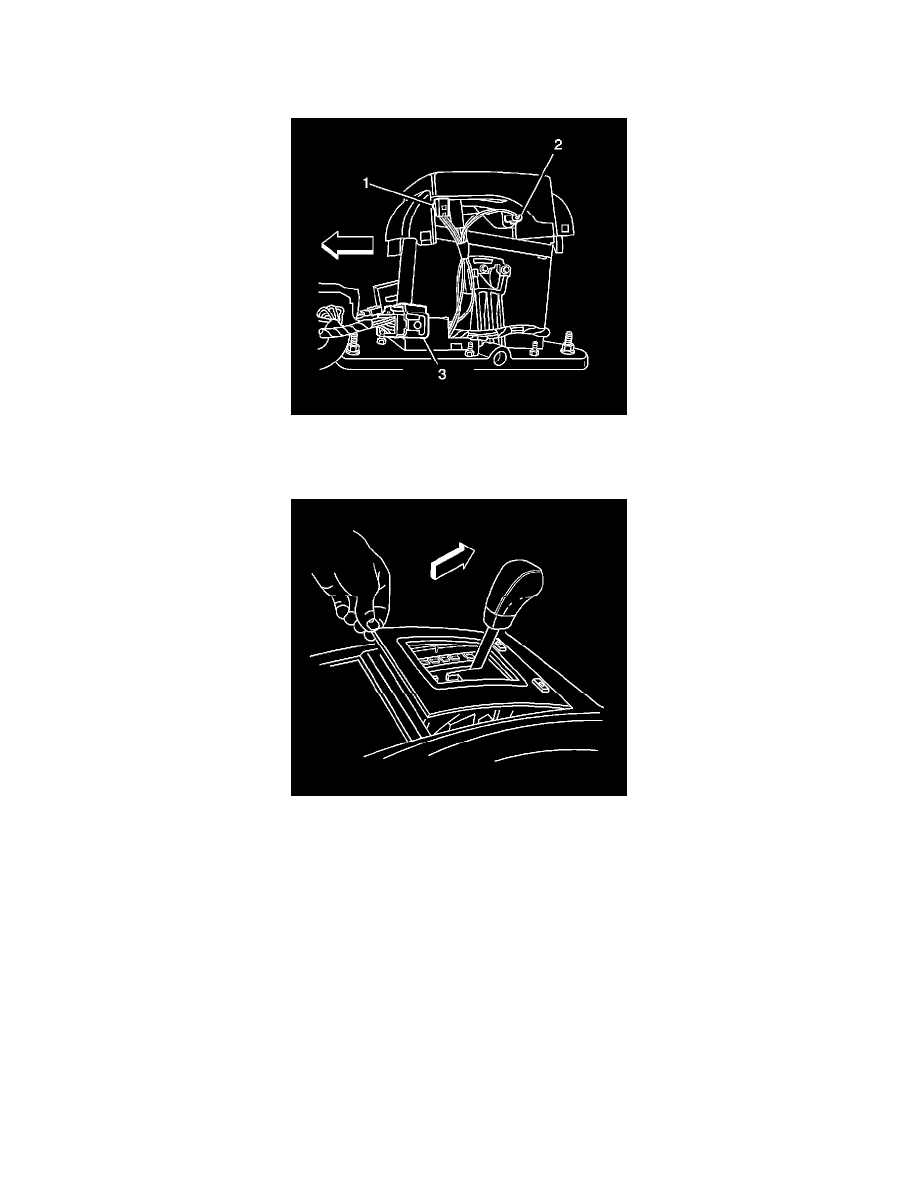
2. Install the shift lock actuator (2) to the shift control assembly.
3. Install the two screws (1) to the shift lock actuator (2).
4. Install the tap up/down switch (3) to the shift control assembly.
5. Install the two screws (1) to the tap up/down switch (3).
6. Install the shift indicator lamp sockets (1 and 2) to the shift indicator by rotating the lamp sockets one quarter turn. Note: if the shift indicator was
removed in order to gain access to the lamp sockets, reinstall the shift indicator at this time.
7. Connect the wiring harness connector (3) to the shift lock control pigtail connector.
8. Install the center console assembly.
9. Install the shift control trim plate by inserting the front retaining tabs to the console. Then press down on the rear of the trim plate to engage the
rear retaining tabs.