
STS AWD V6-3.6L (2007)
Trim Panel: Service and Repair
Center Pillar Garnish Molding Replacement
Center Pillar Garnish Molding Replacement
Removal Procedure
Caution: Refer to Restraint System Service Precautions.
Caution: In order to prevent SIR deployment, personal injury, or unnecessary SIR system repairs, do not strike the door or the door
pillar in the area of the side impact sensor (SIS). Turn OFF the ignition and remove the key when performing service in the area of the
SIS.
1. Disable the SIR system. Refer to SIR Disabling and Enabling.
2. Remove the front carpet retainers.
3. Remove the rear carpet retainers.
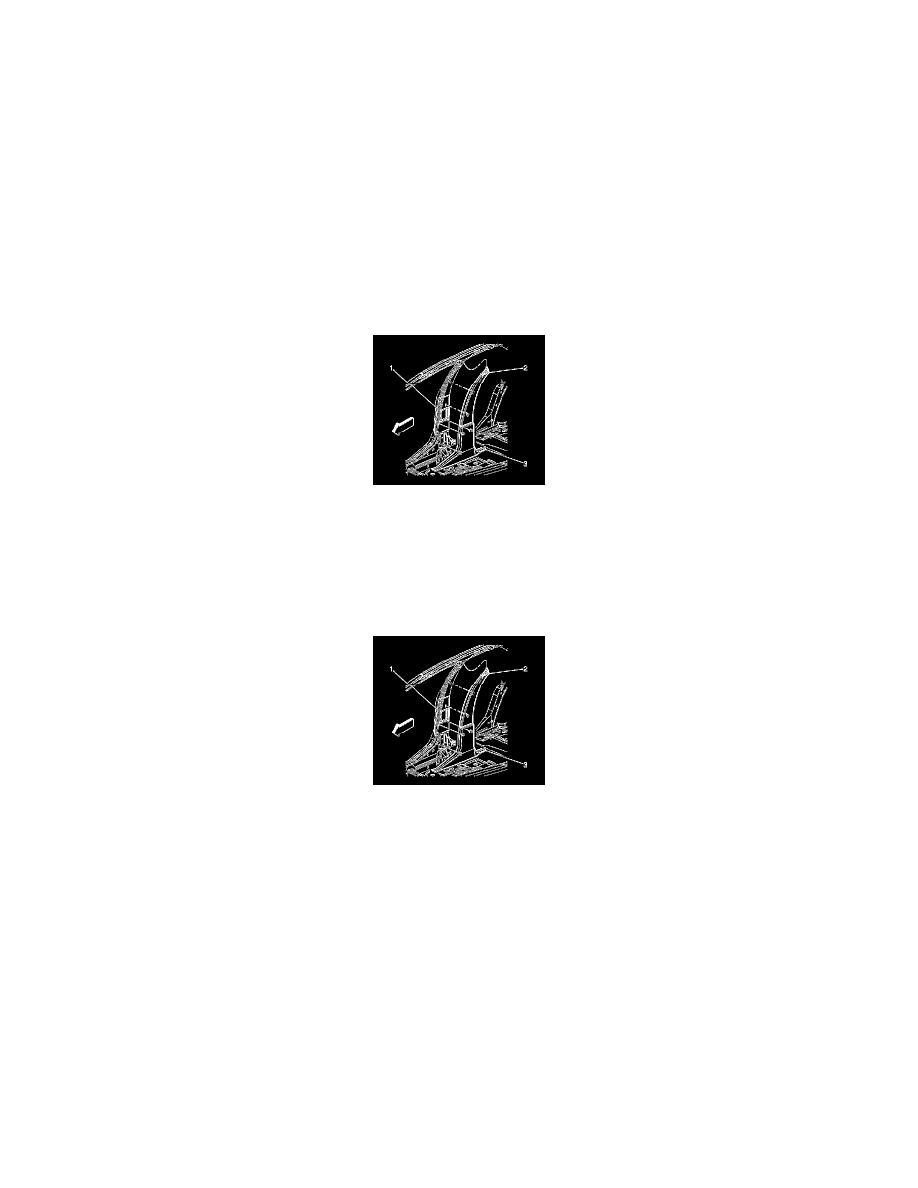
4. Carefully pull outward at the bottom of the pillar trim in order to use the J 38778 in order to release the 3 lower retainer clips.
5. Pull outward on the upper portion of the pillar trim in order to release the sheet metal retainer clips from the lock pillar.
6. Slide the pillar trim inward and downward in order to release the top locking tab from between the sheet metal and the headliner.
7. Remove the center pillar trim.
8. Replace the retainer clips if broken or damaged.
Installation Procedure
1. Position the top of the locking tab to the slot in the sheet metal under the headliner.
2. Push upward in order to secure.
3. Position the upper trim locating tabs to the metal clips in the lock pillar.
4. Position the 3 plastic retainers to the holes in the lock pillar.
5. Push inward beginning at the top of the pillar and working downward to the floorpan in order to secure the center pillar trim.
6. Install the rear carpet retainers.
7. Install the front carpet retainers.
8. Enable the SIR system. Refer to SIR Disabling and Enabling.