STS AWD V6-3.6L (2007)

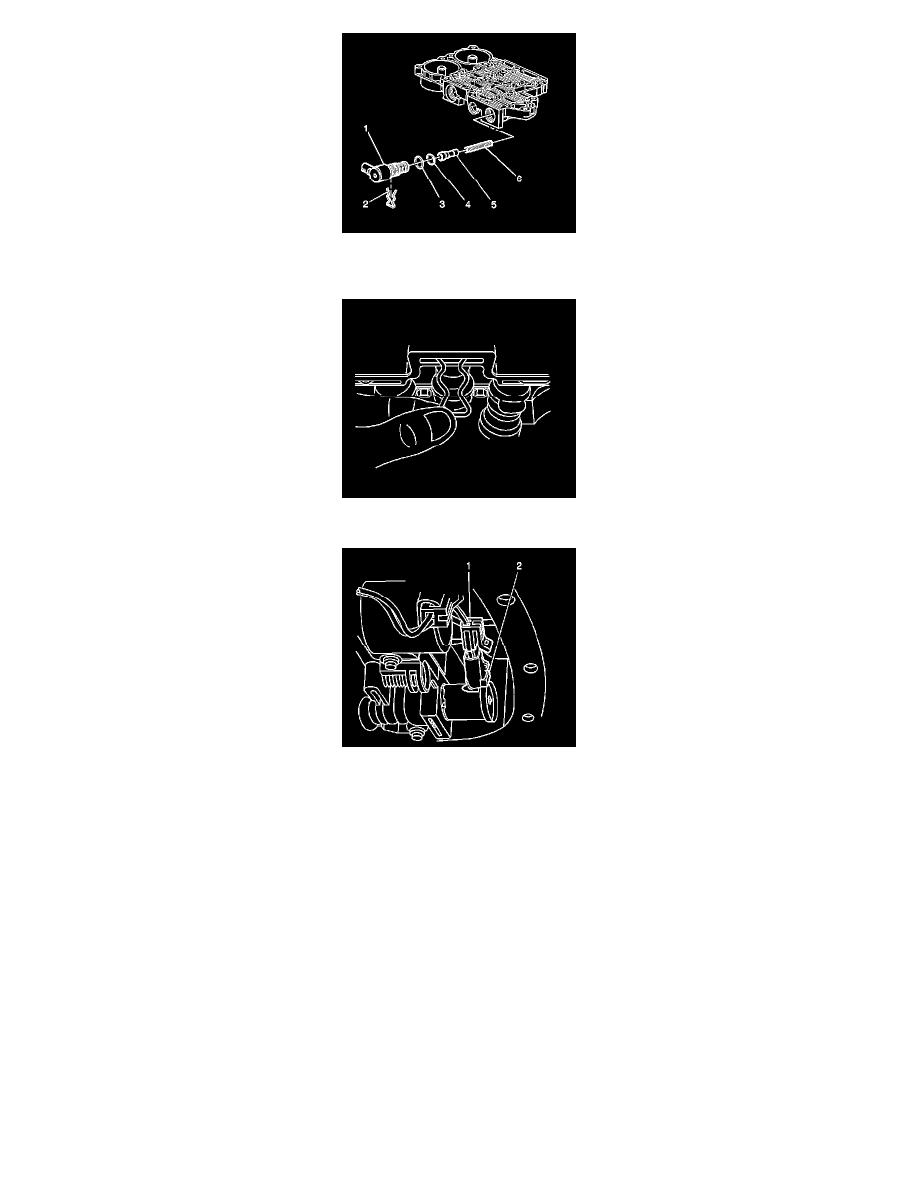
1. Install new O-ring seals (3-4) to the TCC PWM solenoid valve (1), if the O-rings were previously removed.
2. Install the TCC PWM solenoid valve (1) into the control valve body.
3. Install the TCC PWM solenoid valve retainer into the control valve body.
4. Connect the electrical wiring harness connector (1) to the TCC PWM solenoid valve (2).
Important:
*
Use the proper torque and tightening sequence when installing the valve body.
*
Confirm that the manual shift shaft detent lever locating pin is properly engaged with the manual valve link.
*
Confirm that the detent spring roller is properly engaged with the manual shift shaft switch.
Tighten the control valve body bolts. Refer to Control Valve Body Accumulator Assembly Replacement.
5. Install the transmission fluid pan and filter.
Important: It is recommended that transmission adaptive pressure (TAP) information be reset.
Resetting the TAP values using a scan tool will erase all learned values in all cells. As a result, the ECM, PCM or TCM will need to
relearn TAP values. Transmission performance may be affected as new TAP values are learned.
6. Reset the TAP values. Refer to Transmission Adaptive Functions (5L40-E/5L50-E) Transmission Adaptive Functions (5L50-E).
