
STS RWD V8-4.6L (2007)
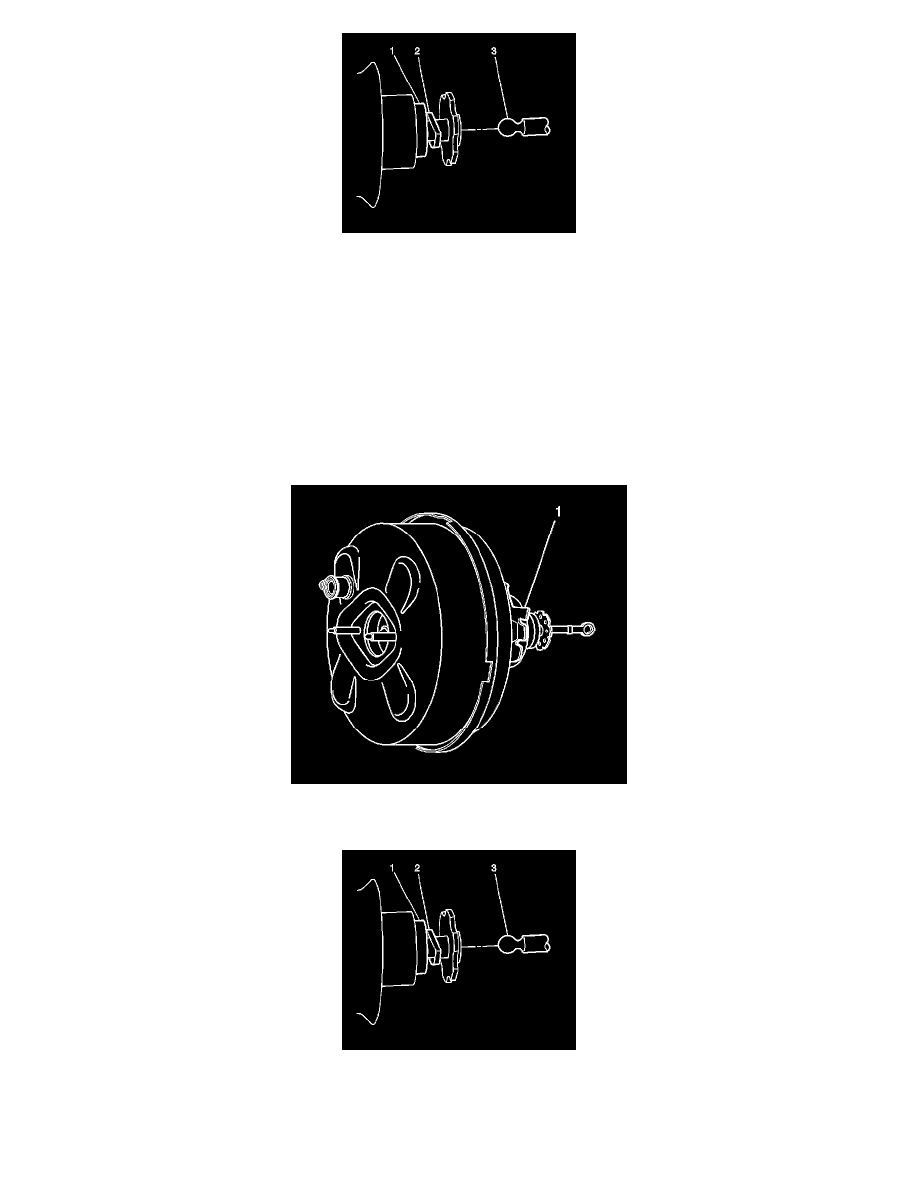
15. Carefully push the vacuum brake booster foam filter (1) in enough to access the vacuum brake booster retaining clip (2).
16. Carefully lift the longer leg of the retaining clip (2) upward.
17. Carefully remove the pushrod (3) from the vacuum brake booster.
Installation Procedure
Notice: Internal components of this booster are not serviceable. The housing must not be unstaked and separated. Separating the housing will cause
permanent deformation, preventing the booster from holding proper volume.
Notice: Inspect the locking flanges on booster and mounting plate. Replace the booster and mounting plate if the locking flanges are bent or damaged.
Important: If reinstalling the old vacuum brake booster ensure that the locking tab on the brake booster assembly is straight. This will
ensure that the locking tab will lock into position when installed.
1. Straighten the vacuum brake booster locking tab (1) if previously removed.
2. Install the vacuum brake booster push rod through the dust boot on the cowl.
3. Carefully install the vacuum brake booster to the vacuum brake booster pushrod (3).
Important: Ensure that the long leg of the retainer clip is in the machined groove of the pushrod (3).
4. Carefully push the vacuum brake booster on to the pushrod until the long leg of the retaining clip seats into the machined groove of the pushrod.