
STS RWD V8-4.6L VIN A (2006)
2. Connect the electrical connectors.
Notice: Refer to Fastener Notice in Cautions and Notices.
3. Install the rear shelf carrier fasteners.
Tighten the rear shelf carrier fasteners to 9 N.m (80 lb in).
4. Install the rear shelf trim panel. Refer to Trim Panel Replacement - Rear Window Shelf (See: ) .
Trim Panel Replacement - Rear Window Shelf
Trim Panel Replacement - Rear Window Shelf
Removal Procedure
1. Remove the rear seat cushion. Refer to Seat Cushion Replacement - Rear (See: Seats/Seat Cushion/Service and Repair/Removal and
Replacement/Seat Cushion Replacement - Rear) in Seats.
2. Remove the rear seat back. Refer to Seat Back Replacement - Rear (See: Seats/Seat Back/Service and Repair/Removal and Replacement/Seat
Back Replacement - Rear) in Seats.
3. Remove both rear upper quarter sail panels. Refer to Sail Panel Replacement (See: ) .
4. Disengage the center shoulder belt from the shoulder belt latch.
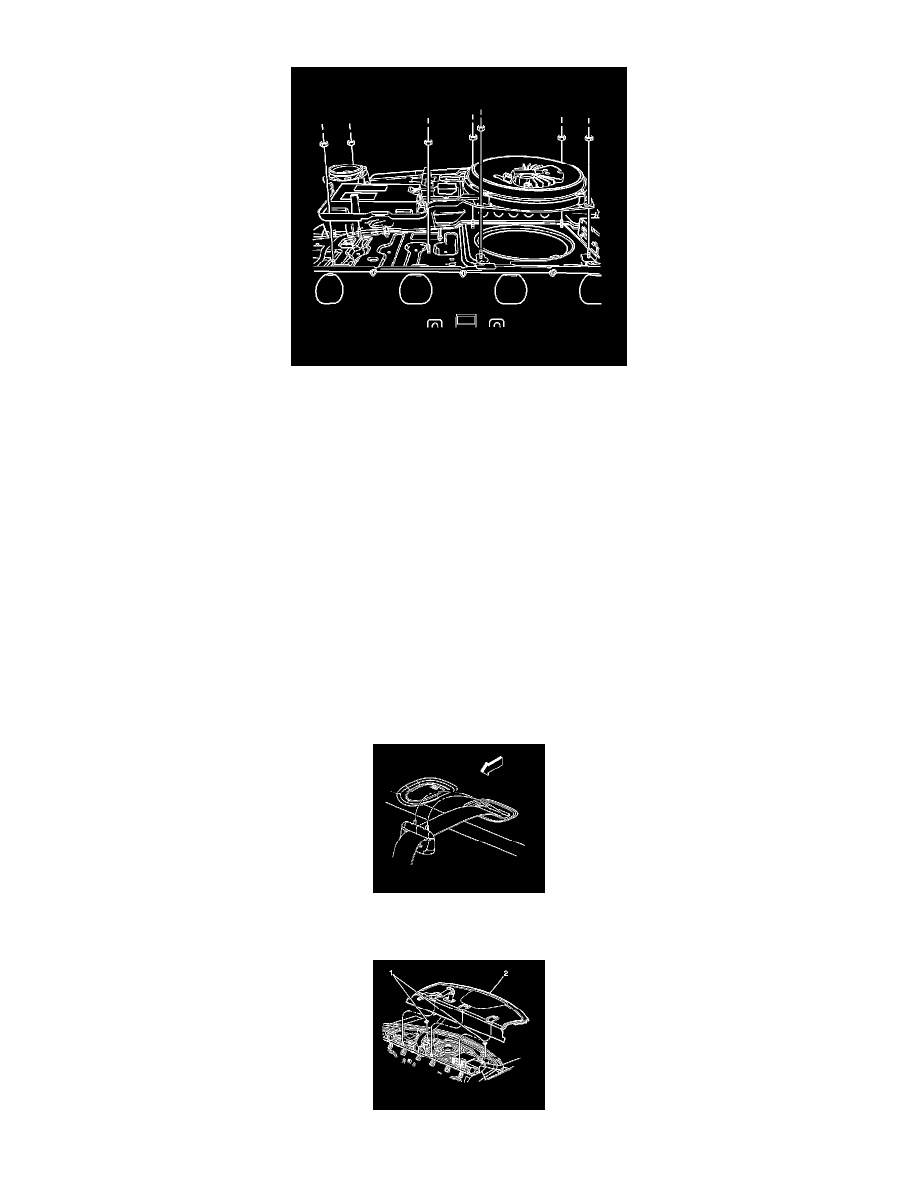
5. Disengage the shoulder belt escutheon from the rear shelf.
6. Lift the rear shelf upward to disengage the center shoulder belt from the rear shelf.
7. Disengage the 2 dual lock fasteners (1) at the rear edge of the shelf panel.