
STS RWD V8-4.6L VIN A (2006)
Brake Rotor/Disc: Service and Repair
Brake Rotor Replacement - Rear
Brake Rotor Replacement - Rear
Tools Required
^
J2619-01 Slide Hammer with Adapter
^
J41013 Rotor Resurfacing Kit
^
J42450-A Wheel Hub Resurfacing Kit
^
J-46277 Rotor Removal Tool
Removal Procedure
1. Check to be sure that the park brake is released.
2. Raise and support the vehicle. Refer to Vehicle Lifting
3. Remove the tire and wheel assembly.
4. Remove the brake caliper and the caliper mounting bracket as an assembly from the suspension knuckle and support the assembly with heavy
mechanic's wire, or equivalent. Ensure that there is no tension on the hydraulic brake flexible hose.
Notice: Support the brake caliper with heavy mechanic's wire, or equivalent, whenever it is separated from its mount and the hydraulic flexible
brake hose is still connected. Failure to support the caliper in this manner will cause the flexible brake hose to bear the weight of the caliper, which
may cause damage to the brake hose and in turn may cause a brake fluid leak.
Important: Do NOT disconnect the hydraulic brake flexible hose from the caliper.
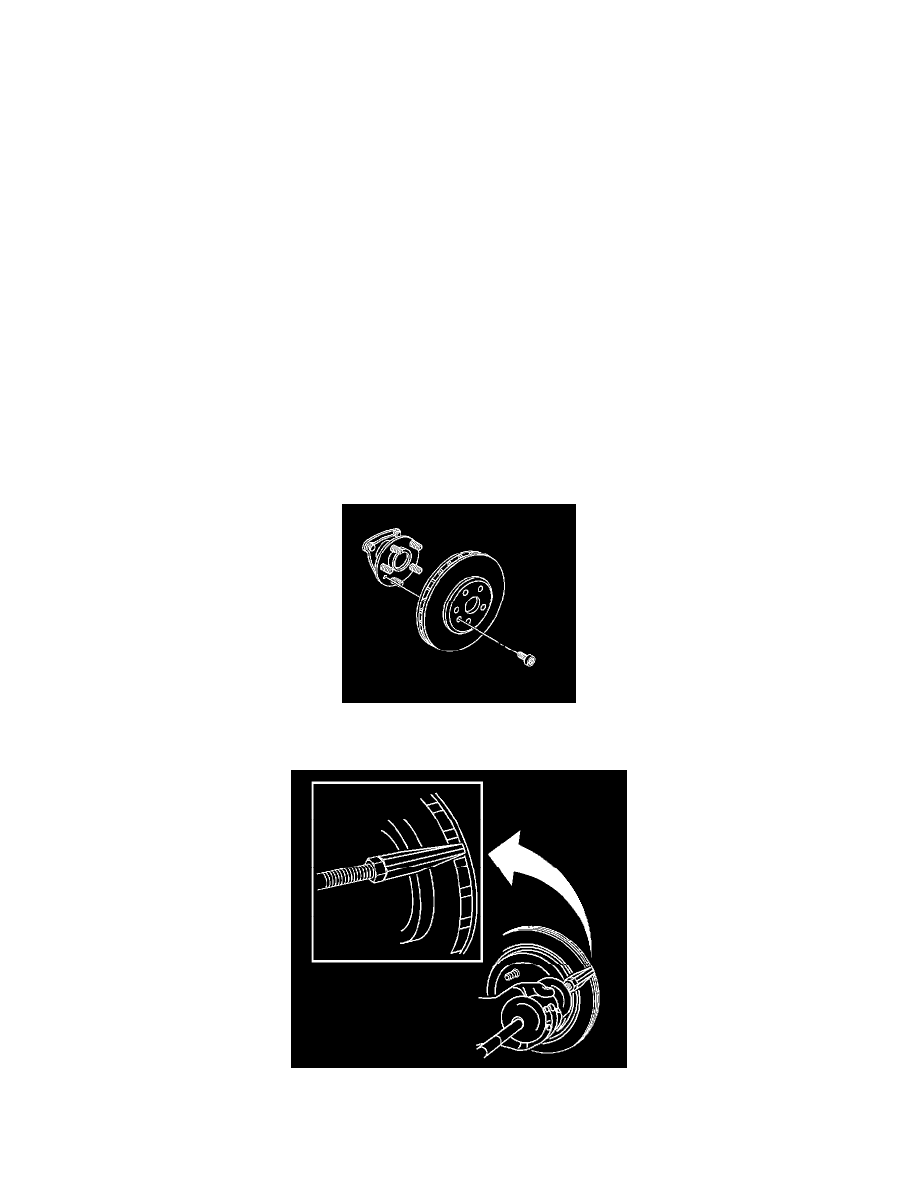
5. Matchmark the position of the brake rotor to the wheel studs.
6. Remove the brake rotor mounting screw.
7. Remove the brake rotor. Do not force the rotor off. If the rotor is difficult to remove, ease it off by gently rotating it as you pull outward.
8. If the brake rotor cannot be removed perform the following:
1. Assemble J-46277 to J2619-01.
2. Insert J-46277 between the rotor friction surfaces in the vent section of the rotor.DO NOT place the J-46277 on the rotor friction surface.