
STS RWD V8-4.6L VIN A (2006)
Vacuum Brake Booster: Service and Repair
Vacuum Brake Booster Replacement
Tools Required
^
J22805-B Brake Booster Holder
Removal Procedure
1. Remove the left closeout/insulator panel.
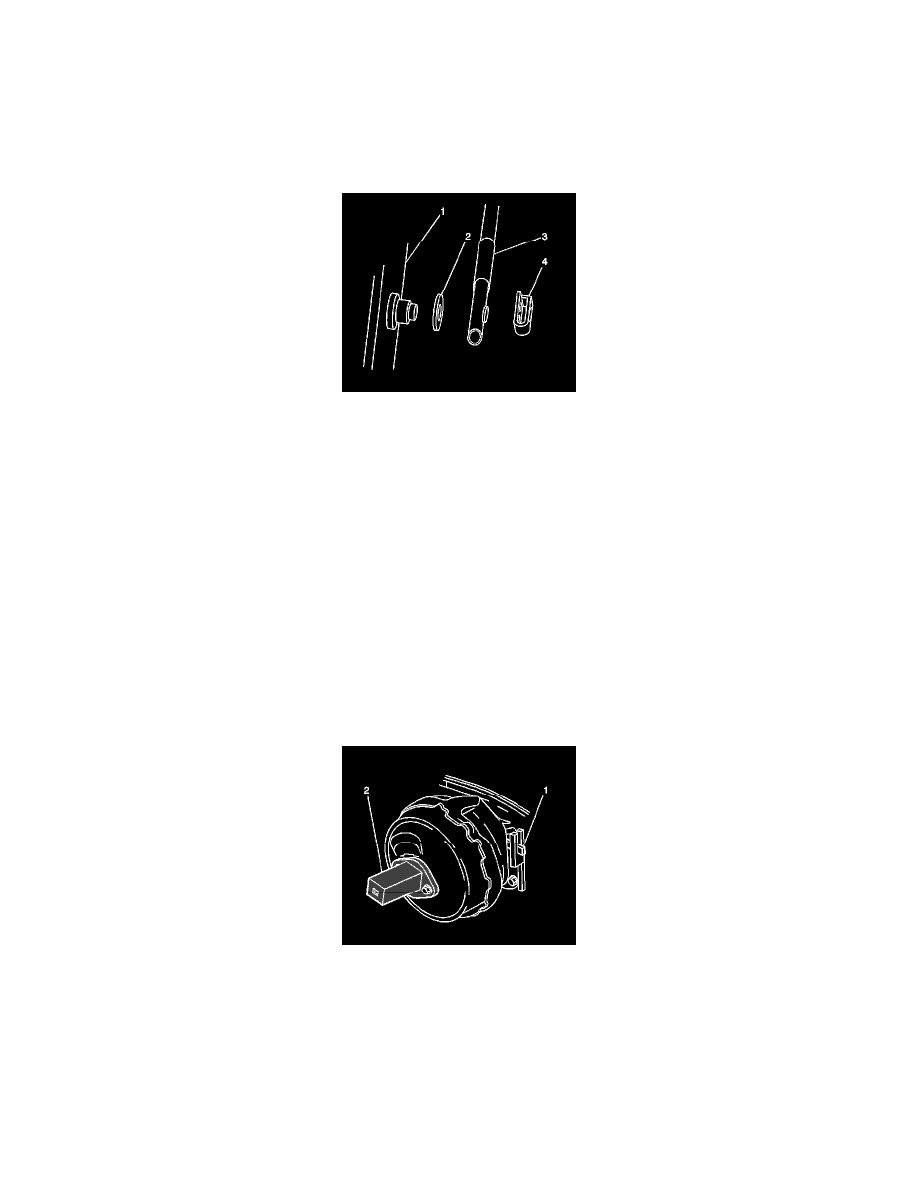
2. Remove the vacuum brake booster push rod retaining clip (4).
3. Remove the vacuum brake booster pushrod (3) from the brake pedal.
4. If equipped with a cross vehicle brace, remove the cross vehicle brace.
5. Remove the master cylinder from the vacuum brake booster and position the master cylinder aside.
Important: It is not necessary to disconnect the brake pipes from the master cylinder.
6. Remove the air inlet grille panel, to access the vacuum brake booster locking tab.
7. Disconnect the surge tank inlet hose and position out of the way.
Important: It is not necessary to drain the coolant or disconnect the surge tank outlet hose from the surge tank.
8. Remove the coolant surge tank bolts and position the coolant surge tank out of the way.
9. Connect the surge tank inlet hose to prevent coolant loss.
10. Disconnect the vacuum brake booster check valve (1) from the vacuum brake booster and position out of the way.
11. Attach the J22805-B to the vacuum brake booster using the master cylinder mounting nuts.
12. Unlock the vacuum brake booster from the front of the cowl. Use a flat bladed tool to depress the vacuum brake booster locking tab (1) out of the
cowl mounting flange, while turning the vacuum brake booster counter clockwise with a ratchet on the J22805-B (2).
13. Carefully remove the vacuum brake booster from the cowl mounting flange.
14. Support the vacuum brake booster.