
STS RWD V8-4.6L VIN A (2006)
16. Insert the remaining grease from the service kit into the seal.
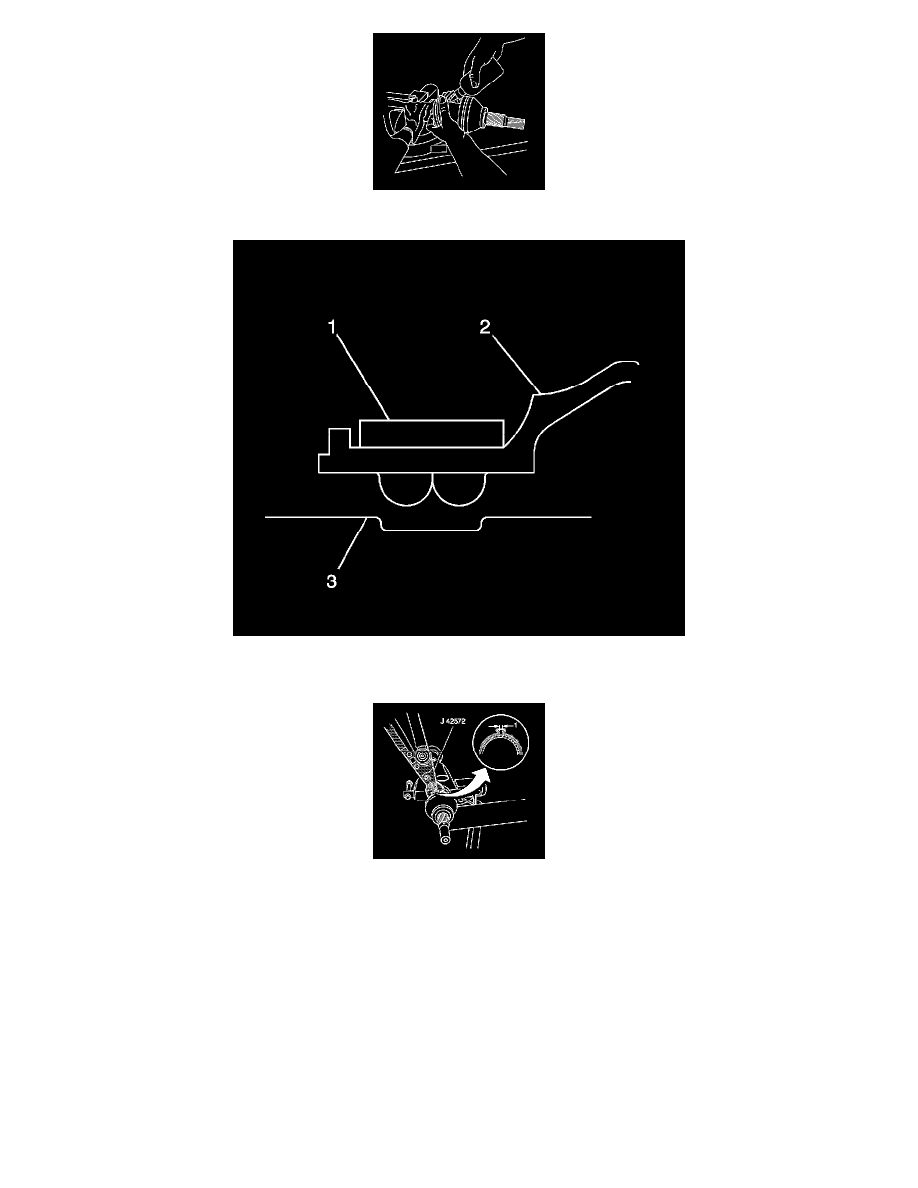
17. Position the large seal retaining clamp (1) onto the seal (2).
18. Position the seal and large retaining clamp to the joint outer race (3) as shown.
19. Inspect the seal for proper shape. If the seal is not shaped correctly, equalize the pressure in the seal by lifting the seal edge slightly and shape the
seal properly by hand.
Important: The seal must not be dimpled, stretched, or otherwise deformed.
20. Inspect the seal for damage. If the seal has been cut or punctured during assembly, you must discard and replace the seal.
21. Using the J42572, crimp the large seal retaining clamp.
Tighten the large seal clamp until the base of the omega ohm shape has a gap of 1 mm (0.039 inch).
The clamping hold time must be no less than 2 seconds.
Important: The seal retaining clamp must not be over-tightened or under-tightened.
22. Inspect the outer joint for smooth operation. This will also distribute the grease within the joint.
1. Hold the wheel drive shaft vertically, with the outer joint at the bottom.
2. Rotate the wheel drive shaft 4 or 5 times in a circular motion.