
XLR V8-4.6L VIN A (2006)
19. Disconnect the electrical harness from the clips on the crossmember.
20. Disconnect the brake pipe from the clips on the crossmember.
21. Remove the crossmember mounting nuts.
22. Lower the crossmember out of the vehicle by removing the transmission jack from under the crossmember.
Installation Procedure
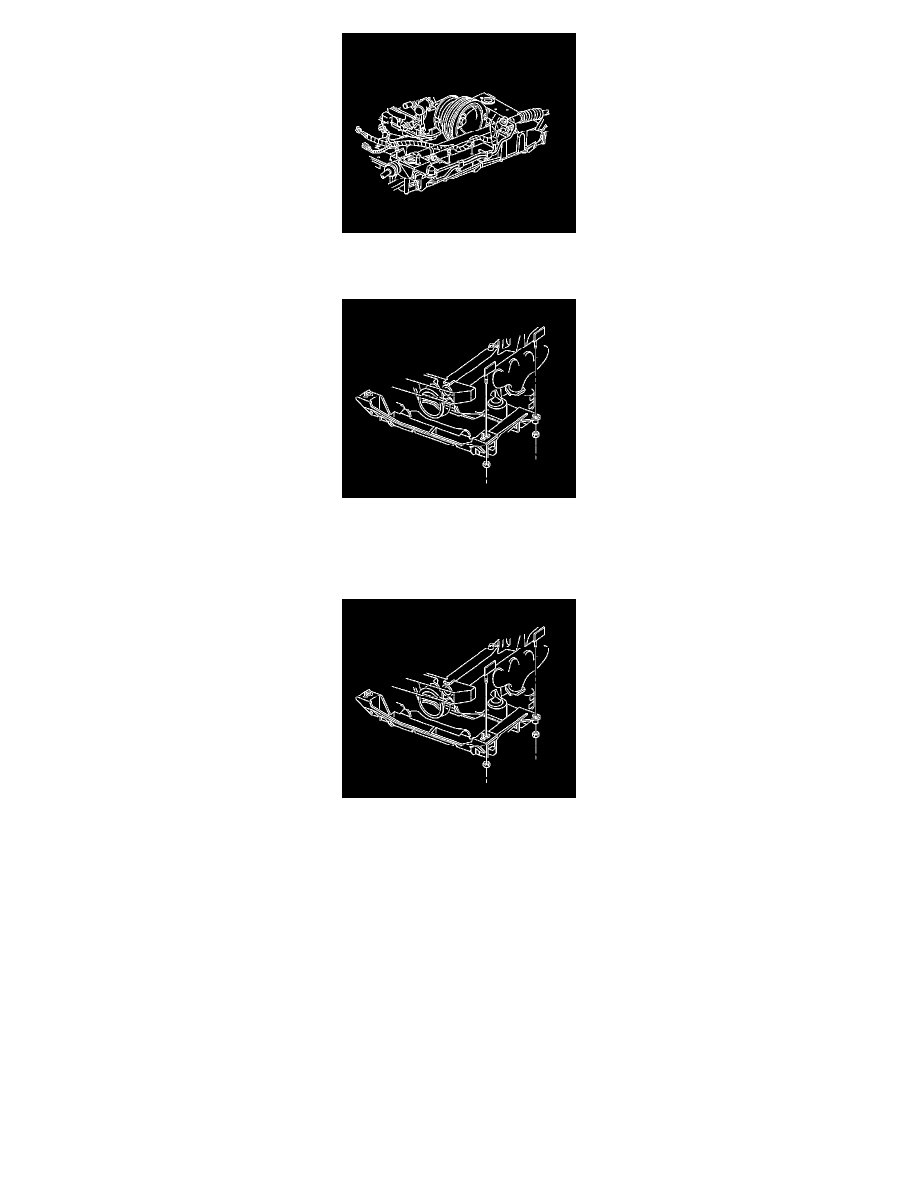
1. Raise the crossmember to the vehicle.
1. Align the crossmember dowel pins to the frame rails.
2. Align the engine mount studs.
Notice: Refer to Fastener Notice in Service Precautions.
2. Install new crossmember mounting nuts.
Tighten the new crossmember mounting nuts to 110 N.m (81 lb ft).
3. Install the engine mount lower nuts.
*
Engine Mount Replacement - Left in Engine - 4.6L (LH2)
*
Engine Mount Replacement - Right in Engine - 4.6L (LH2)