
XLR V8-4.6L VIN A (2006)
8. Remove the I/P side trim panels.
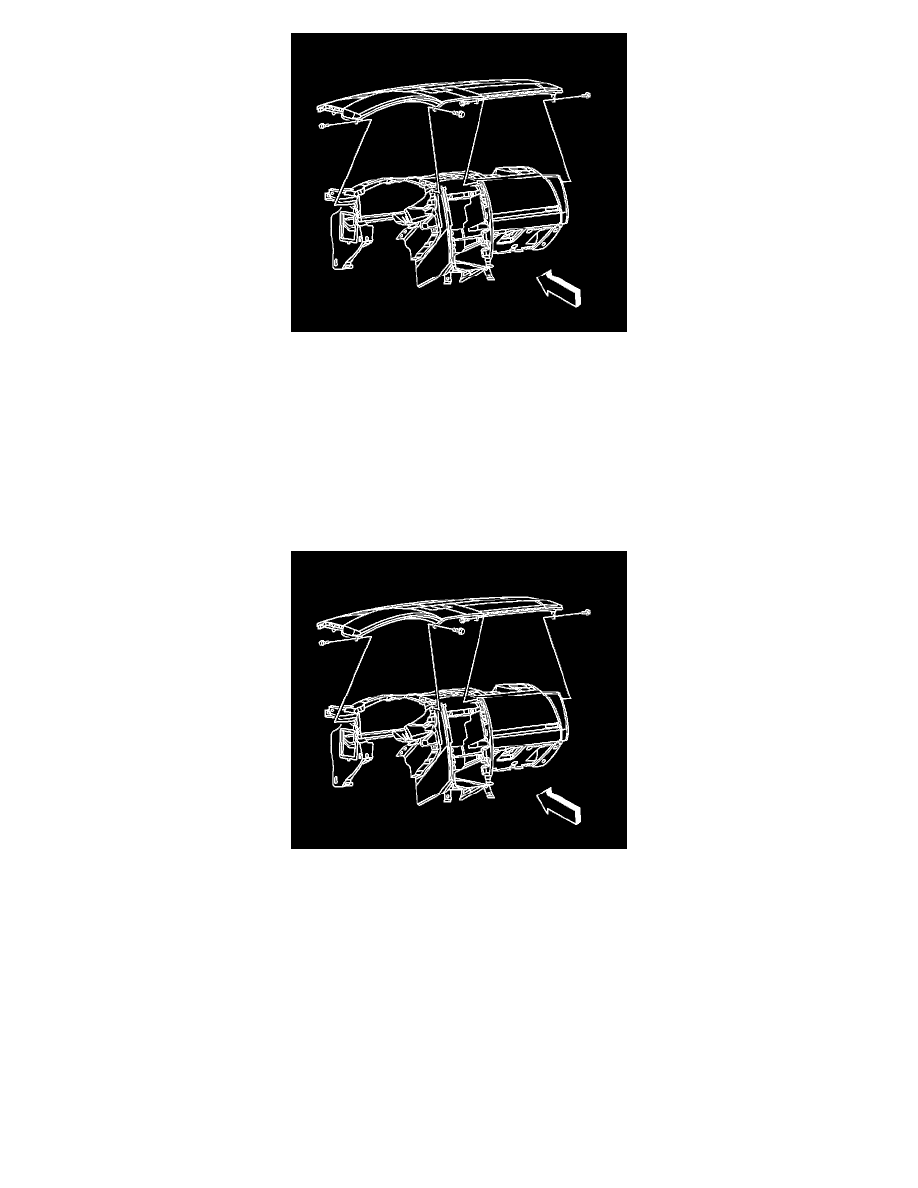
9. Remove the 4 retaining screws from the I/P trim pad. These screws are located at each end of the I/P, in the center of the I/P, and behind the DIC
switch.
Important: The trim pad is still attached to the sunload/twilight sensor. Do NOT remove the pad completely at this time.
10. Pull up carefully on the I/P trim pad to disengage the retaining clips.
11. Disconnect the sunload/twilight sensor from the trim pad.
12. Remove the trim pad from the vehicle.
Installation Procedure
1. Align the I/P trim pad to the vehicle.
2. Connect the sunload/twilight sensor to the trim pad.
3. Align the trim pad retaining clips to the I/P panel carrier and push down to engage all of the clips.
Notice: Refer to Fastener Notice in Service Precautions.
4. Install the trim pad retaining screws.
Tighten the screws to 10 N.m (89 lb in).
5. Install the I/P side trim panels.
6. Install the windshield side garnish moldings.
7. Install the dimmer/head-up display switch.
8. Install the driver information center (DIC).
9. Install the driver side knee bolster.
10. Install the I/P accessory trim plate.