
Astro Van 2WD V6-4.3L VIN W (2001)
Notice: Refer to Fastener Notice in Cautions and Notices.
3. Install the bolts (2) that attach the assist step plate to the assist step support bracket to the underbody.
Tighten the bolts (2) that attach the assist step plate to the assist step support bracket to the underbody to 25 Nm (18 lb.ft.).
4. Install the nuts and bolts (1) that attach the assist step brace to the assist step bracket
Tighten the nuts and bolts (1) that attach the assist step brace to the assist step bracket to 10 Nm (89 lb.in.).
5. Install the nuts that attach the assist step plate to the assist step support bracket.
Tighten the nuts that attach the assist step plate to the assist step support bracket to 10 Nm (89 lb.in.).
6. Lower the vehicle.
Assist Step Support Retainer Replacement
Assist Step Support Retainer Replacement
Removal Procedure
1. Raise the vehicle to a suitable height.
2. Remove the assist step extension. Refer to Assist Step Replacement (See: Assist Step Replacement).
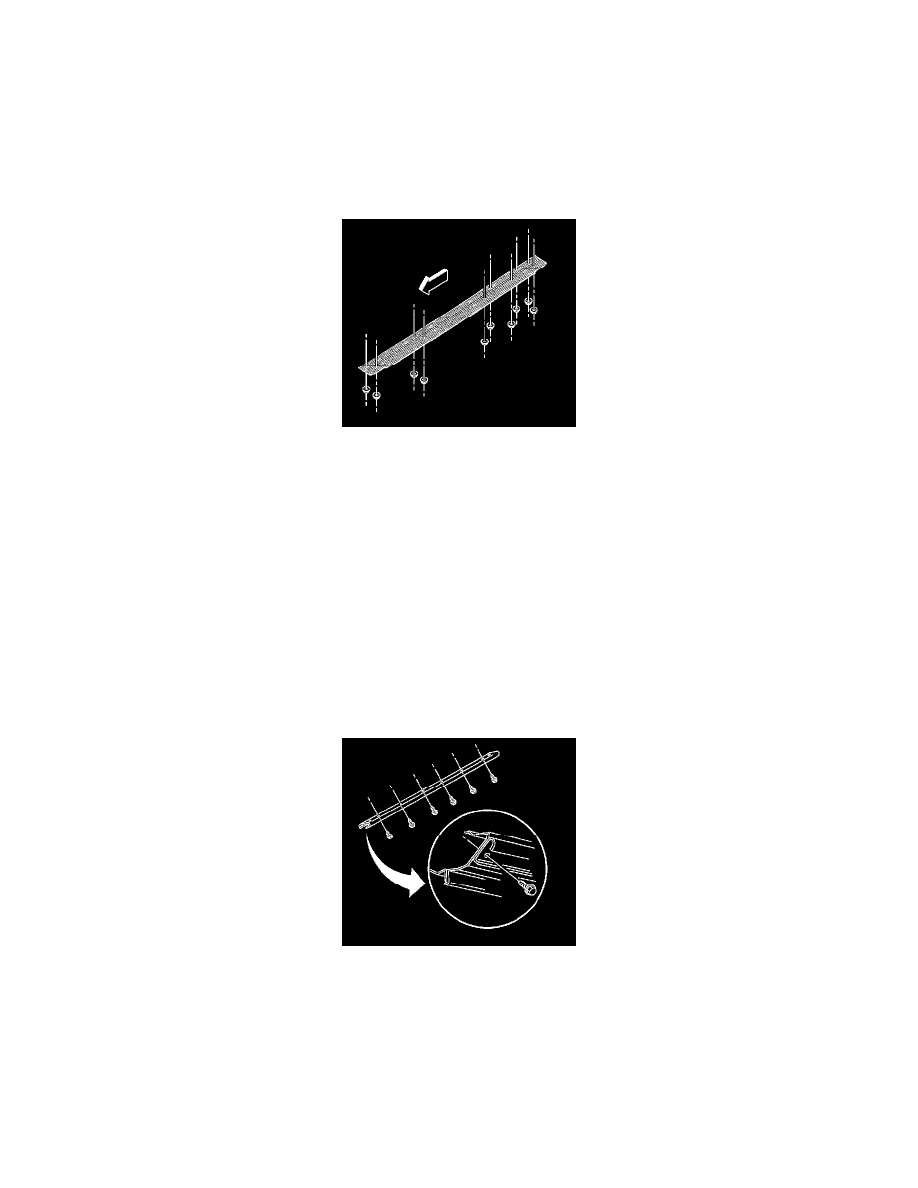
Important: Do not use a sharp tool in the removal of the assist step retainer, It will damage the paint. Use a plastic tool to assist in the
removal of the assist step retainer.
3. Remove the assist step retainer screws from the rocker panel.
4. Insert a plastic tool along the edge of the retainer to aid in the removal.
5. Remove the assist step retainer. The right side is a one piece retainer, the left side is a two piece retainer.
Installation Procedure