
Astro Van 2WD V6-4.3L VIN W (2001)
Installation Procedure
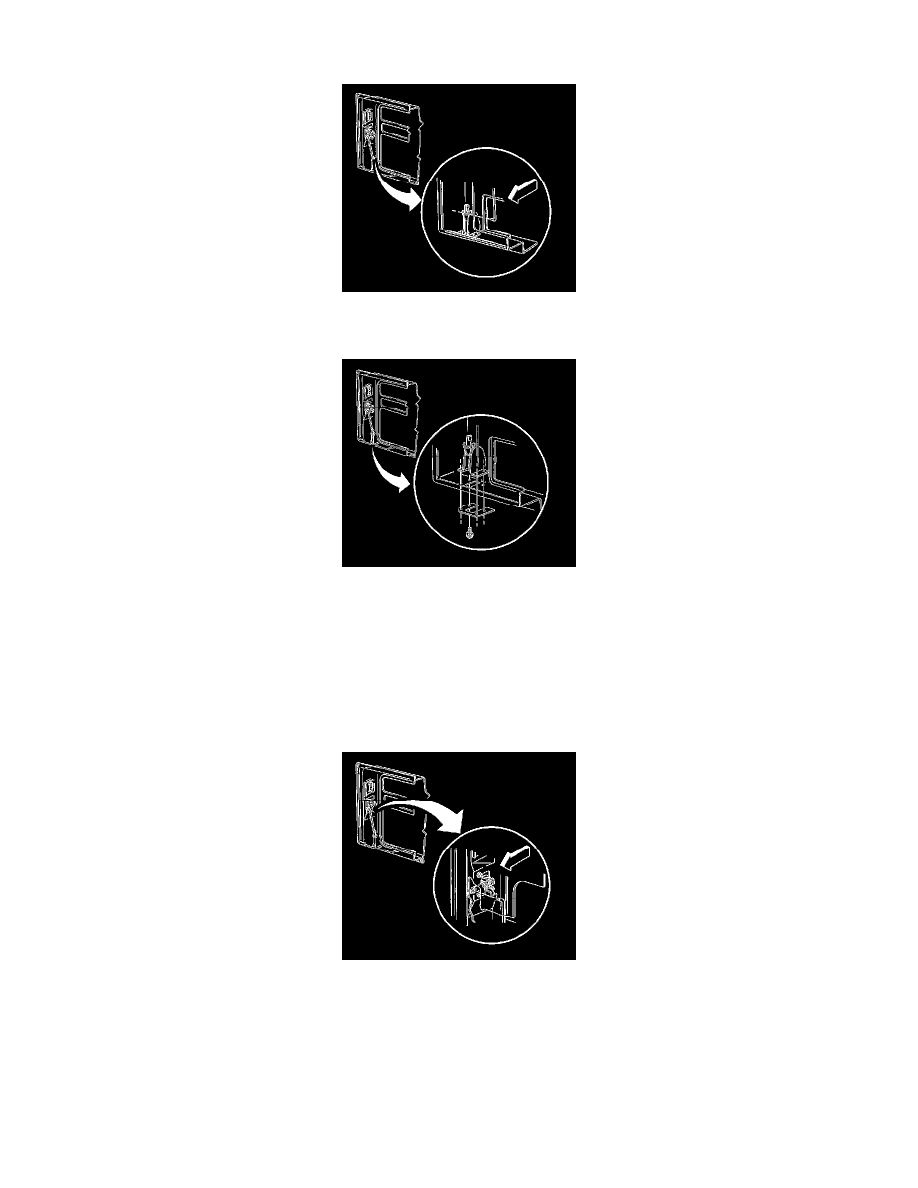
1. Install the control rod and the retainer to the latch.
2. Install the retainer as shown in order to prevent squeaks and rattles.
Notice: Refer to Fastener Notice in Cautions and Notices.
3. Install the following components to the door. Ensure that the arrow on the retainer points toward the front of the vehicle:
*
The latch
*
The retainer
*
The bolts
Tighten the bolts to the door to 8 Nm (71 lb.in.).
Important: Install new nylon retainers whenever you remove the control rods.
4. Install the control rod to the lock assembly.
5. Install the water deflector. Refer to Water Deflector Replacement (See: Rear Door Panel/Service and Repair).
6. Install the trim panel. Refer to Rear Door Trim Panel Replacement (Cargo Doors) (See: Rear Door Panel/Service and Repair/Panel
Replacement/Rear Door Trim Panel Replacement (Cargo Doors))Rear Door Trim Panel Replacement (E54) (See: Rear Door Panel/Service and
Repair/Panel Replacement/Rear Door Trim Panel Replacement (E54)).