
Astro Van 2WD V6-4.3L VIN W (2001)
1. Align the fasteners with the slots in the body.
2. Press the panel firmly into position, ensuring that all fasteners are fully seated.
Notice: Refer to Fastener Notice in Cautions and Notices
3. Install the three retaining screws to the upper garnish molding.
Tighten the three retaining screws to the upper garnish molding to 2 Nm (18 lb.in.).
Side Door Opening Frame Garnish Molding Replacement
Side Door Opening Frame Garnish Molding Replacement
Tools Required
J 38778 Door Trim Pad and Garnish Clip Remover
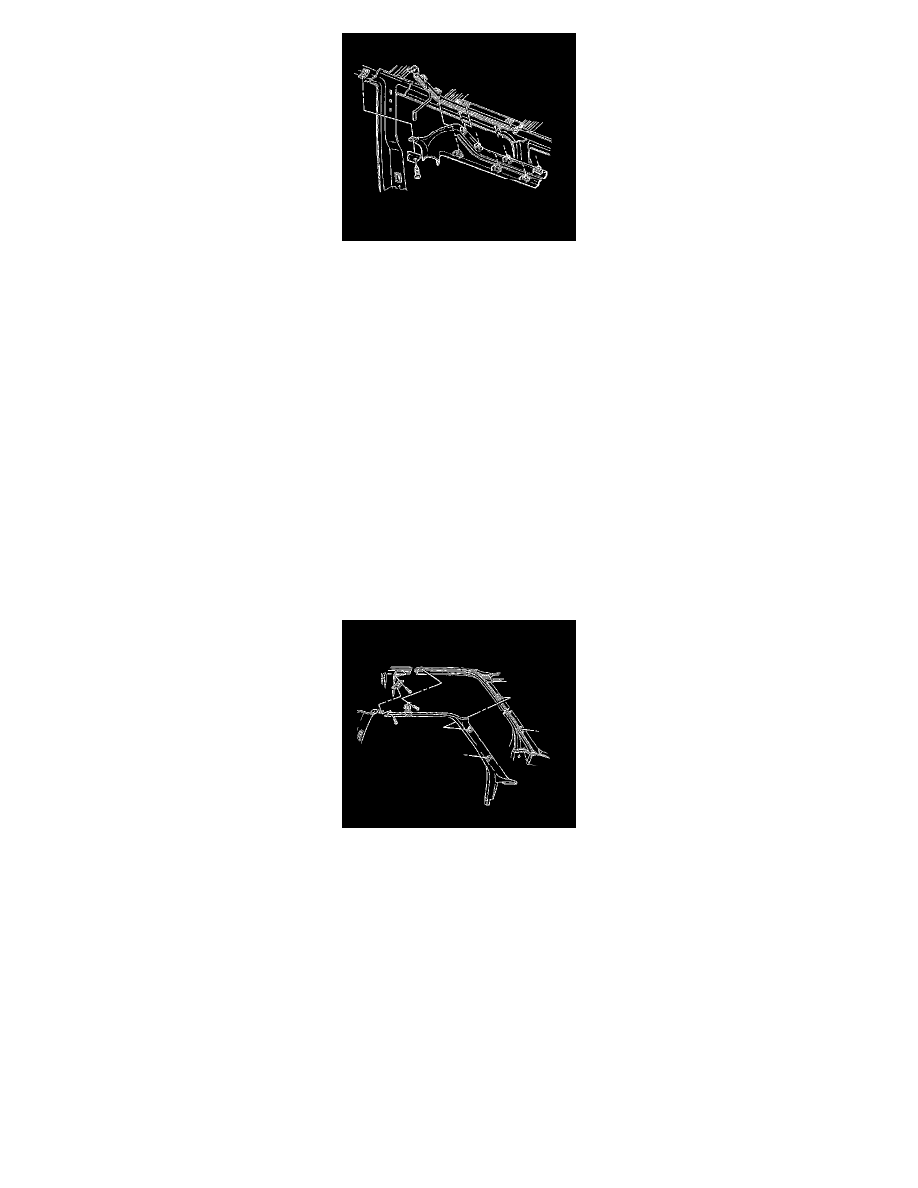
Removal Procedure
1. Remove the garnish molding screw.
2. Use the J 38778 in order to remove the door opening garnish molding on the retainers at the windshield pillar.
3. Remove the molding from one retainer in the center of the door opening.
This retainer will stay with the vehicle, not the molding.
4. Slide the molding up past the following components in order to remove the molding from the vehicle:
*
The cowl side trim panel
*
The knee bolster
*
The instrument panel
Installation Procedure