
Astro Van 2WD V6-4.3L VIN W (2001)
1. Recover the refrigerant from the system. Refer to Refrigerant Recovery and Recharging.
2. Raise and support the vehicle. Refer to Lifting and Jacking the Vehicle.
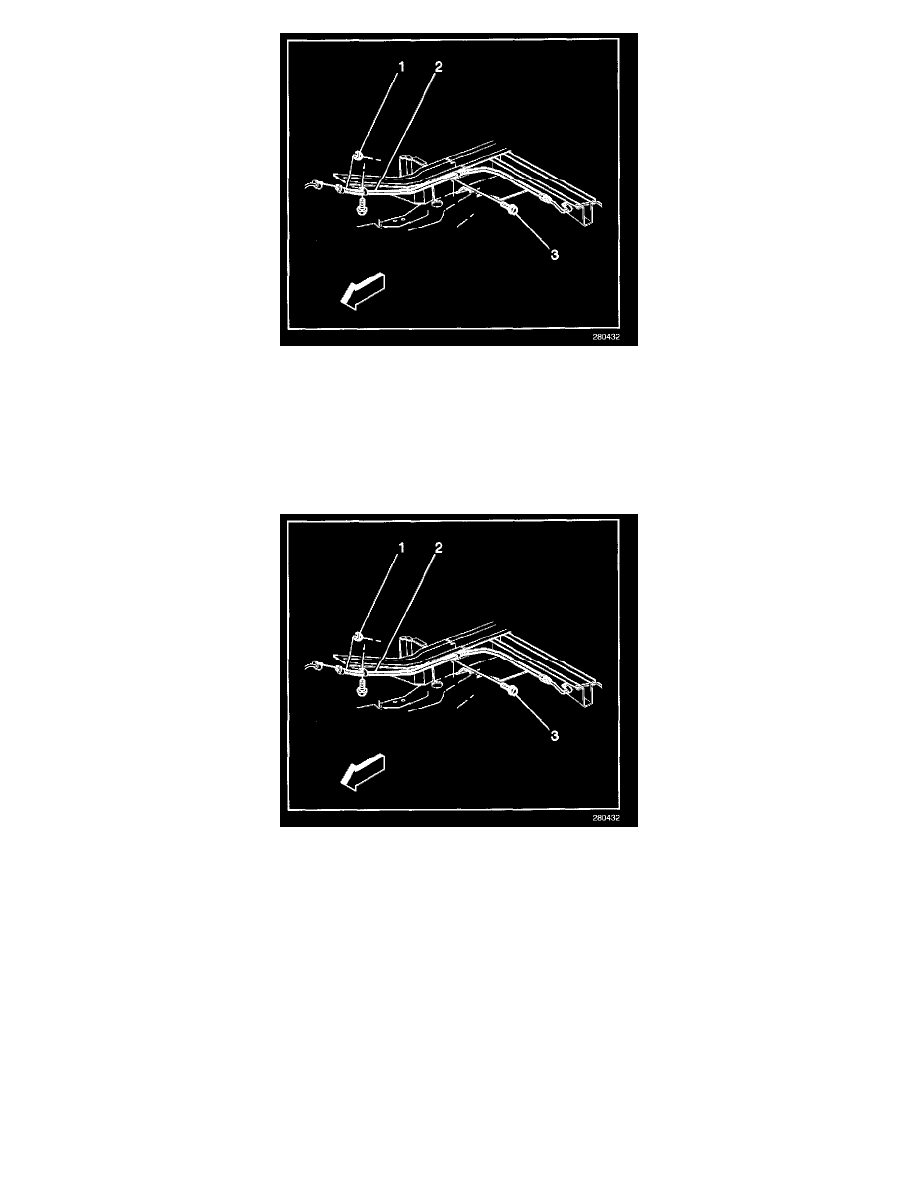
3. Remove the auxiliary evaporator front inlet tube from the evaporator inlet tube (2) at the accumulator.
4. Remove the O-ring seal.
5. Remove the bolts (3) that retain the clips on the auxiliary evaporator front inlet tube (2) to the body.
6. Remove the auxiliary evaporator front inlet tube (2) from the vehicle.
INSTALLATION PROCEDURE
1. Install the auxiliary evaporator front inlet tube (2) to the vehicle.
NOTE: Refer to Fastener Notice in Caution and Notices.
2. Install the bolts that retain the clips on the auxiliary evaporator front inlet tube (2) to the body.
Tighten
Tighten the bolts that retain the clips on the auxiliary evaporator front inlet tube to 4 N.m (35 lb in).
3. Install the new O-ring seal. Coat the O-ring seal with 525 viscosity refrigerant oil.
4. Install the auxiliary evaporator front inlet tube (2) to the auxiliary evaporator side inlet tube.
Tighten
Tighten the auxiliary evaporator front inlet tube to the auxiliary evaporator side inlet tube to 27 N.m (20 lb ft).
5. Lower the vehicle. Refer to Lifting and Jacking the Vehicle.
6. Evacuate and recharge the system. Refer to Refrigerant Recovery and Recharging.
7. Leak test the fittings of the component using the J 39400-A.