
Astro Van 2WD V6-4.3L VIN W (2001)
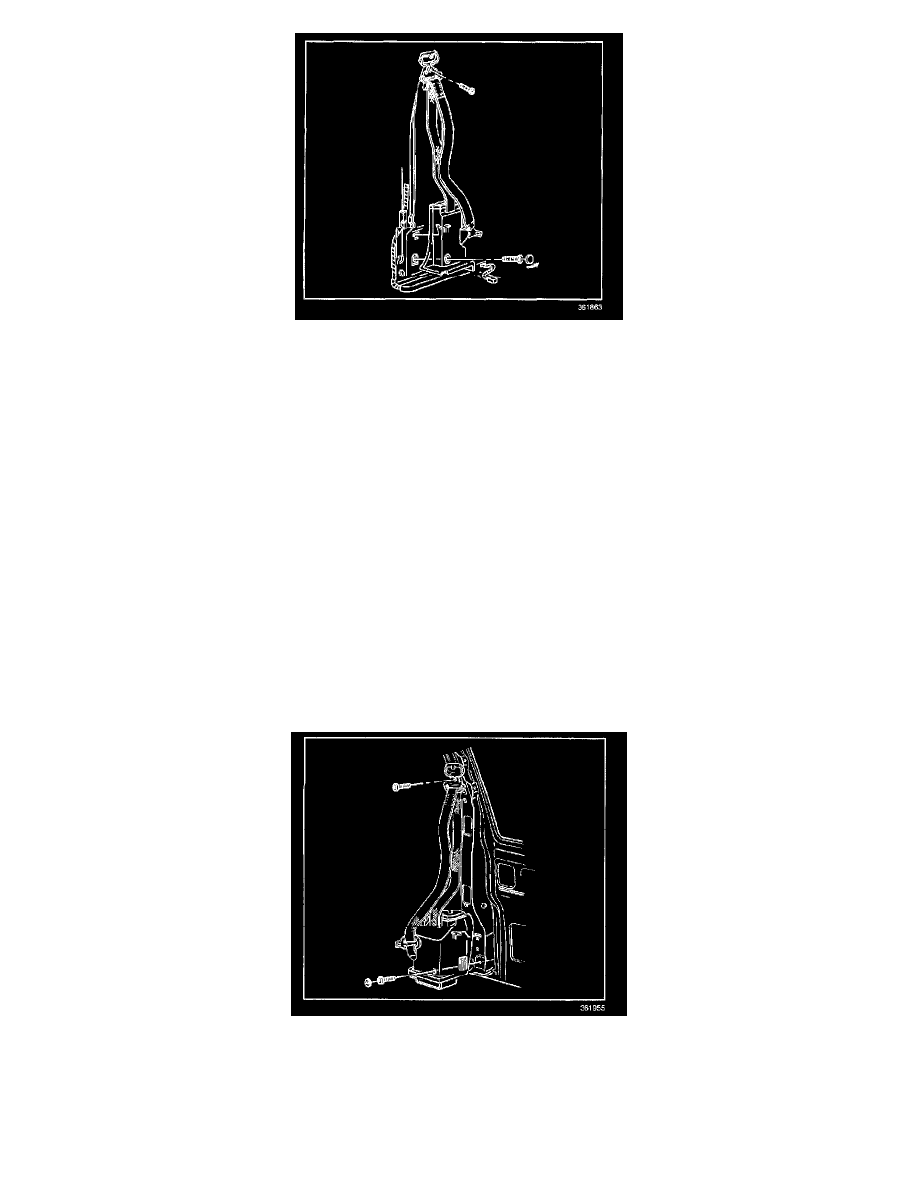
1. Install the retractor to the vehicle.
NOTE: Refer to Fastener Notice in Service Precautions.
2. Install the retractor bolt to the pillar.
Tighten
Tighten the retractor bolt to the pillar to 53 N.m (39 lb ft).
3. Install the electrical connectors.
4. Install the body side front lower molding.
5. Install the left inside garnish molding.
6. Install the bolt retaining the shoulder belt guide to the adjuster bracket.
Tighten
Tighten the shoulder belt retaining bolt to 30 N.m (22 lb ft).
7. Install the cover to the shoulder belt guide.
8. Install the seat belt to the seat belt guide located on the side of the bucket seat.
9. Slide the front seat back in position.
Right Front
REMOVAL PROCEDURE
1. Slide the front seat all the way forward.
2. Remove the seat belt from the seat belt guide located on the side of the bucket seat.
3. Remove the cover from the shoulder belt guide to expose the bolt.
4. Remove the retaining bolt from the shoulder belt guide adjuster bracket.
5. Remove the right front lock pillar inside garnish molding.
6. Remove the cover on the base of the retractor to expose the bolt.
7. Remove the bolt from the retractor to the pillar.