
Astro Van 2WD V6-4.3L VIN X (2002)
4. Use the following procedure when installing the assist step:
1. Check the fit to the step well and the door opening.
2. Check the height and the alignment to rocker panel.
3. Check the alignment to the cladding and to the body.
4. Check the gaps between the wheel well moldings.
5. Check the lower edge of the assist step to ensure a even gap along the door edge and the body.
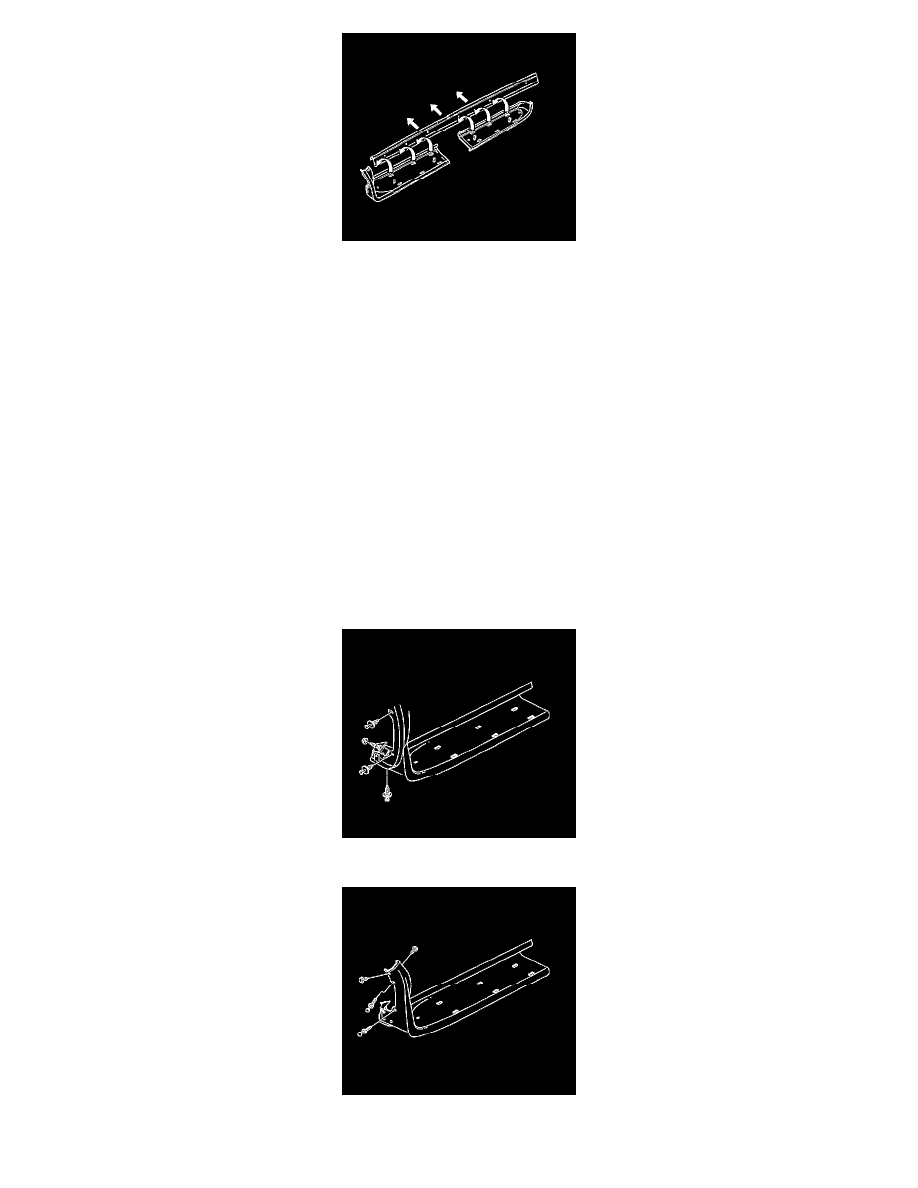
6. Install the front section of the assist step to fit over the rear section.
Align both sections before installing the nuts to the assist step pad.
5. Install the assist step pad to assist step.
Align the assist step pad to the assist step and press downward until fully seated.
6. Install the nuts to the assist step pad by hand.
Tighten the nuts to the assist step pad to 2 N.m (18 lb in).
7. Install the nut to the front lower corner of the assist step.
Tighten the nut to the front lower corner of the assist step to 10 N.m (89 lb in).
8. Lower the vehicle to a suitable height.
9. Install the push clips to the front edge of the assist step.
10. Install the screws to the front edge of the assist step. Open the door to expose the inner screw.