
Astro Van 2WD V6-4.3L VIN X (2002)
Hood Latch: Service and Repair
Hood Latch Replacement - Primary
Hood Latch Replacement - Primary
Removal Procedure
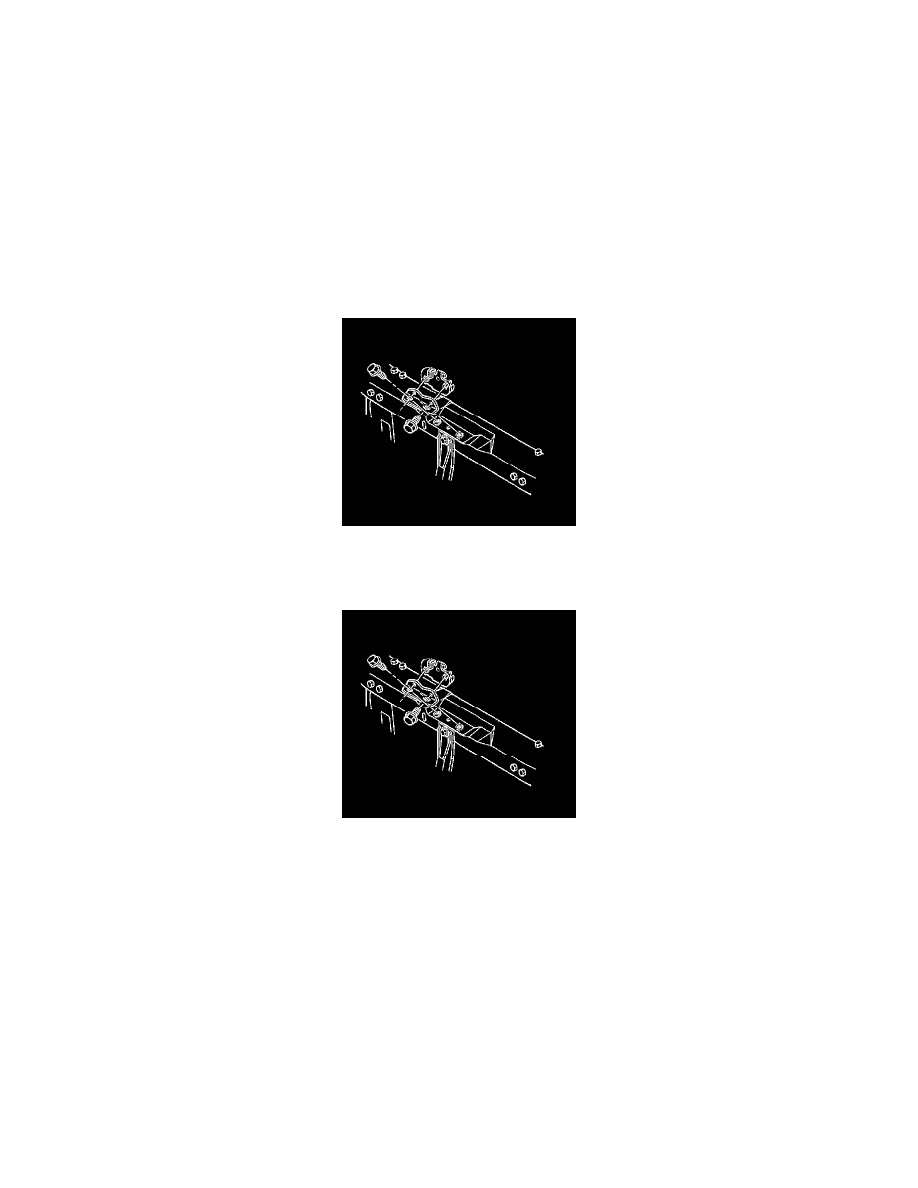
1. Remove the hood release cable from the latch with the following procedure:
1. Place a screwdriver into the cable clip.
2. Pry the cable clip open in order to remove the cable.
3. Pry the cable housing from the latch.
2. Remove the primary latch support bolts to the radiator.
3. Remove the primary latch with the bracket from the vehicle.
4. Remove the bracket from the latch.
Installation Procedure
1. Install the bracket to the latch.
Notice: Refer to Fastener Notice in Cautions and Notices.
2. Install the primary latch to the bracket bolts.
Tighten the bolts to 25 N.m (18 lb ft).
3. Install the primary latch and bracket to the vehicle.
Important: In the next step, do not tighten the bolts.
4. Install the primary latch support bolts to the radiator.
5. Adjust the latch right and left until the latch lines up with the striker pins in the hood.
6. Raise the hood and tighten the latch to the radiator support bolts.
Tighten the bolts to 25 N.m (18 lb ft).