
Astro Van 2WD V6-4.3L VIN X (2002)
Power Door Lock Switch: Service and Repair
REMOVAL PROCEDURE
1. Remove the armrest screws and the armrest YC5.
2. Remove the window handle, if equipped.
3. Pull out on the escutcheon in order to remove the lock lever escutcheon. Start with the front edge of the escutcheon.
4. Remove the upper corner trim using the following method:
4.1.
Pull the upper corner trim at the top edge.
4.2.
Pivot the upper corner trim down in order to clear the tab at the trim panel, YC6 and YC7.
5. Remove the caps that cover the screws for the assist handle.
6. Remove the screws that retain the assist handle to the door.
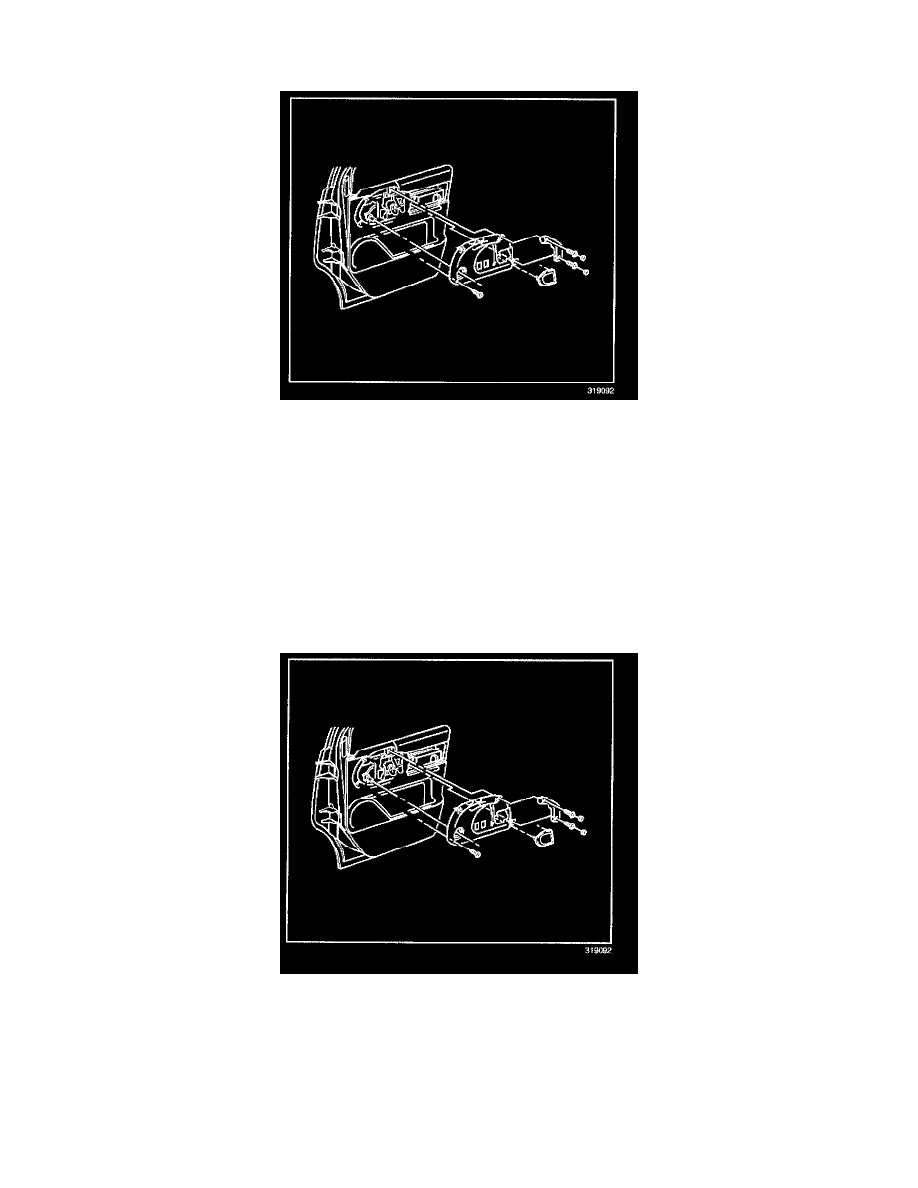
7. Remove the screw at the front edge of the accessory switch mount plate.
8. Remove the plate from the trim panel.
9. Disconnect the electrical connectors from the switches on the plate, as needed.
INSTALLATION PROCEDURE
1. Connect the electrical connectors to the switches on the accessory switch mounting plate, as needed.
2. Install the plate to the trim panel.
NOTE: Refer to Fastener Notice in Service Precautions.
3. Install the screw at the front edge of the accessory switch mount plate.
Tighten
Tighten the screws at the front edge of the accessory switch mount plate to 5 N.m (44 lb in).