
Astro Van 2WD V6-4.3L VIN X (2002)
7. Lower the lower control arm by lowering the jack slowly to relieve the tension of the coil spring.
Important: Do not apply force on the lower control arm or the lower ball joint in order to remove the coil spring. Proper maneuvering of the coil
spring will allow for easy removal.
8. After all compression is removed from the coil spring, remove the coil spring and coil spring insulators from the vehicle.
Installation Procedure
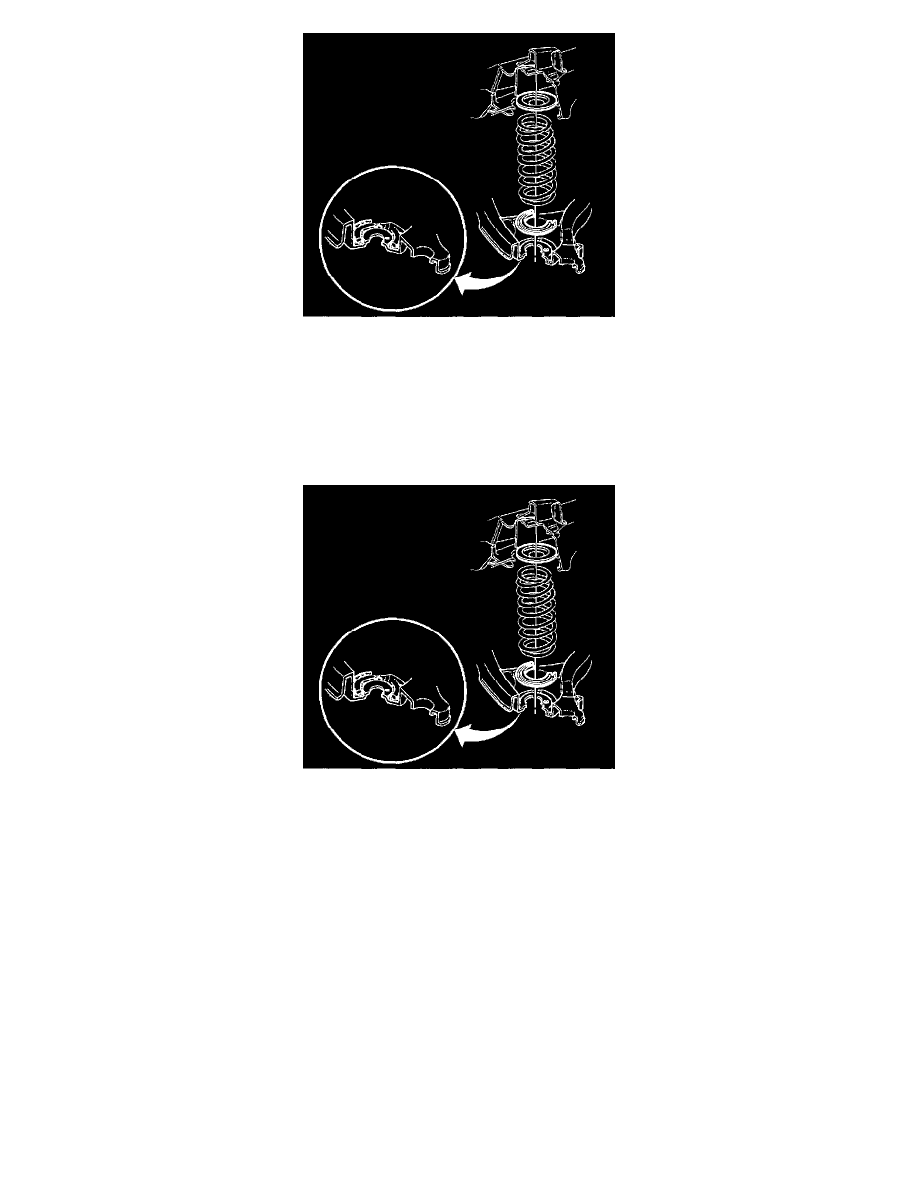
1. Install the coil spring and the coil spring insulators to the lower control arm.
-
The insulators must be in place on the top and bottom of the coil spring.
-
Install the coil spring with the identification tape towards the lower control arm.
-
Align the edge of the coil spring with the edge of the insulator. Align the insulator and the drain hole.
-
The end of the lower spring coil must cover all or part of one inspection drain hole. The other drain hole must be partially exposed or
completely uncovered.