
Astro Van 2WD V6-4.3L VIN X (2002)
8.
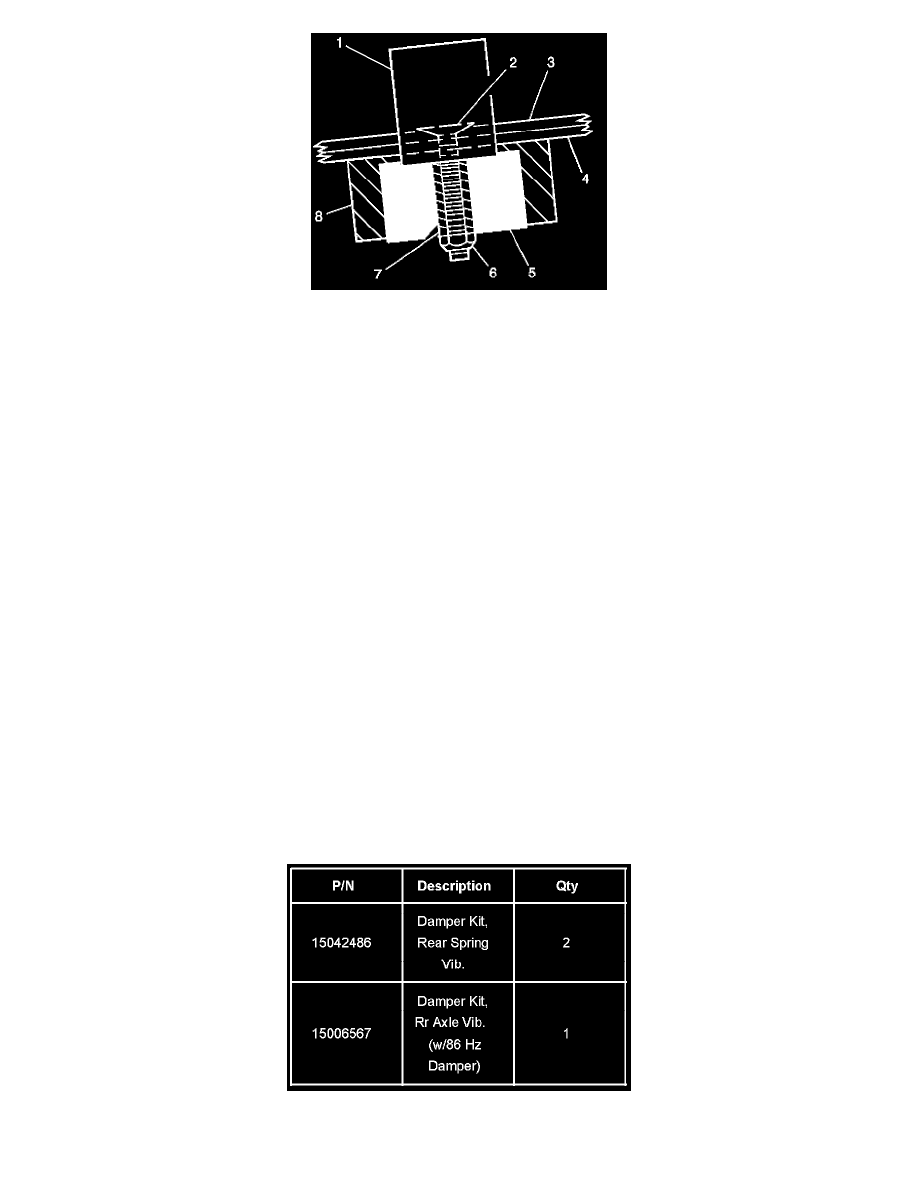
Insert the stud bolt (2), P/N 15042491, from the top of spring plate # 2 (3) so that the bolt head sits into the hole's counter sink.
9.
Place the spring clip (1), P/N 15042492, over the stud so that the clip is in a similar position as the original clip removed previously. Do not close
the clip at this time.
10.
Install the damper (8), P/N 15042487, onto the stud. Install the damper completely onto the stud so that the clip is securely trapped between the #
2 spring plate (bottom) and the damper inner sleeve.
Tighten
Tighten the damper to 30 N.m (22 lb ft) while holding the stud.
11.
Install the jam nut (6), P/N 11508189, onto the stud until the nut is against the inner sleeve of the damper.
Tighten
Tighten the nut to 30 N.m (22 lb ft).
Note:
Do not break the clip liner or damage the top surface of the # 1 spring plate.
12.
Install the plastic clip liner in the same orientation as when removed. The bolt head may stick up above the top surface of the spring plate.
13.
Remove the wood wedge.
14.
Using a press or a vise, close the clip to the same position as the removed clip. The maximum width of the installed clip is 91.5 mm (3.6 in) and
the maximum height is 46.5 mm (1.8 in). This ensures proper clearance to the body rails.
15.
Install the leaf spring onto the vehicle. Refer to the Rear Suspension subsection of the appropriate Service Manual for leaf spring replacement
procedures.
16.
Repeat steps 2-15 for the other spring.
Parts Information