
Astro Van AWD V6-4.3L VIN X (2003)
13. Install the screws to the rear outer edge of the assist step extension. If the vehicle is equipped with running boards, the cladding will be shorter on
the left side only.
Tighten the screws to the rear outer edge of the assist step extension to 2 N.m (18 lb in).
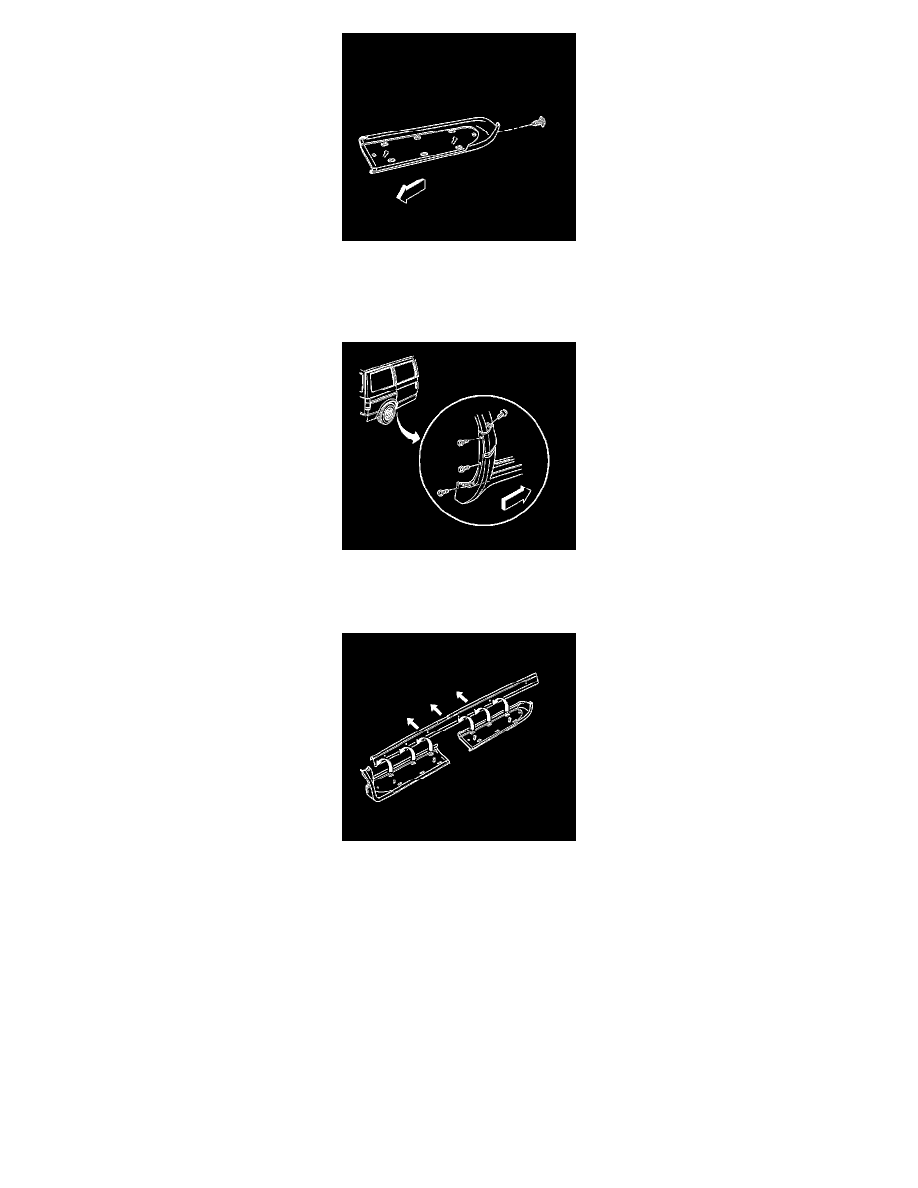
14. Install the screws to the right rear inner and outer wheel well. Open the sliding door to expose the inner screw.
Tighten the screws to the right rear inner and outer wheel well to 2 N.m (18 lb in).
Important: Use the following steps when installing the assist step extensions to the retainer:
*
Check to ensure that the front assist step extension fits over the center of the rear extension.
*
Check for a suitable fit to the step well and the door opening.
*
Check the height and the alignment to the rocker panel and to the door opening.
*
Check the alignment to the cladding and to the body.
*
Check the alignment gaps between the wheel well molding and body.
*
Check the lower edge of the assist step extensions to ensure an even gap along the lower edge of the body.
15. Install the assist step extensions to the retainer.
16. Install the nut to the front lower corner of the assist step extension.