Astro Van AWD V6-4.3L VIN X (2003)

Front Door Striker: Service and Repair
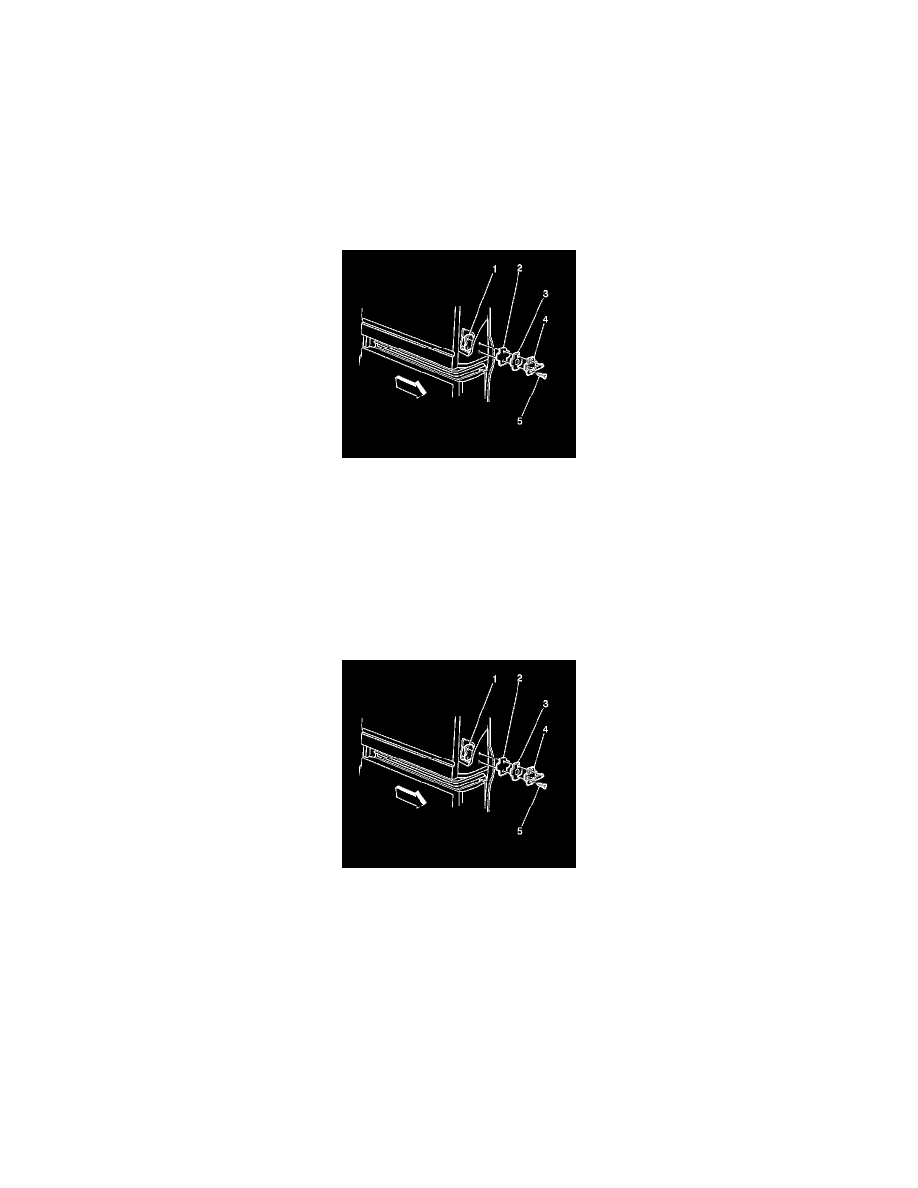
Striker Replacement - Sliding Door Rear
Striker Replacement - Sliding Door Rear
Removal Procedure
1. Remove the right hand body side trim panel. Refer to Trim Panel Replacement - Right Body Side (See: Interior Moulding / Trim/Trim
Panel/Service and Repair/Trim Panel Replacement - Right Body Side) .
2. Remove the two bolts that retain the rear storage compartment, if equipped.
3. Remove the bolts (5).
4. Remove the striker (4).
5. Remove the spacer (3).
6. Remove the washer (2).
7. Remove the nut plate (1).
Installation Procedure
1. Install the nut plate (1).
2. Install the washer (2).
3. Install the spacer (3).
4. Install the striker (4).
Notice: Refer to Fastener Notice in Cautions and Notices.
5. Install the striker bolts (5).
Tighten the striker bolts to 24 N.m (18 lb ft).
6. Install the right hand body side trim panel. Refer to Trim Panel Replacement - Right Body Side (See: Interior Moulding / Trim/Trim
Panel/Service and Repair/Trim Panel Replacement - Right Body Side) .
