Astro Van AWD V6-4.3L VIN X (2003)

Installation Procedure
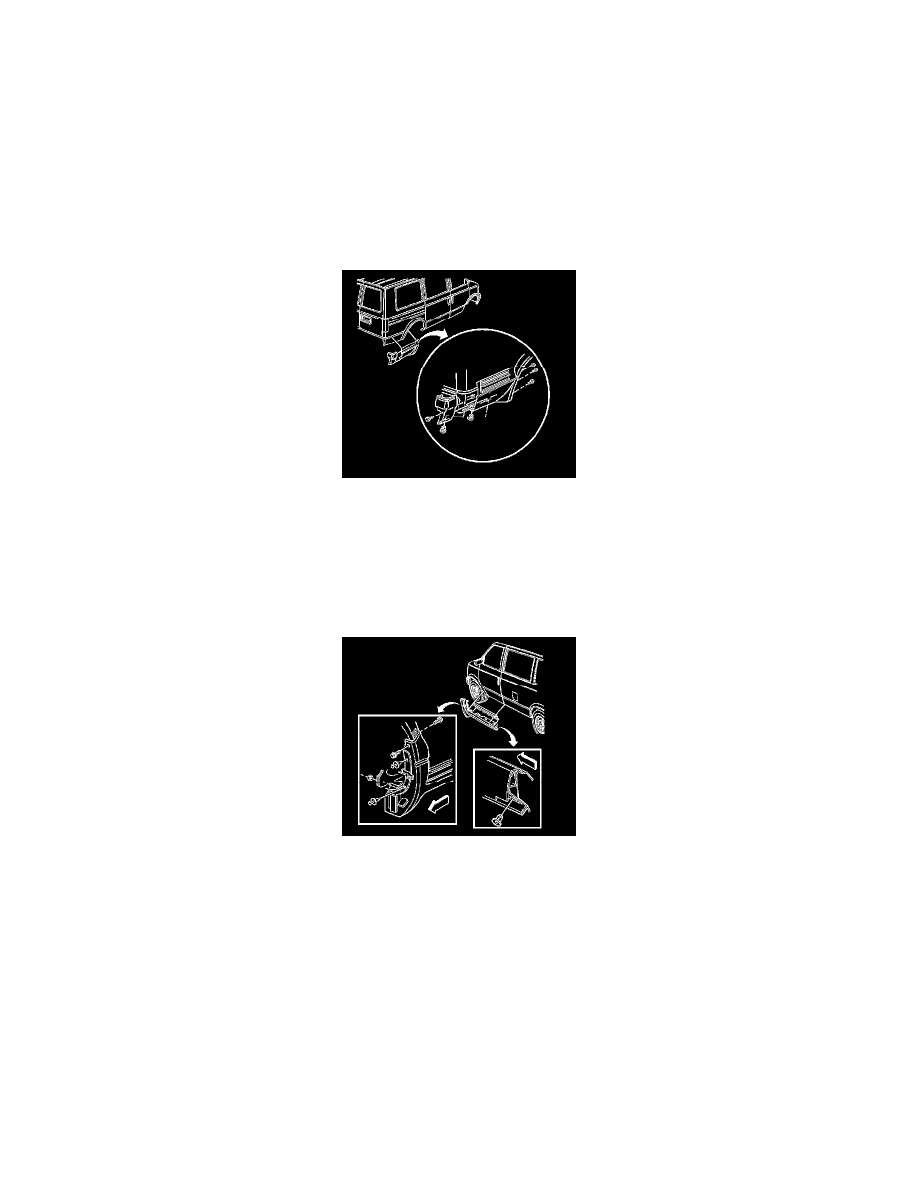
1. Install the cladding to the body. Refer to Cladding Replacement - Adhesive Retained (See: Cladding Replacement - Adhesive Retained) .
Notice: Refer to Fastener Notice in Cautions and Notices.
2. Install the cladding screws.
Tighten the cladding screws to 2 N.m (18 lb in).
3. Install the cladding retainers.
4. Install the rear corner extension molding.
5. Install the rear corner extension molding retainers.
Cladding Replacement - Left Rocker Panel
Cladding Replacement - Left Rocker Panel
Removal Procedure
1. Remove the screws from the cladding.
2. Remove the retainers from the wheelhouse.
3. Remove the nut on the back of the cladding from the stud.
4. Remove the cladding from the retaining rail.
