Astro Van AWD V6-4.3L VIN X (2003)

Install the locator pins into the locator hole on the liftgate.
Notice: Refer to Fastener Notice in Caution and Notices.
2. Install the garnish molding screws (3).
Tighten the garnish molding screws to 2 N.m (18 lb in).
3. Install the handle escutcheon (9) and the handle (10).
4. Install the interior handle.
Tighten the interior handle screws to 6 N.m (53 lb in).
5. Install the interior handle screw covers (12).
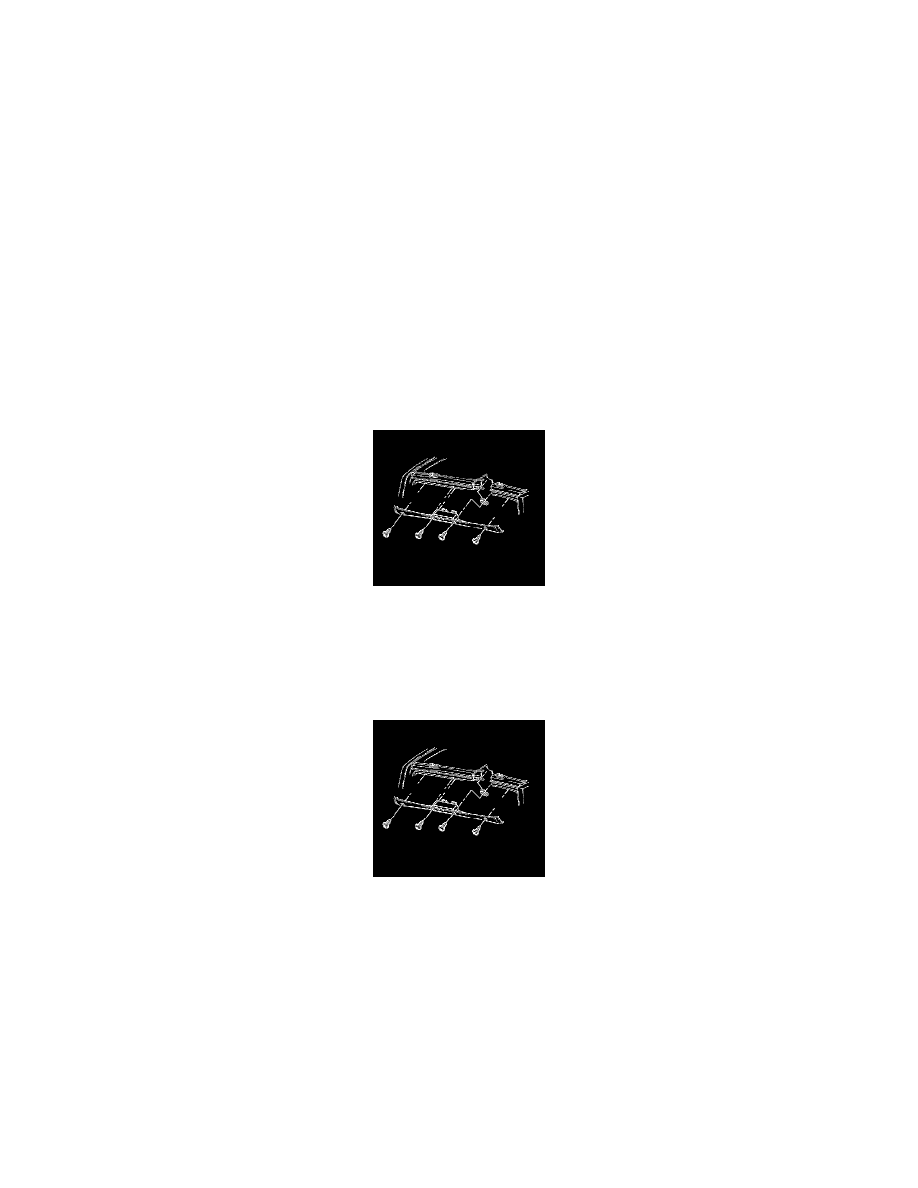
Garnish Molding Replacement - Rear Upper
Garnish Molding Replacement - Rear Upper
Removal Procedure
1. Remove the screws that retain the door frame garnish molding to the vehicle.
2. Remove the door frame garnish molding.
3. Disconnect the electrical connector.
Installation Procedure
1. Connect the electrical connector.
2. Install the molding to the roof.
Notice: Refer to Fastener Notice in Cautions and Notices.
3. Install the roof retaining screws.
Tighten the roof retaining screws to 2 N.m (18 lb in).
Garnish Molding Replacement - RF Lock Pillar
Garnish Molding Replacement - RF Lock Pillar
Removal Procedure
