
Astro Van AWD V6-4.3L VIN X (2003)
Door Lock Cylinder: Procedures
Outside Handle and Lock Cylinder Replacement
OUTSIDE HANDLE AND LOCK CYLINDER REPLACEMENT
REMOVAL PROCEDURE
IMPORTANT: If door lock cylinders require replacement for any reason, apply a coating of GM P/N 12346241 or equivalent lubricant inside of the
lock case and the cylinder keyway prior to assembling and installing the cylinder.
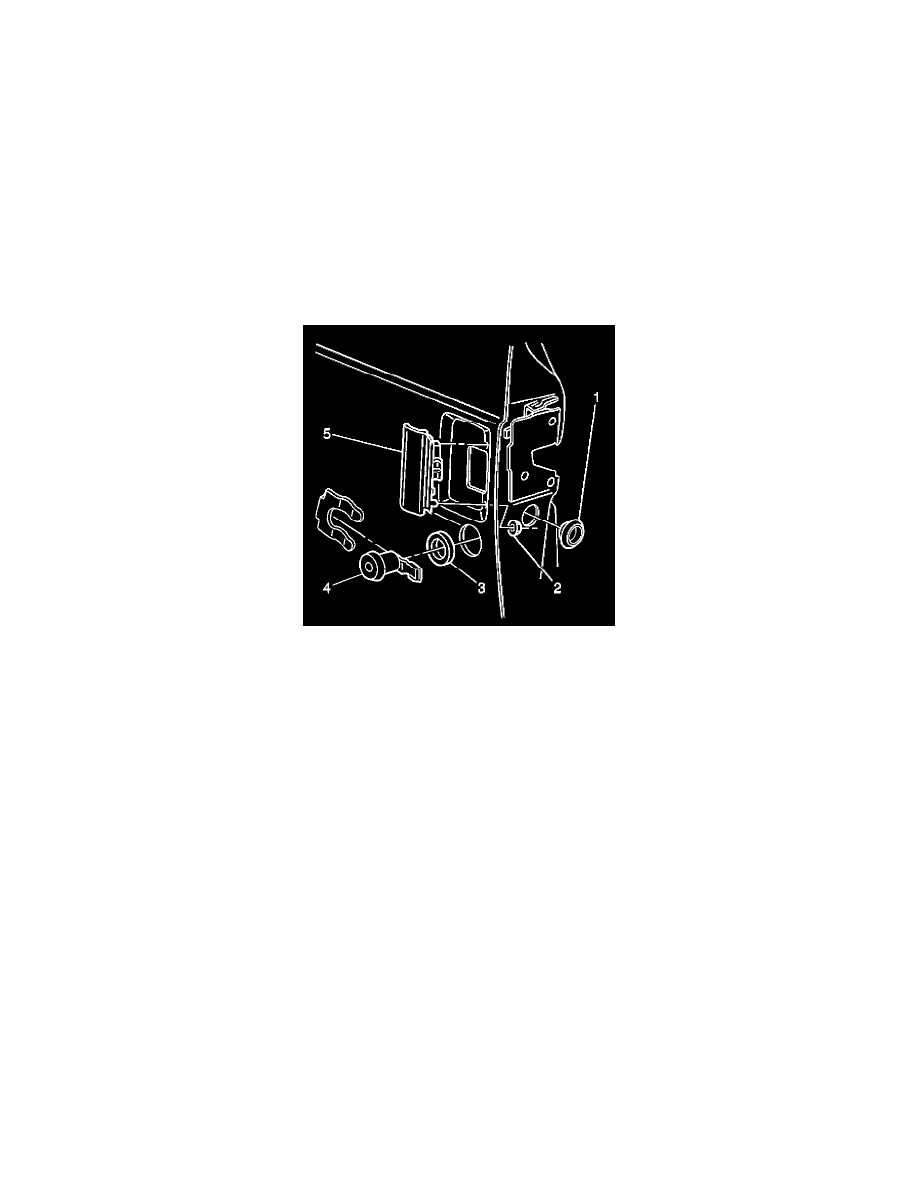
1. Remove the trim panel.
2. Use a sharp bladed tool in order to separate the water deflector at the perforations. Refer to Water Deflector Replacement - Front Door.
3. Remove the access hole plug (1).
4. Remove the lock rod from the door handle.
5. Remove the nuts from the door handle (4).
6. Remove the door handle from the door (2).
7. Remove the lock rod from the lock cylinder (3).
8. Remove the lock cylinder retainer.
9. Remove the lock cylinder and the gasket (5) from the door.
INSTALLATION PROCEDURE
1. Install the gasket (5) and the lock cylinder to the door.
IMPORTANT: Install new plastic retainer clips whenever the lock rods are removed.
2. Install the lock cylinder retainer.
3. Install the lock rod to the lock cylinder.