Astro Van AWD V6-4.3L VIN X (2003)

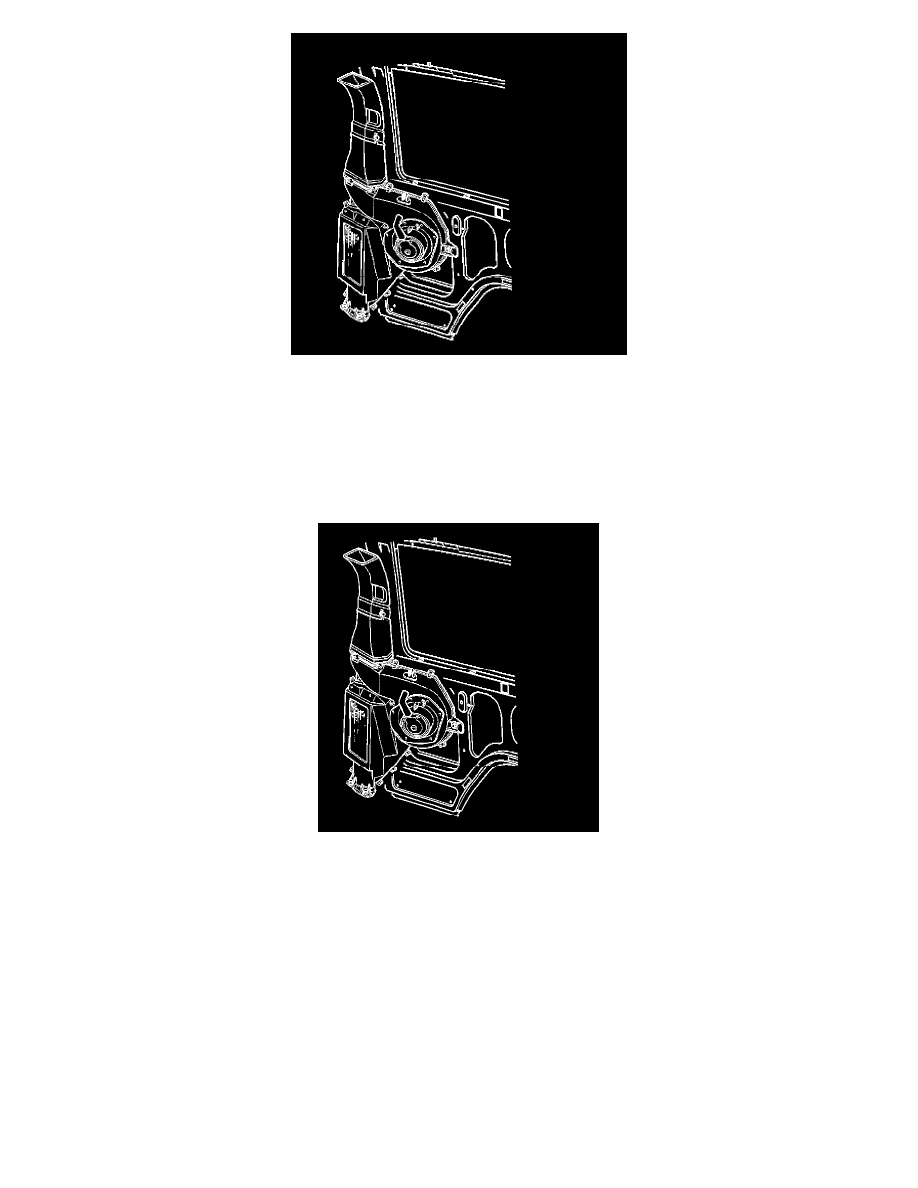
1. Remove the left fourth pillar garnish molding.
2. Remove the set screw in the side of the 2 piece duct.
3. Slide the bottom half of the duct up into the top half.
4. Swing the bottom edge of the duct toward the interior of the vehicle.
5. Remove the top edge of the duct clear of the headliner duct.
6
Remove the air outlet duct from the vehicle.
INSTALLATION PROCEDURE
1. Install the air outlet duct to the vehicle.
2. Install the top edge of the duct into the headliner duct.
3. Swing the bottom edge of the duct into the fourth pillar.
4. Swing the bottom edge of the duct into place over the auxiliary evaporator module.
5. Slide the bottom half of the duct down onto the auxiliary evaporator module.
6. Tighten the set screw on the side of the duct.
NOTE: Refer to Fastener Notice in Service Precautions.
Tighten
Tighten the set screw on the side of the duct to 2 N.m (18 lb in).
7. Install the left fourth pillar garnish molding.
Air Outlet Duct Replacement - Left Defogger
AIR OUTLET DUCT REPLACEMENT - LEFT DEFOGGER
REMOVAL PROCEDURE
