
Astro Van AWD V6-4.3L VIN X (2003)
1. Install the new O-ring seal.
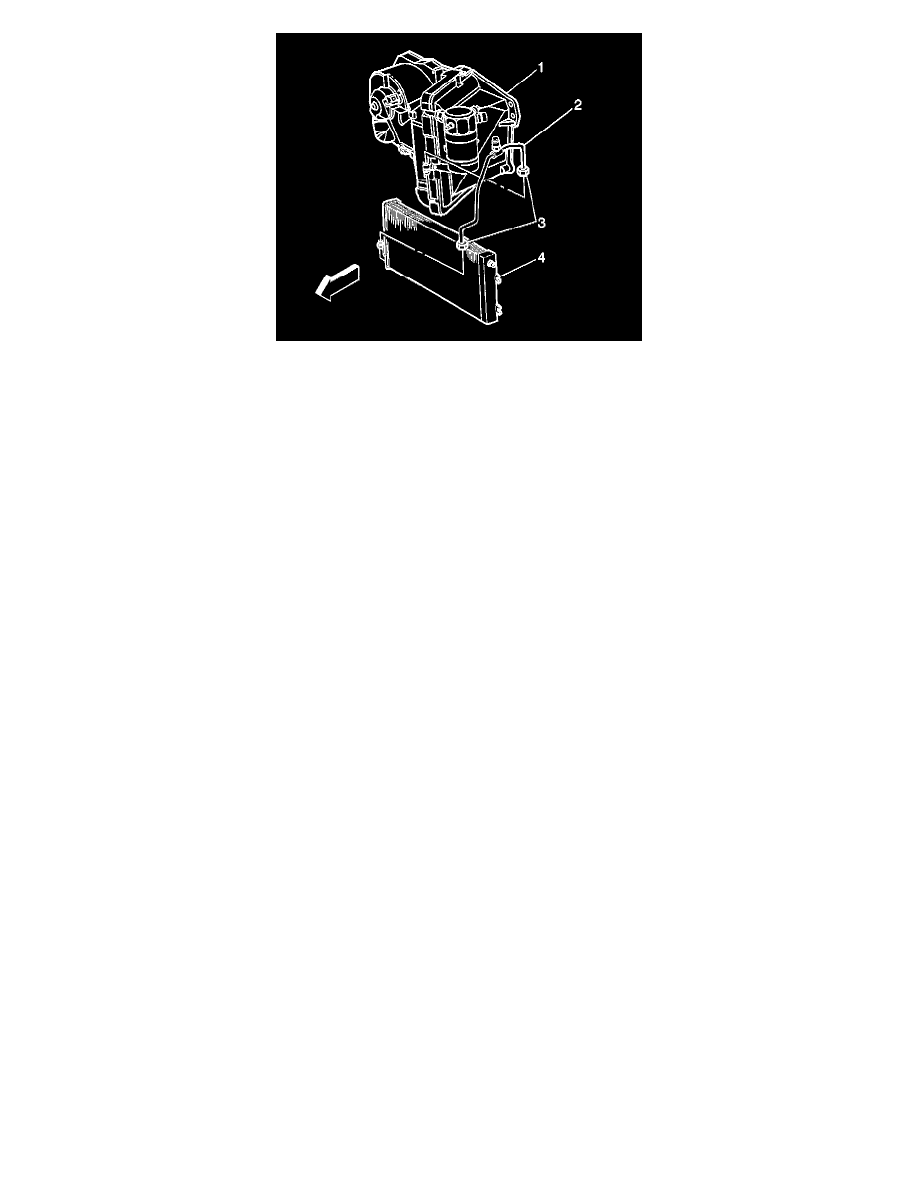
2. Install the evaporator tube (2) to the condenser (4).
3. Tighten the evaporator tube nut (3) to the condenser (4).
NOTE: Refer to Fastener Notice in Service Precautions.
Tighten
Tighten the nut to 28 N.m (20 lb ft).
4. Install the new O-ring seal.
5. Install the evaporator tube to the evaporator.
6. Tighten the evaporator tube nut at the evaporator.
Tighten
Tighten the nut to 28 N.m (20 lb ft).
7. Raise the vehicle.Refer to Vehicle Lifting.
8. Install the new O-ring seal.
9. Install the evaporator tube to the auxiliary evaporator tube.
10. Install the auxiliary evaporator tube block fitting nut.
Tighten
Tighten the nut to 28 N.m (20 lb ft).
11. Install the splash shield to the wheelhouse.
12. Install the retainers to the splash shield.
13. Install the right front tire.
14. Install the accumulator.
15. Leak test the fittings of the component using the J 39400-A.
16. Install the grille.
17. Install the air cleaner.