
Astro Van AWD V6-4.3L VIN X (2003)
High Pressure Sensor / Switch: Service and Repair
AIR CONDITIONING (A/C) HIGH PRESSURE SWITCH REPLACEMENT
TOOLS REQUIRED
-
J 5403 Snap Ring Pliers
-
J 9553-01 O-Ring Remover
-
J 39400-A Halogen Leak Detector
REMOVAL PROCEDURE
1. Remove the engine cover.
2. Recover the refrigerant the system.
3. Clean the control A/C high pressure switch area before removing the snap ring.
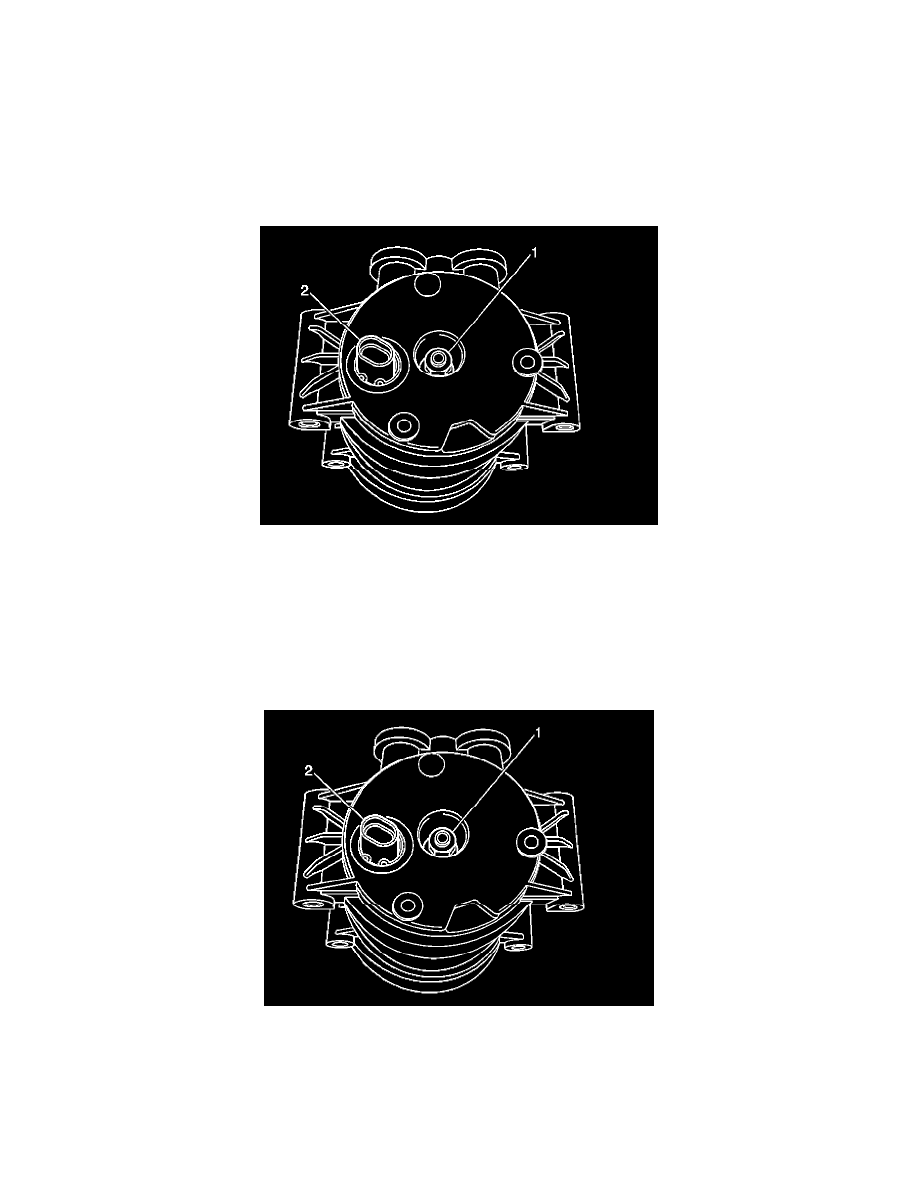
4. Disconnect the electrical connector from the A/C high pressure switch (2) in the rear head of the compressor.
5. Remove the A/C high pressure switch snap ring using a pair of 90 degree angle pliers or J 5403.
6. Remove the A/C high pressure switch (2) from the compressor.
7. Remove the old O-ring seal from the A/C high pressure switch cavity using the J 9553-01.
8. Inspect the A/C high pressure switch cavity and the O-ring groove in the rear head for dirt or foreign material. Clean the components as necessary.
INSTALLATION PROCEDURE
1. Lubricate the new O-ring using new 525 viscosity refrigerant oil.
IMPORTANT: If you reinstall an existing control switch in the compressor, use a new O-ring and a new retainer ring. An O-ring and a retainer ring
is included in a new switch kit.
2. Install the new O-ring into the groove in the switch cavity.
3. Lubricate the control switch housing using new 525 viscosity refrigerant oil.