
Astro Van AWD V6-4.3L VIN X (2003)
Fuel Meter Body: Service and Repair
REMOVAL PROCEDURE
An 8-digit part identification number is on a mylar label affixed to the fuel meter body assembly. Refer to this number if servicing or part replacement
is required.
1. Relieve the fuel system pressure. Refer to Fuel Pressure Relief Procedure.
2. Remove the upper intake manifold assembly.
3. Before removal, clean the fuel meter body assembly with a spray type engine cleaner, GM X-30A, if necessary. Follow the package instructions.
Do not soak fuel meter body assemblies in liquid cleaning solvent.
NOTE: Do not use any solvent that contains Methyl Ethyl Ketone (MEK). This solvent may damage fuel system components.
4. Squeeze the injector locking tabs together while lifting the injector out of the casting socket.
NOTE: Cover the injector sockets in order to prevent dirt and other contaminants from entering the open fuel passages.
IMPORTANT: When disconnecting the injectors, remember the sequence in order to ensure correct injector placement to each cylinder.
5. Remove the fuel meter body from the bracket by releasing the lock tabs on the bracket.
INSTALLATION PROCEDURE
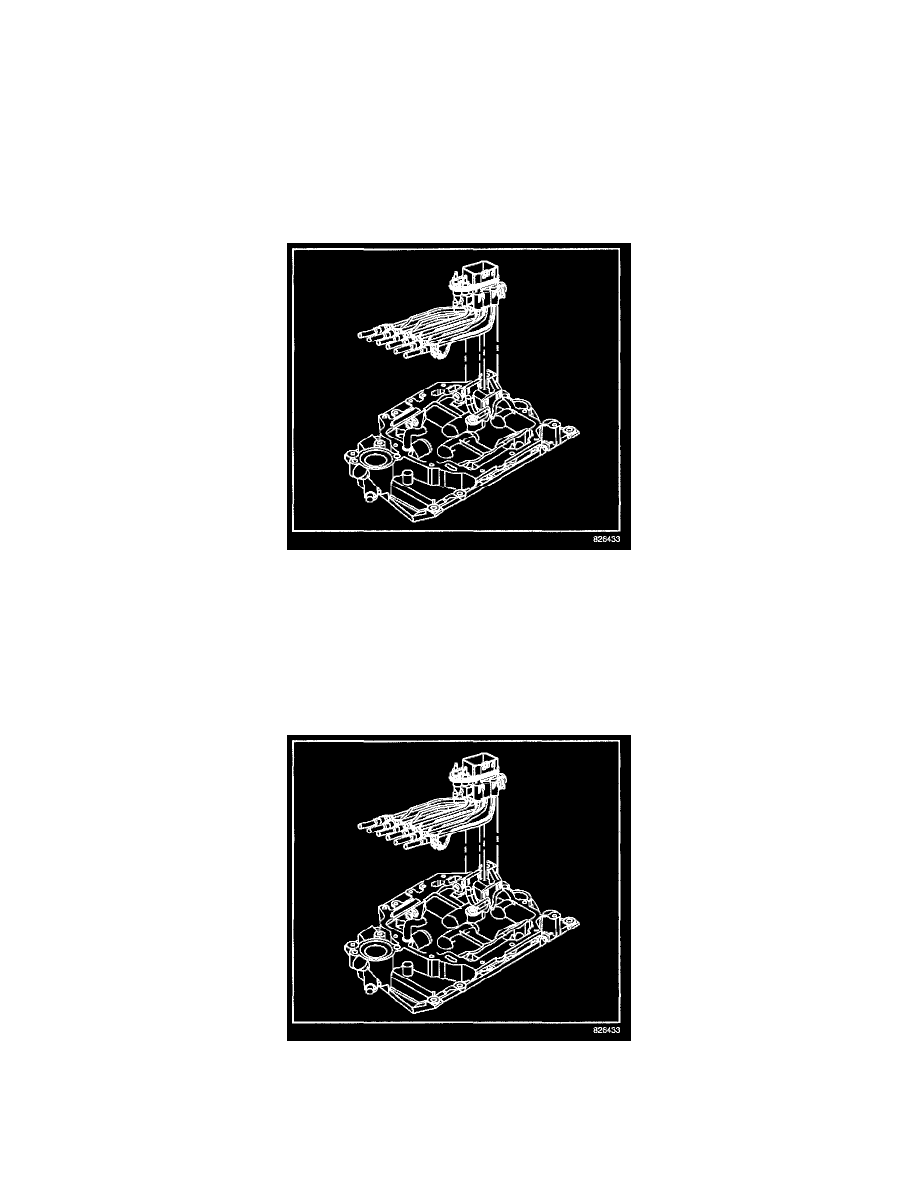
1. Install the MFI fuel meter body into the bracket on the lower intake manifold. Place all of the fuel tubes in a forward position. Route the number 3
fuel tube behind the numbers 1 and 5 fuel tubes.
2. Insert the 6 injectors in the following sequence:
2.1.
Insert #3 injector into the #3 injector hole.
2.2.
Insert #5 injector into the #5 injector hole.