
Astro Van AWD V6-4.3L VIN X (2003)
2. Remove the J29193.
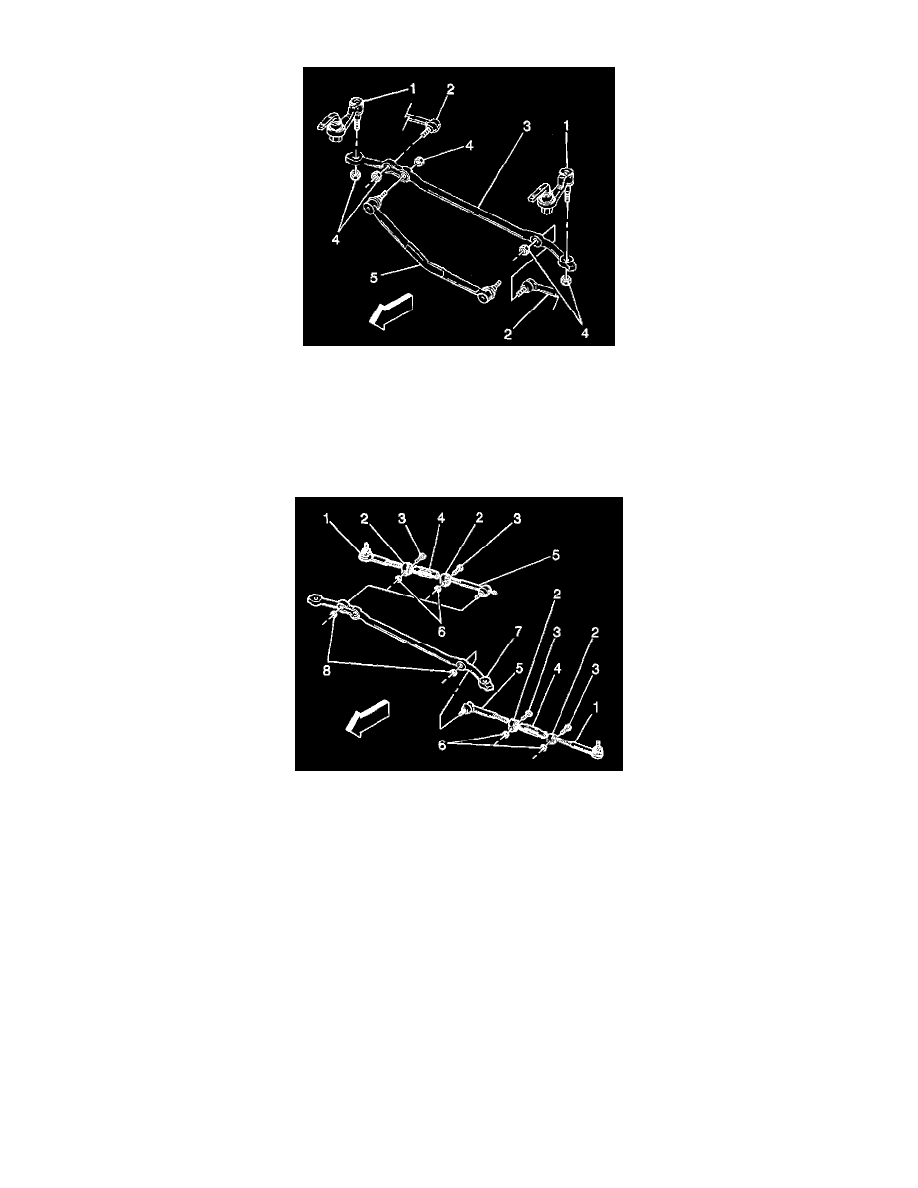
3. Install the new prevailing torque nut (4) to the idler arm (1) ball studs.
-
Tighten the prevailing torque nut to 47 Nm (35 ft. lbs.).
4. Use the J29193 in order to install the relay rod to the connecting rod ball stud. Ensure that the seal is on the stud.
-
Tighten the J 29193 to 54 Nm (40 ft. lbs.) in order to seat the tapers.
5. Remove the J29193.
6. Install the new prevailing torque nut (4) to the connecting rod (5) ball stud.
-
Tighten the prevailing torque nut to 47 Nm (35 ft. lbs.).
7. Use the J29193 in order to install the inner tie rod (5) to the relay rod (7).
Ensure that the seal is on the stud.
-
Tighten the J 29193 to 54 Nm (40 ft. lbs.) in order to seat the tapers.
8. Remove the J 29193.
9. Install the new prevailing torque nut (8) to the inner tie rod (5).
-
Tighten the prevailing torque nut to 47 Nm (35 ft. lbs.).
10. Lower the vehicle.
11. Adjust the toe-in.