
Astro Van AWD V6-4.3L VIN X (2003)
Heated Glass Element: Procedures
Body Side Stationary Window Replacement
BODY SIDE STATIONARY WINDOW REPLACEMENT
TOOLS REQUIRED
-
J 24402-A Glass Sealant (Cold Knife) Remover
-
J 39032 Stationary Glass Removal Tool
-
Urethane Adhesive Kit GM P/N 12346392 or Equivalent
-
Isopropyl Alcohol or Equivalent
-
Cartridge-type Caulking Gun
-
Commercial-type Utility Knife
-
Razor Blade Scraper
-
Suction Cups
-
Plastic Paddle
REMOVAL PROCEDURE
1. When replacing or removing the left side stationary window.Refer to Trim Replacement - Third Pillar Left in Interior Trim or Trim Replacement -
Fourth Pillar Left in Interior Trim.
CAUTION: Refer to Cracked Window Caution in Service Precautions.
IMPORTANT: Before cutting out a stationary window, apply a double layer of masking tape around the perimeter of the painted surfaces and the
interior trim.
2. When replacing or removing the right side stationary window.Refer to Trim Replacement - Third Pillar Right in Interior Trim or Trim
Replacement - Fourth Pillar Right in Interior Trim.
3. Cover to protect the following parts from broken glass:
3.1.
Upper dash pad
3.2.
Defroster outlets and A/C outlets
3.3.
Seats and carpeting
CAUTION: Refer to Defroster Outlet Caution in Service Precautions.
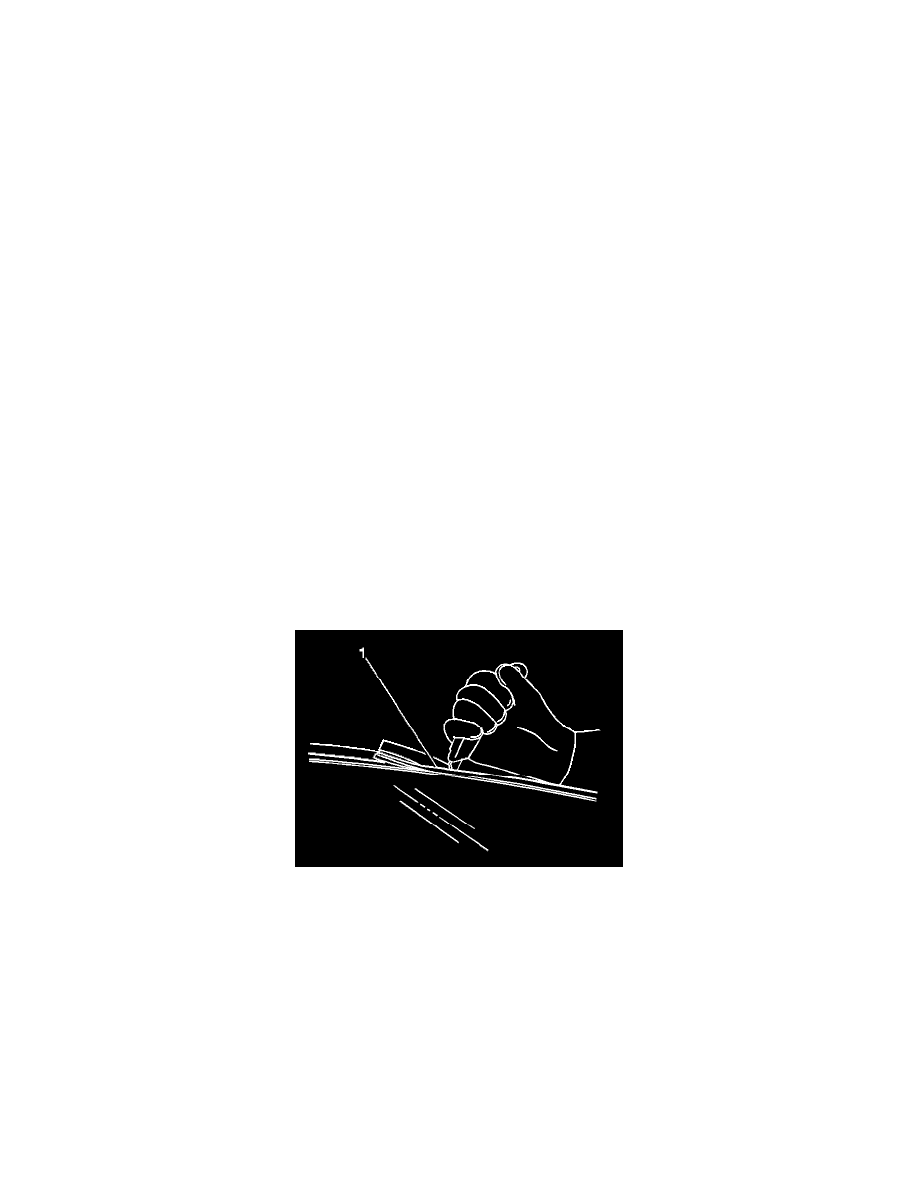
4. Using a sharp utility knife, make a preliminary cut around the perimeter of the stationary window.
CAUTION: Refer to Glass and Sheet Metal Handling Caution in Service Precautions.