
Astro Van AWD V6-4.3L VIN X (2003)
-
Do not use near sparks or open flame.
1. Inspect the rear window grid lines.
2. Ensure that the rear window is at room temperature.
3. Inspect the grid line area that you will repair. Verify that the area is dry and free from contaminates.
4. Dampen a cloth with isopropyl alcohol. Use the damp cloth in order to wipe the grid line area clean.
INSTALLATION PROCEDURE
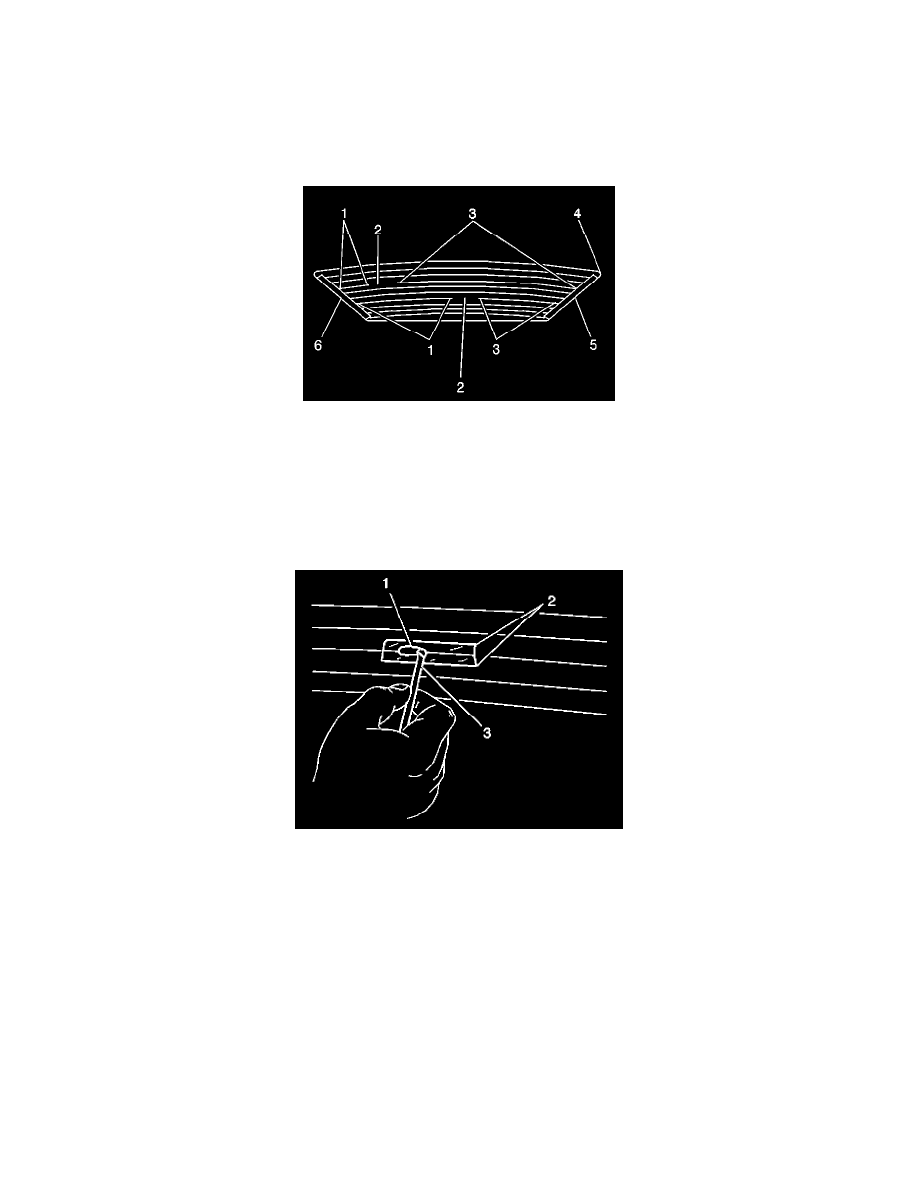
1. Use a grease pencil in order to mark the grid line break (2) on the outside of the rear window with a grease pencil.
IMPORTANT:
-
Ensure that the grid line repair material is not beyond the expiration date.
-
Repair decal or tape must be used in order to control the width of the repair area.
-
If the repair decal is used, verify that the die-cut metering slot is the same width as the grid line.
-
Thoroughly stir the grid line repair material until a uniform color appears.
-
Verify that there are no air bubbles in the grid line repair material in the repair area.
1. Using GM P/N 12346001 (Canadian P/N 10951643) or equivalent to repair the grid lines.
Apply the grid line repair (2) decal or 2 strips of the tape above and below the repair area.
2. Use the brush (3) in order to spread the grid line repair material (1). Ensure that the repair material covers all of the areas of the cut out.
3. Without disturbing the grid line repair material, carefully remove the decal or tape (2).
NOTE: The grid line repair material must be cured with heat. To avoid heat damage to the interior trim, protect the trim near the repair area where
heat is to be applied.