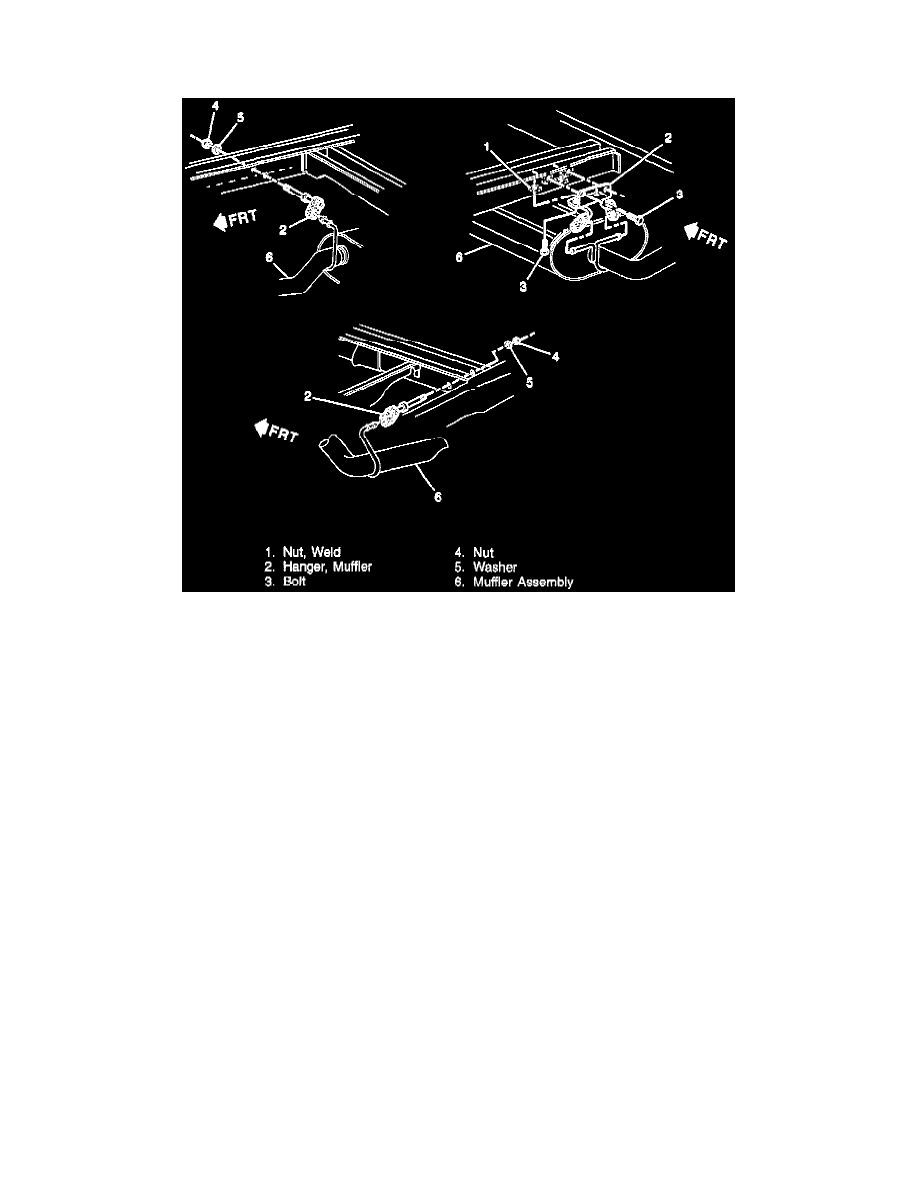
Astro Van L AWD V6-4.3L VIN W (1996)

Catalytic Converter: Service and Repair
All Wheel Drive
REMOVE OR DISCONNECT
^
Raise the vehicle and support with safety stands.
^
Support catalytic converter assembly.
1. Four oxygen sensor electrical connections and clips.
2. Nuts from muffler flange bolts.
3. Nuts from exhaust manifold studs.
4. Catalytic converter hanger from transfer case adapter.
5. Catalytic converter hanger from catalytic converter.
^
Separate the catalytic converter from the muffler.
^
Separate the catalytic converter assembly from the exhaust manifolds.
NOTE: Use care not to damage the oxygen sensors when removing the catalytic converter assembly.
6. Catalytic converter assembly from vehicle.
A. Lower the rear of the catalytic converter assembly.
B. Move the catalytic converter assembly toward the rear of the vehicle.
C. Rotate and lower the catalytic converter assembly behind the transfer case support crossmember and out of the vehicle.
INSTALL OR CONNECT
NOTE: Use care not to damage the oxygen sensors when installing the catalytic converter assembly.
1. Catalytic converter assembly.
A. Raise the catalytic converter assembly into the vehicle from behind the transfer case support crossmember.
B. Rotate the catalytic converter assembly as you direct the left exhaust pipe between the torsion bar and the transmission.
C. Move the catalytic converter assembly toward the front of the vehicle.
2. Seals and nuts onto the catalytic converter assembly and exhaust manifolds.
^
Loosely assemble nuts onto the exhaust manifold studs.
3. Catalytic converter and gasket to muffler.
^
Loosely assemble nuts.
