
Astro Van L AWD V6-4.3L VIN W (1996)
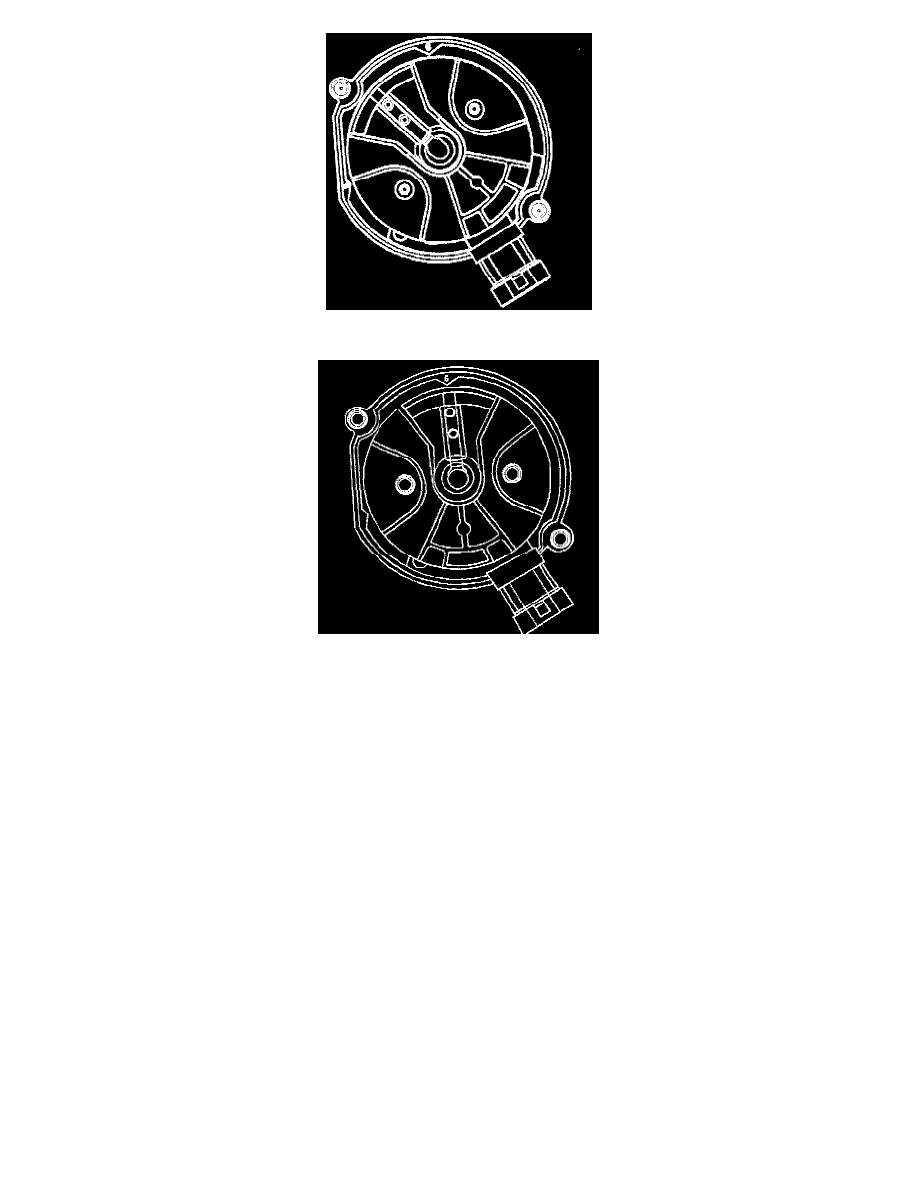
Rotor Position
NOTE: The distributor in this vehicle has a separate coil that mounts on the right side of the engine.
REMOVE OR DISCONNECT
Make sure the ignition switch is "OFF."
NOTE: If the distributor is removed from the engine, it can be re-Installed using "procedure A" (shown below) as long as the crankshaft has not rotated
from its initial position. If the intake manifold, cylinder head, crankshaft, camshaft, timing gear or complete engine was removed or replaced, "procedure
B" must be followed to correctly install the distributor. A DTC may also indicate an incorrectly installed distributor and engine or distributor damage
may occur. Procedure B must then be used.
PROCEDURE A
1. Spark plug and coil leads from the distributor cap.
2. Three wire hall effect switch connector from the base of the distributor.
3. Two screws holding the cap to the housing
4. Distributor cap.
^
Use a grease pencil to note the position of the rotor segment in relation to the distributor housing. Identify the mark with the number 1.
5. Mounting clamp hold down bolt.
6. Distributor.
^
As the distributor is being removed from the engine, you will notice the rotor move in a counter-clockwise direction, 42 degrees. This will
appear as slightly more than one clock position. Noting the position of the rotor segment, by placing a second mark on the base of the
distributor, will aid in achieving proper rotor alignment during distributor installation. Be sure to identify the second mark on the base with the
number 2.
INSTALL OR CONNECT
A. If the original distributor is to be replaced, rather than repaired, remove the new distributor cap. Using a grease pencil, place two marks on the new
distributor housing in the same location as the two marks on the original housing.
B. When installing the distributor, align the rotor segment with the number 2 mark on the base of the distributor. Guide the distributor into place,