Astro Van M V6-262 4.3L (1988)

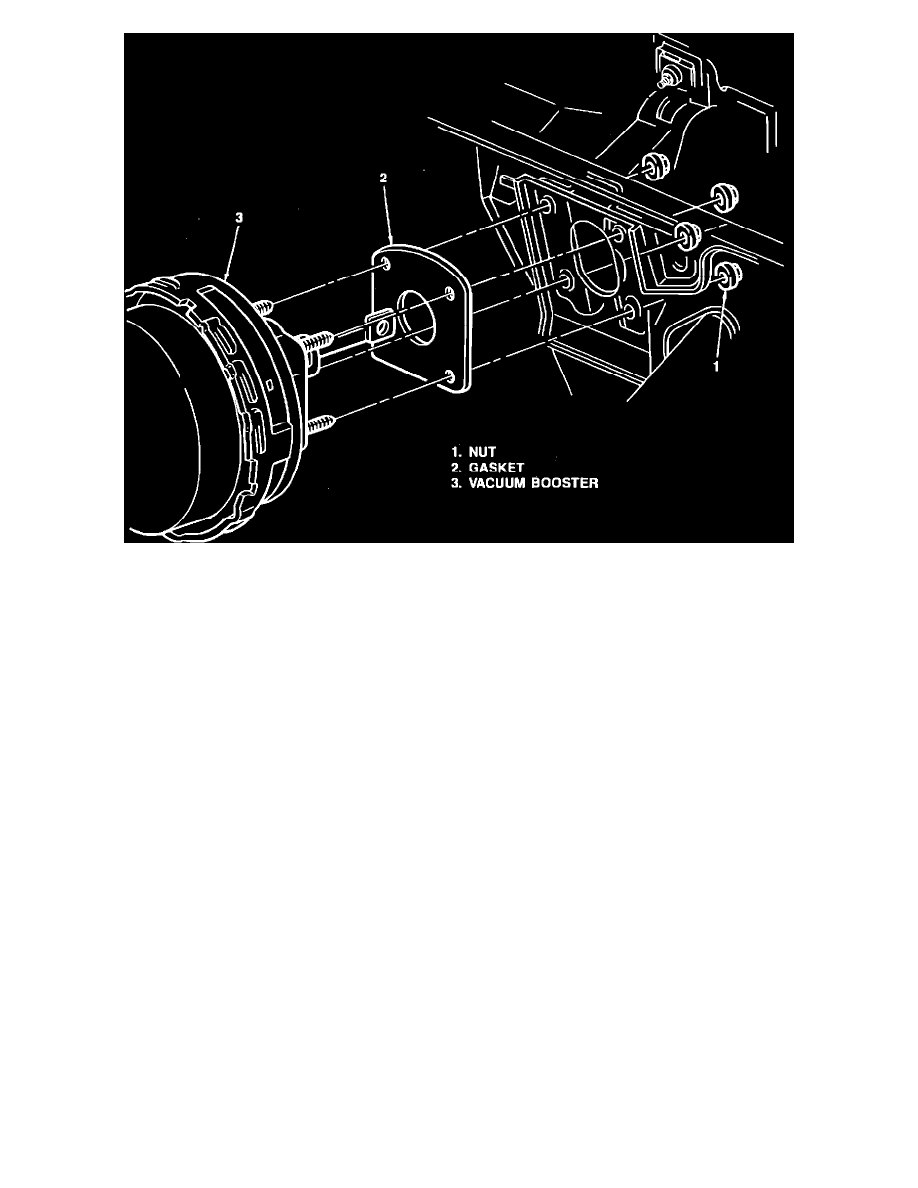
FIGURE 2 - VACUUM BOOSTER COMPONENTS
4.
Inspect the following parts for wear and replace as necessary:
a.
bushing - pivot shaft (Figure 1, 2)
b.
retainer - pivot shaft (Figure 1, 1)
c.
retainer - booster push rod (Figure 1, 9)
d.
gasket - booster mounting (Figure 2, 2)
5.
Discard the following parts:
a.
old brake pedal (Figure 1, 4)
b.
old vacuum booster (Figure 2, 3)
c.
old actuator (not pictured)
Note:
A separate stop lamp actuator bracket is not supplied for this service procedure as this bracket is now an integral part of the brake pedal
assembly.
6.
Install new brake vacuum booster per Service Manual instructions.
7.
Bolt master cylinder to new brake vacuum booster.
8.
Install new brake pedal assembly per Service Manual instructions.
9.
Adjust the stop lamp switch per Service manual instructions.
Note:
Always ensure that the brake system is operational after performing brake work before returning the vehicle to the customer.
Parts Information
Part Number
Description
Quantity
15617145
Pedal and Lever Package
1
18012882
Booster ASM-Power Brake
1
15598962
Bushing-Pivot Shaft
2
15598965
Retainer-Pivot Shaft
1
1244707
Retainer-Booster Push Rod
1
9791640
Gasket-Booster Mounting
1
