
Astro Van M V6-262 4.3L VIN B TBI (1991)
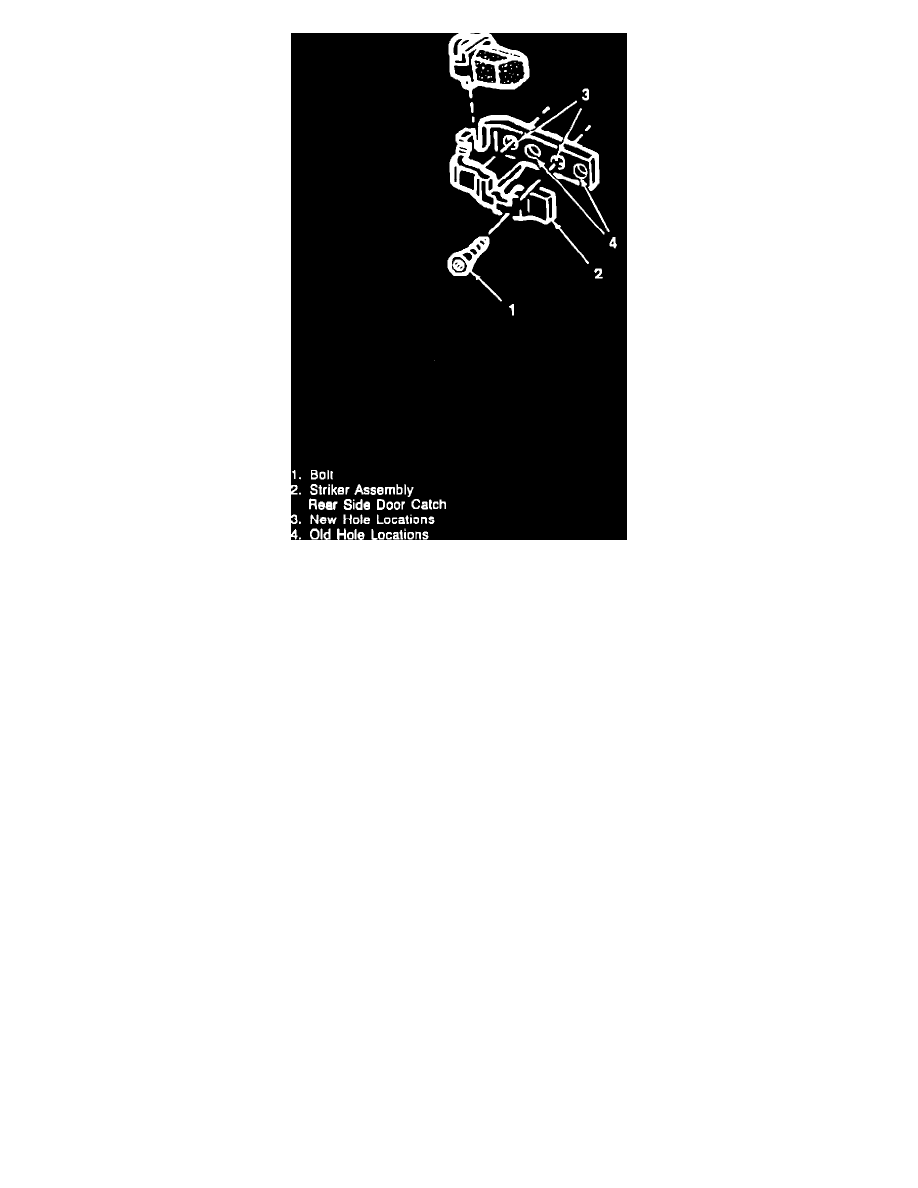
Figure 4 - Lower Striker/Bumper Assembly
REPAIR INFORMATION: (Refer to Figures 1-4).
1.
Remove jack cover.
2.
Remove interior quarter panel trim, if equipped.
3.
Remove taillight assembly.
4.
Remove track cover retainer bolts and remove the cover. Visually inspect the cover, if damaged replace.
5.
Remove interior quarter trim molding, if equipped.
6.
Remove center roller track.
7.
Remove three screws for sliding door latch assembly and lay aside.
8.
Support door weight at rear edge of door using a padded floor jack.
9.
Remove pin from center track roller bracket door hinge.
10.
Remove and discard roller bracket assembly from center track.
11.
Remove center track nuts and bolts. Inspect track, if damaged replace.
12.
Remove two torx head screws on the lower track rear side door catch striker/bumper assembly, remove and discard the assembly.
13.
Using existing screws and existing body assembly holes, install a new lower track rear side door catch striker/bumper assembly (P/N 15683553).
Torque screws to 20-30 N-m (15-22 lbs.ft.).
14.
Reinstall the center roller bracket track using the existing nuts and bolt. Torque the nuts to 6- 9 N-m (4-7 lbs.ft.). Torque the bolt to 10-14 N-m
(8-10 lbs.ft.).
15.
Install new rear side door center roller bracket assembly (P/N 15642131) to center roller track.