
Astro Van M V6-262 4.3L VIN W CPI (1992)
Engine Control Module: Service and Repair
Control Module Replacement
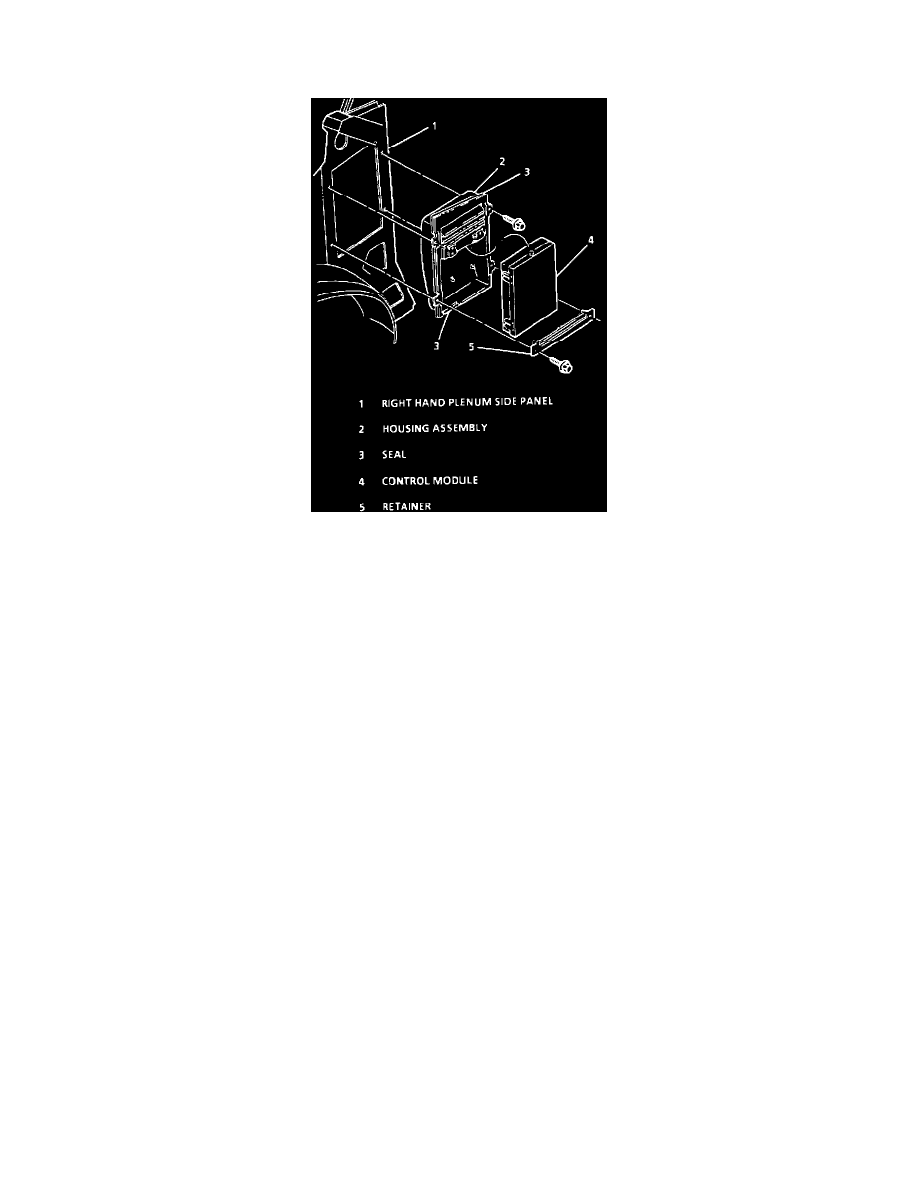
Control Module Mounting
CAUTION:
[a] The ignition must be "OFF," when disconnecting or reconnecting the control module connector, to prevent internal damage to the control module.
[b] To prevent possible Electrostatic Discharge to the control module, DO NOT touch the connector pins or soldered components on the circuit
boards.
NOTE: When replacing a production control module with a service controller, transfer the broadcast DTC and production control module part number
to the controller label. DO NOT record information on the access cover.
REMOVAL:
1.
Disconnect the negative battery terminal.
2.
Remove passenger kick panel.
3.
Disconnect control module harness connectors.
4.
Remove control module retainer and control module.
5.
Remove brackets and modules if equipped..
6.
Remove access cover and PROM (MEM-CAL).
INSTALLATION:
1.
Install PROM (MEM-CAL) and access cover on to new control module.
2.
Install mounting brackets and module(s) if equipped.
3.
Connect control module harness connectors.
4.
Install control module and retainer.
5.
Install passenger kick panel.
6.
Connect the negative battery terminal.
7.
Perform functional check.