
Avalanche 1500 2WD V8-5.3L VIN T (2002)
10.3. Connect the red hose from the J 43600 to the suction port of the J 45268-4 flush adapter.
11. Flush the front A/C system. Follow the instructions supplied with the J 43600.
Close the valve on the external refrigerant tank, before starting the flush process.
IMPORTANT: Flush the front A/C system before flushing the auxiliary A/C system.
12. If the vehicle is equipped with rear A/C, flush the auxiliary A/C system separately.
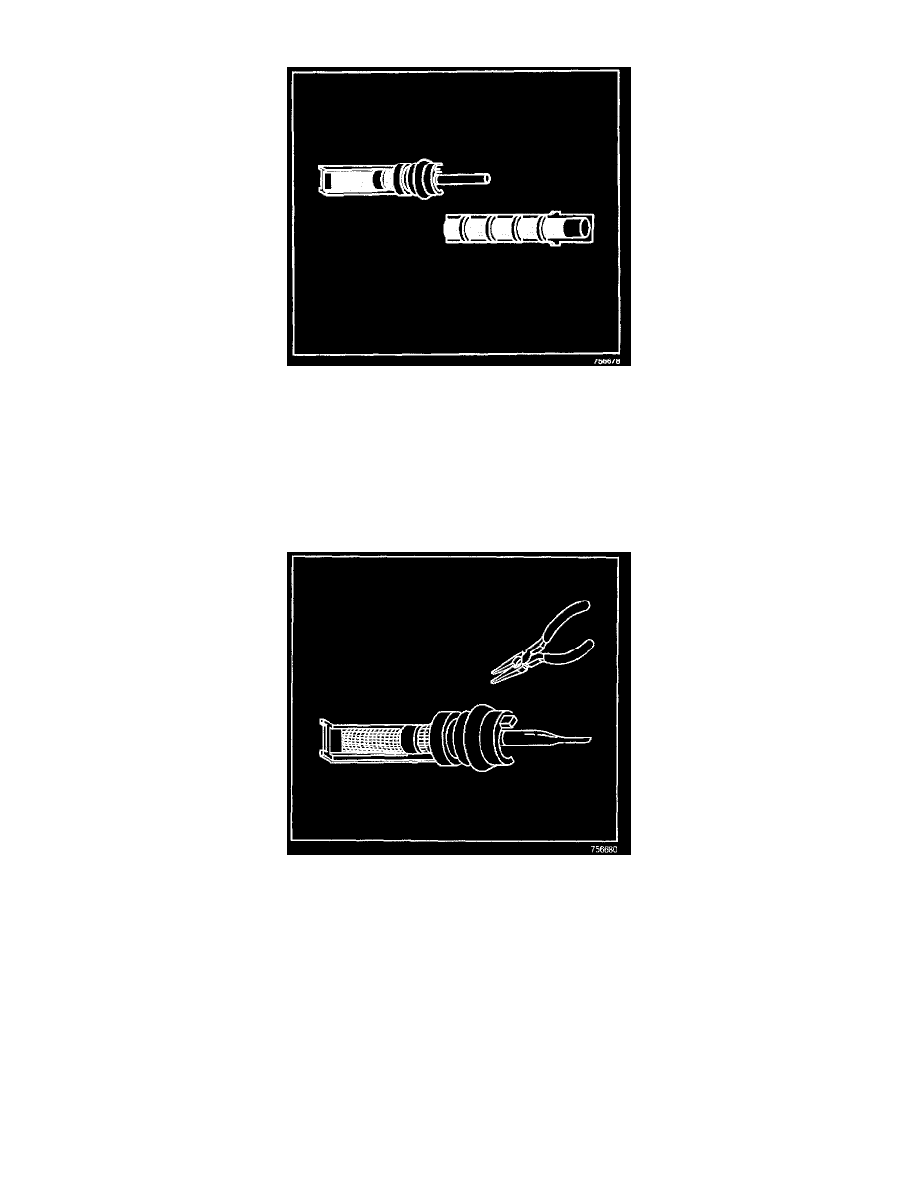
13. Cut the orifice tube frame and screen, enough to access the end of the orifice tube Pinch off the orifice tube.
IMPORTANT: Pinch off the orifice tube in order to prevent refrigerant flow to the front system during the auxiliary system flush.
14. Install the pinched orifice tube.
15. Remove the auxiliary TXV.
16. Install the J 45268-104.
IMPORTANT: The auxiliary evaporator core can be flushed without totally reassembling into the auxiliary HVAC module.
17. Install the auxiliary evaporator core to the A/C lines.
18. Raise the vehicle. Refer to Lifting and Jacking the Vehicle on page.
19. Connect the auxiliary A/C lines to the auxiliary evaporator core.
20. Lower the vehicle.
21. Flush the auxiliary A/C system. Follow the instructions supplied with the J 43600.
22. Raise the vehicle. Refer to Lifting and Jacking the Vehicle.
23. Remove the auxiliary A/C lines from the auxiliary evaporator core.
24. Lower the vehicle.
25. Remove the J 45268-104.
26. Inspect the TXV for debris. Clean or replace as needed.