
Avalanche 1500 4WD V8-5.3L VIN Z Flex Fuel (2005)
11. Release the microphone electrical connector clip from the console.
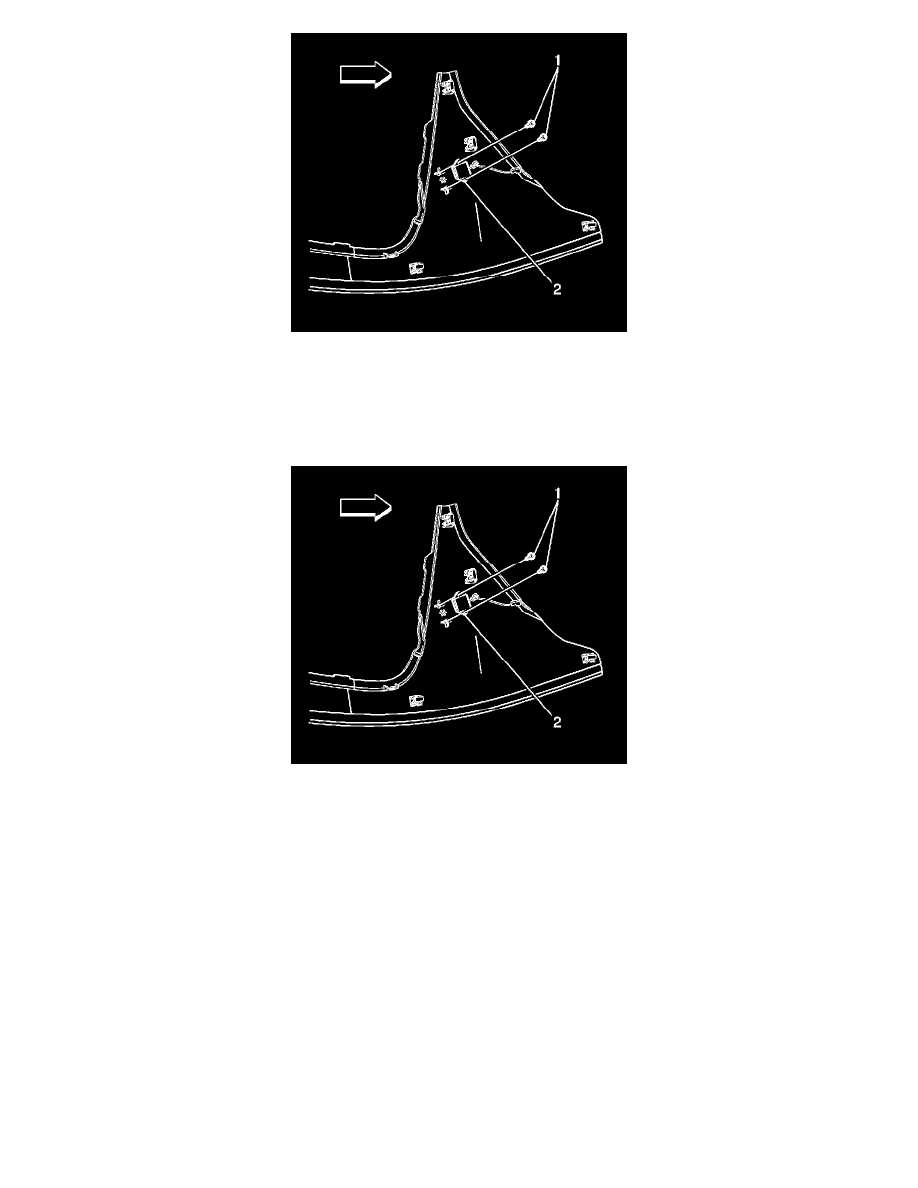
12. Disconnect the radio volume compensator microphone (2) electrical connector.
13. Remove the screws (1) that retaining the radio volume compensator microphone (2) to the floor console trim panel.
14. Remove the radio volume compensator microphone (2) from the floor console side trim panel.
INSTALLATION PROCEDURE
1. Install the radio volume compensator microphone (2) to the floor console side trim panel.
2. Install the radio volume compensator microphone screws (1).
NOTE: Refer to Fastener Notice in Service Precautions.
Tighten the screws to 2 N.m (18 lb in).
3. Align the side trim panel to the floor console and connect the radio volume compensator microphone (2) electrical connector.
4. Install the electrical connector hold down clip to the floor console.
5. Align the trim panel to the floor console, push the panel towards the floor console to engage the panel clips.