
Avalanche 2500 2WD V8-8.1L VIN G (2002)
Trim Panel: Service and Repair
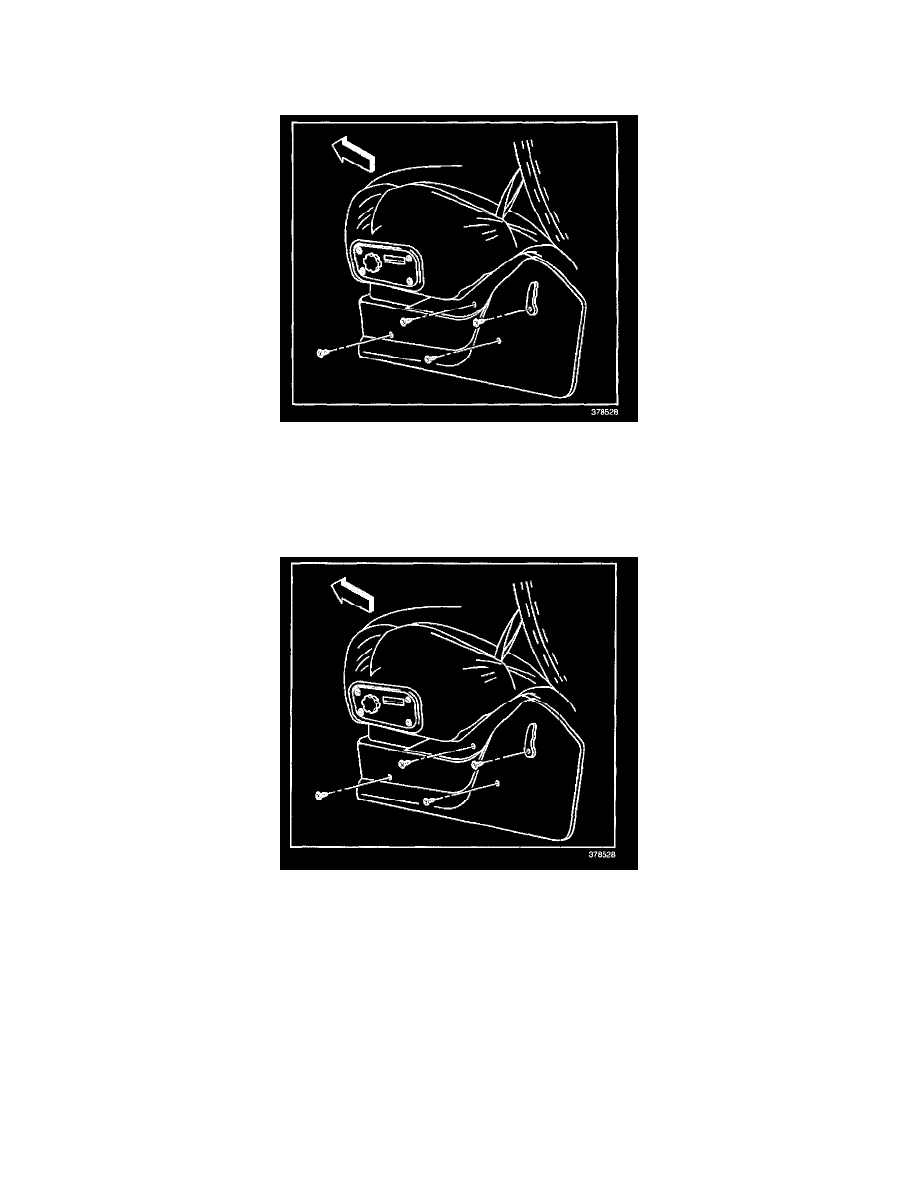
Trim Panel Replacement - Front Seat
REMOVAL PROCEDURE
1. Ensure the seat is in the full upward position.
2. Remove the screws retaining the seat back release handle and the seat recliner handle and remove the handles.
3. Remove the remaining screws retaining the trim panel to the seat.
4. Remove the trim panel from the seat.
INSTALLATION PROCEDURE
1. Position the trim panel on the seat.
NOTE: Refer to Fastener Notice in Service Precautions.
2. Install the screws retaining the trim panel to the seat.
Tighten
Tighten the screws to 2 N.m (18 lb in).
3. Install the remaining screws retaining the seat back release handle and the seat recliner handle to the seat.
Tighten
Tighten the screws to 2 N.m (18 lb in).