
Avalanche 2500 2WD V8-8.1L VIN G (2002)
Center Mounted Brake Lamp: Service and Repair
High Mounted Stop Lamp Replacement
REMOVAL PROCEDURE
1. Ensure the headlamp switch is in the OFF position.
2. Remove the upper garnish molding at the headliner.
3. Pull back the right and left side rear window garnish molding.
4. Lower the rear of the headliner in order to access the electrical connector.
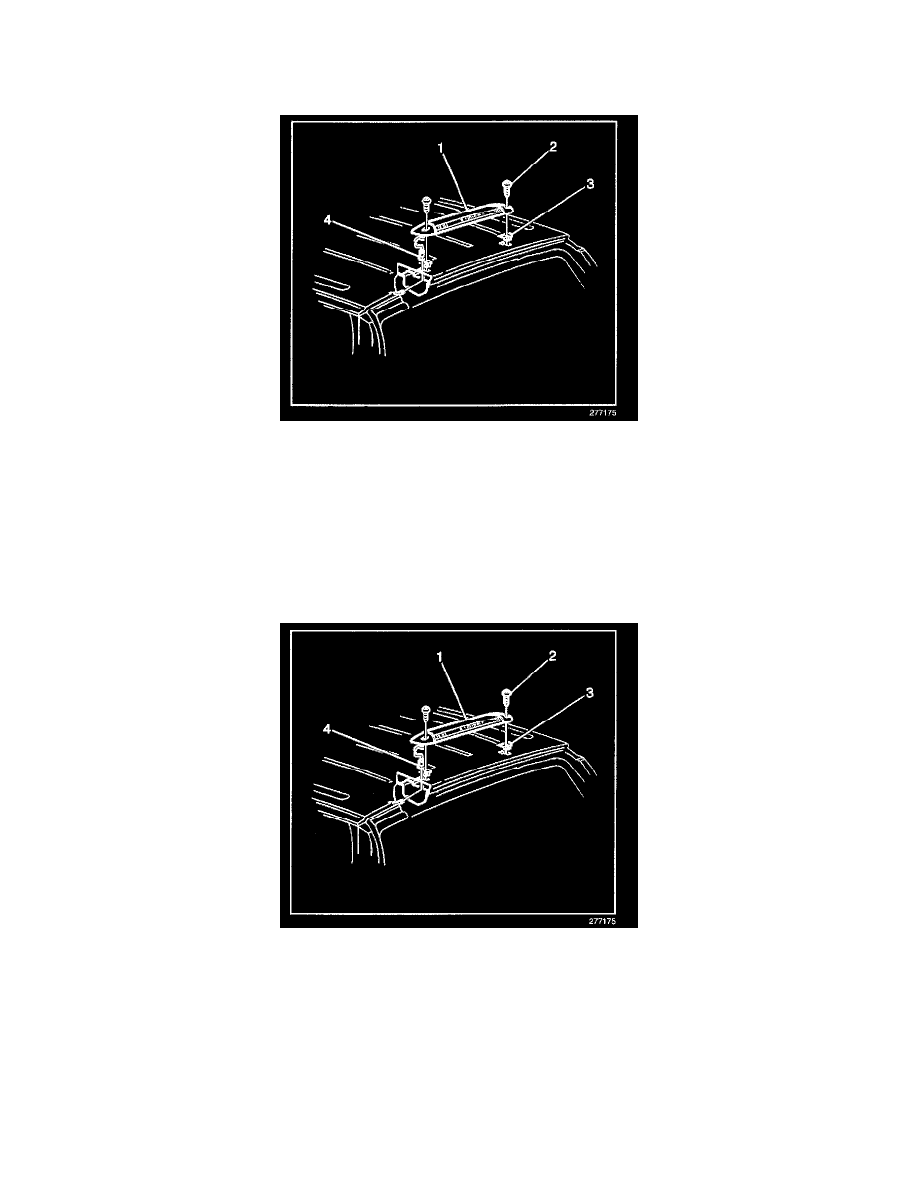
5. Disconnect the electrical connector (4).
6. Attach a short piece of wire to the high mounted stoplamp connector in order to assist the guiding of the harness through the body.
7. Remove the high mounted stoplamp screws (2).
8. Remove the high mounted stoplamp (1) from the vehicle.
INSTALLATION PROCEDURE
1. Attach the harness to the guide wire.
2. Using the guide wire, pull the lamp wire through the hole in the roof panel.
3. Remove the guide wire.
NOTE: Refer to Fastener Notice in Service Precautions.
4. Install the high mounted stoplamp (1) to the vehicle with the screws (2).
Tighten
Tighten the screws to 2 N.m (17 lb in).
5. Connect the electrical connector (4).