
Avalanche 2500 2WD V8-8.1L VIN G (2002)
Child Seat Tether Attachment: Service and Repair
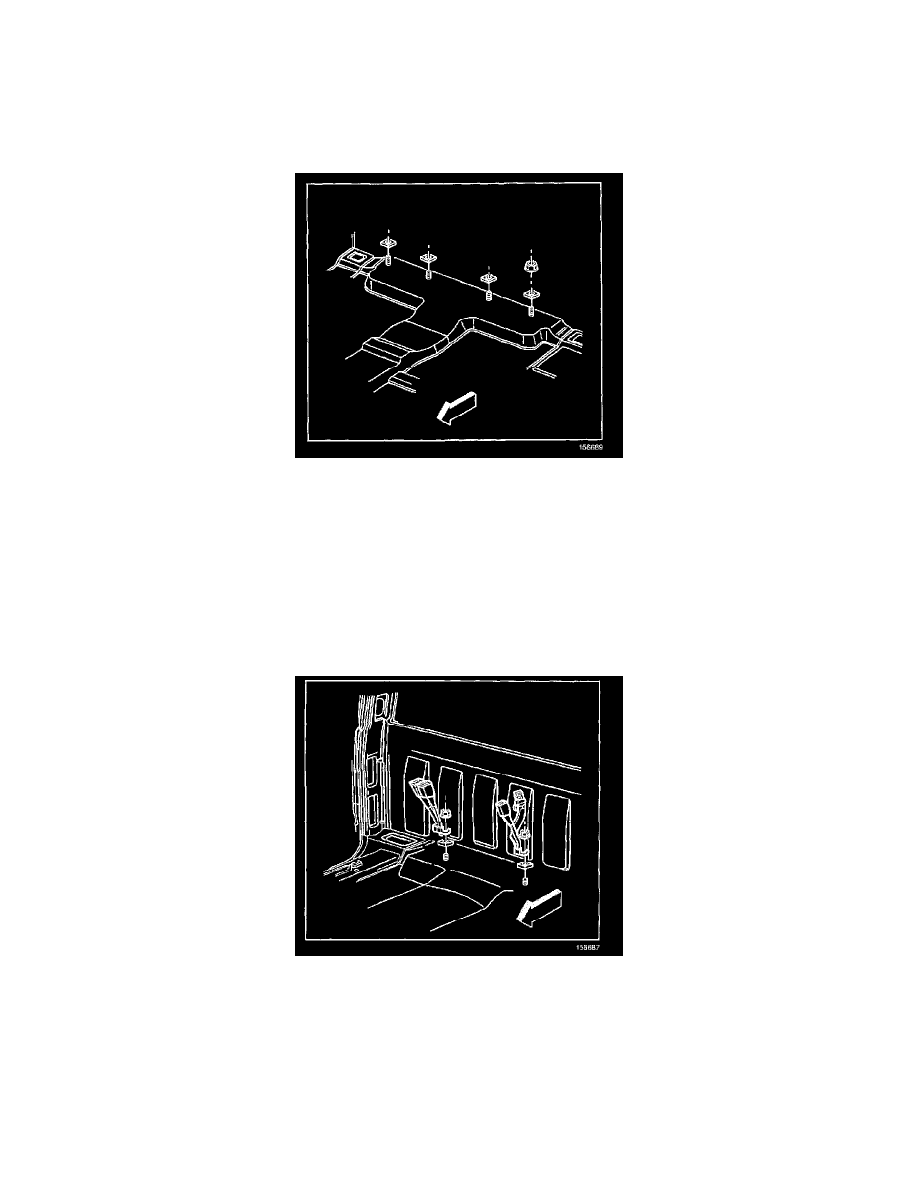
Child Seat Tether Outer Hardware Kit
INSTALLATION PROCEDURE
CAUTION: Refer to Belt Replacement Caution in Service Precautions.
1. Remove the seat.
2. Remove the trim panel off the sheet metal below the rear window.
3. Remove the carpet off the rear panel.
4. Locate the position where the hole will be drilled from inside the cab. Locate the hole either 109 mm (4.3 in) or 545 mm (21.4 in) outboard from
the center line of the back panel and 42 mm (1.65 in) below the horizontal sheet metal panel.
5. Drill a 9 mm (1/8 in) hole through the sheet metal from inside the cab. Use a drill stop to prevent damage to the pickup box.
6. Place the washer on the bolts.
7. Apply a bead sealer around the hole in the washer.
8. Using a clamping tool, feed the bolts through the hole from the outside of the cab.
NOTE: Refer to Fastener Notice in Service Precautions.
9. Thread the nut on the bolts. Hold the bolt head with an extended length wrench.
Tighten
Tighten the nut to 30 N.m (22 lb ft).
10. In the extended cab, if the length of the bolts interferes with the rear seat in the folded position, saw off the end of the bolts. Leave at least 2
threads visible from the end of the nut.
11. If the child seat anchorage is removed, properly reseal the 9 mm (1/8 in) diameter hole.
12. Install the seat.
Child Restraint Tether Anchor (Second Seat (AM7))