
Avalanche 2500 2WD V8-8.1L VIN G (2002)
4. Remove the torsion bar.
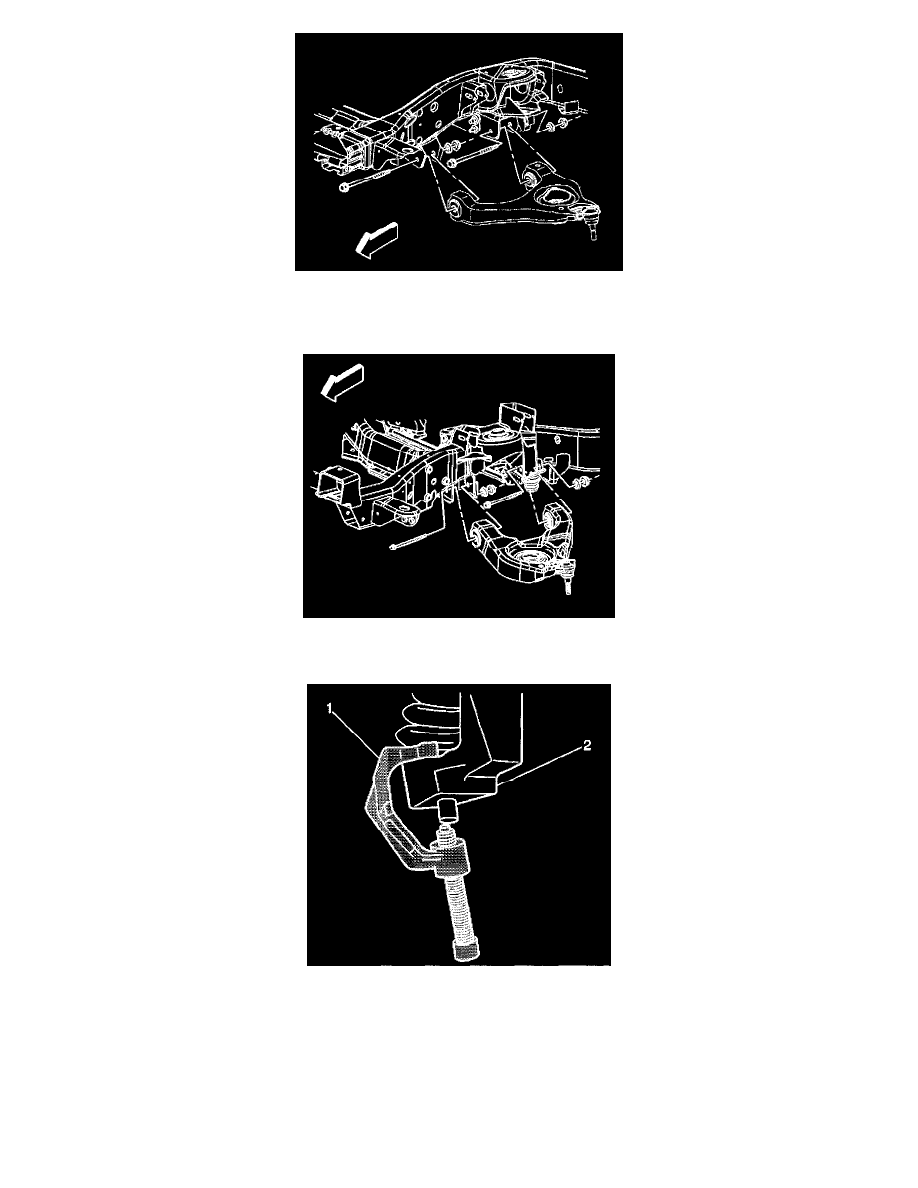
5. Remove the lower control arm nuts and the washers for the 15 Series.
6. Remove the lower control arm bolts for the 15 Series.
7. Remove the lower control arm nuts and washers for the 25/35 Series.
8. Remove the lower control arm bolts for the 25/35 Series.
9. Remove the lower ball joint stud nut.
10. Disconnect the lower ball joint stud from the steering knuckle using J43631 (1).
11. Remove the lower control arm.
Installation Procedure
1. Install the lower control arm.
2. Connect the ball joint stud to the steering knuckle.
Notice: Refer to Fastener Notice in Service Precautions.