Avalanche 4WD V8-5.3L (2011)

Note: The TPA cannot be removed from the connector while there are terminals present in the connector body.
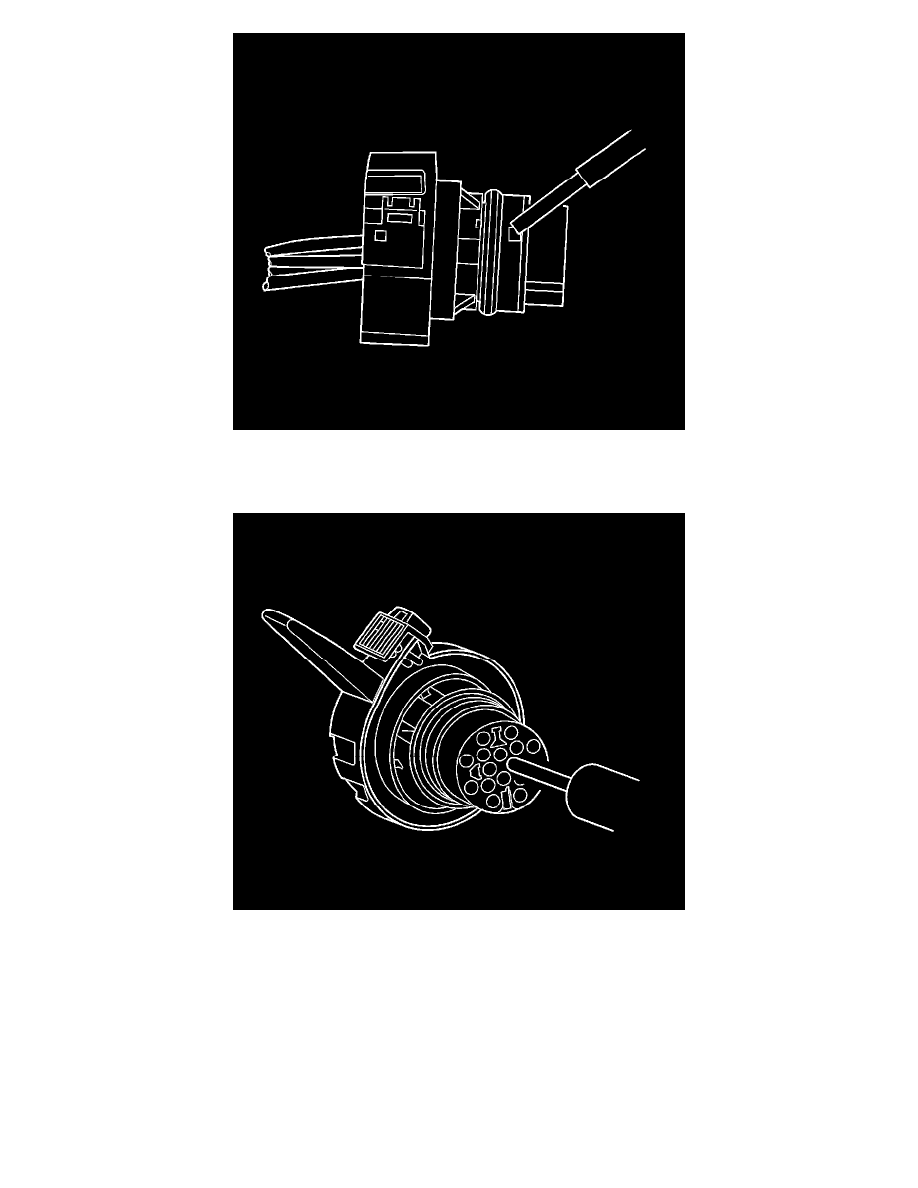
3. Use a small flat-blade tool to push the TPA until it bottoms out.
4. Use the J-38125-28 tool to release the terminals by inserting the tool into the terminal cavity as shown in the graphic.
5. While holding the removal tool in place, gently pull the wire out of the back of the connector. Always remember never use force when pulling a
terminal out of a connector.
6. Repair the terminal by following the Repairing Connector Terminals See: General Electrical Diagnostic Procedures/Connector Repairs/Repairing
Connector Terminals procedure.
Terminal Insertion Procedure
After the terminal is replaced, perform the following procedure in order to insert the terminal.
1. Slide the new terminal into the correct cavity at the back of the connector.
2. Push the terminal into the connector until it locks into place. The new terminal should be even with the other terminals. Ensure that the terminal is
locked in place by gently pulling on the wire.
