
Avalanche 4WD V8-5.3L (2011)
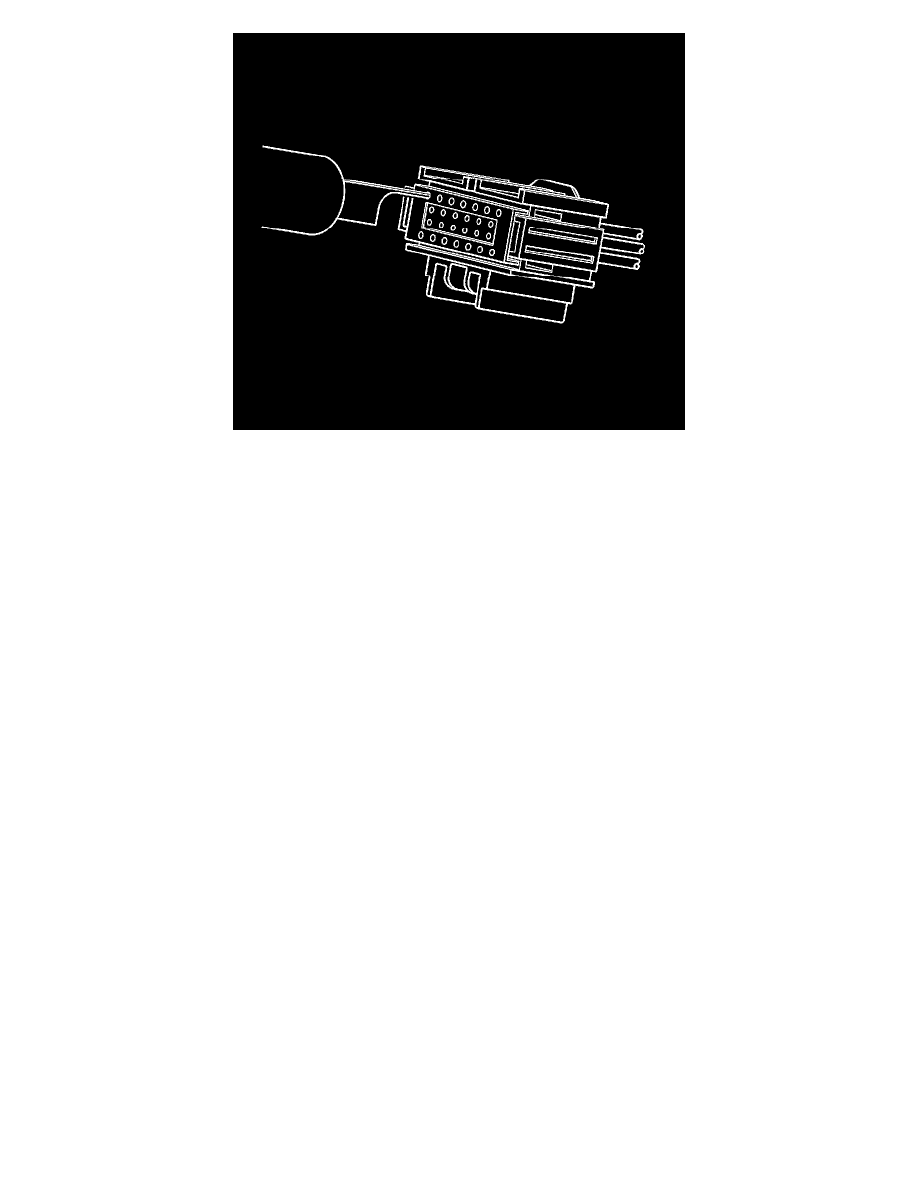
7. View of the male half of the connector with female terminals.
8. While holding the removal tool in place, gently pull the wire out of the back of the connector. Always remember never use force when pulling a
terminal out of a connector.
9. Repair the terminal by following the Repairing Connector Terminals See: General Electrical Diagnostic Procedures/Connector Repairs/Repairing
Connector Terminals procedure.
10. Insert the repaired terminal back into the cavity. Repeat the diagnostic procedure to verify the repair and reconnect the connector bodies.
Repairing Connector Terminals
Repairing Connector Terminals
Special Tools
*
J-38125-580 - Terminal Repair Kit
*
J-38125-6 - Crimp Tool
*
J-38125-7 - Crimp Tool
*
J-38125-8 - Crimp Tool
*
J-38125-64 - Crimp Tool
*
J-38125-101 - Crimp Tool
*
J-38125-641 - Crimp Tool
*
J-38125-642 - Crimp Tool
*
J-38125-643 - Crimp Tool
For equivalent regional tools, refer to Special Tools See: Tools and Equipment.
Use the following repair procedures to repair each type of terminal:
*
For push to seat terminals, refer to Delphi Connectors See: General Electrical Diagnostic Procedures/Connector Repairs/Delphi Connectors.
*
For pull to seat terminals, refer to Delphi Connectors See: General Electrical Diagnostic Procedures/Connector Repairs/Delphi Connectors.
Note: The first step for all terminal repairs is to find the connector end view in SI.
Cable Seal Terminals
1. Cut off the terminal between the core and the insulation crimp to minimize any wire loss.
2. Remove the old seal.
3. Apply the correct cable seal, per the wire gauge size, from the kit. Slide the seal back along the wire to enable removal of the insulation.
4. To minimize wire loss, remove only the insulation required.
5. Using the connector end view, determine the correct crimp tool and crimp jaw.
6. Align the seal with the end of the cable insulation.
7. Position the stripped wire and seal in the terminal.
8. Hand Crimp the core wings first.
9. Hand Crimp the insulation wings around the seal and the cable.