
Avalanche 4WD V8-5.3L (2011)
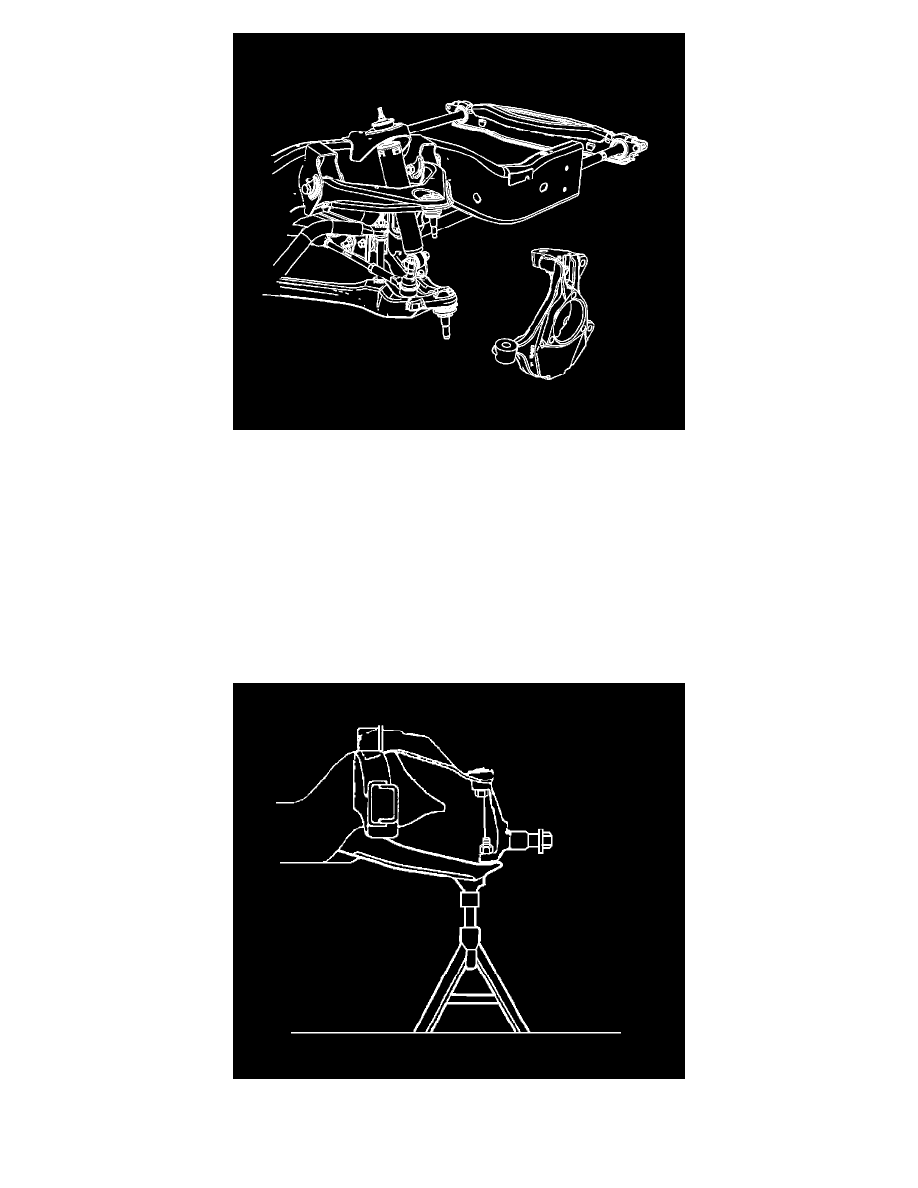
Note: If removing the knuckle assembly to servicing the lower ball joint, DO NOT remove or disconnect any of the brake or electrical
components. Secure the knuckle assembly to the side.
8. Remove the knuckle from the vehicle.
Installation Procedure
1. Install the knuckle on the lower ball joint. Refer to Lower Control Arm Replacement .
2. Install the upper ball joint in the knuckle. Refer to Upper Control Arm Replacement .
3. Connect the outer tie rod to the knuckle. Refer to Steering Linkage Outer Tie Rod Replacement See: Steering/Tie Rod/Service and
Repair/Steering Linkage Outer Tie Rod Replacement.
4. Install the wheel bearing and hub assembly. Refer to Front Wheel Hub, Bearing, and Seal Replacement .
5. Install the wheel drive shaft, if equipped. Refer to Wheel Drive Shaft Replacement .
6. Remove the support from the lower control arm.
7. Install the tire and wheel. Refer to Tire and Wheel Removal and Installation See: Wheels and Tires/Service and Repair.
8. Verify the front wheel alignment> Refer to Wheel Alignment Specifications See: Alignment/Specifications/Wheel Alignment Specifications.