Avalanche 4WD V8-5.3L (2011)

Actuator: Service and Repair
Front Drive Axle Actuator Replacement
Removal Procedure
1. Raise and support the vehicle. Refer to Lifting and Jacking the Vehicle See: Maintenance/Vehicle Lifting/Service and Repair.
2. Remove the oil pan skid plate, if equipped. Refer to Oil Pan Skid Plate Replacement .
3. Disconnect the electrical connector from the actuator.
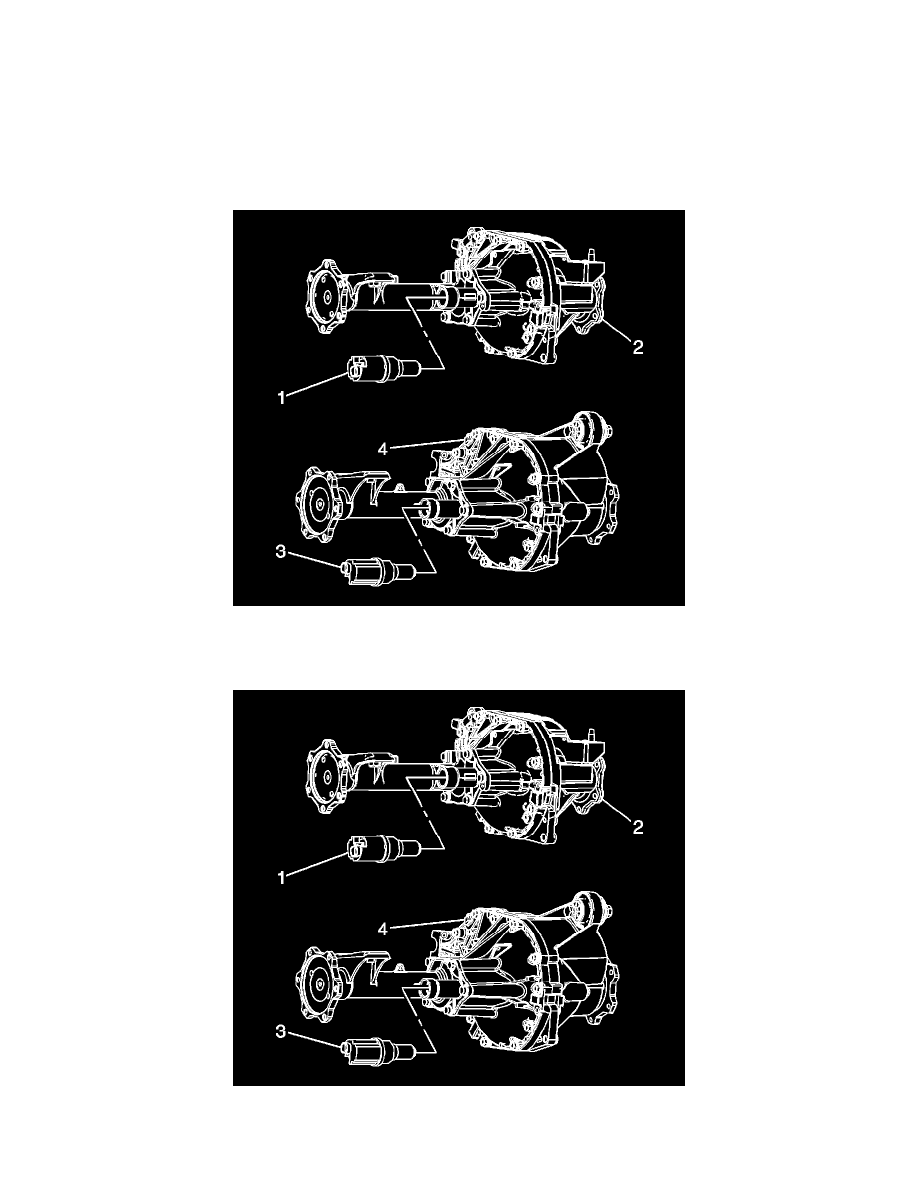
4. Remove the actuator (1) for the 8.25 inch axle (2) or (3) for the 9.5 inch axle (4) by turning the actuator counterclockwise.
Installation Procedure
1. Apply sealant to the threads of the actuator (1) for the 8.25 inch axle (2) or (3) for the 9.25 inch axle (4). Use the correct sealant. Refer to
Adhesives, Fluids, Lubricants, and Sealers.
