
Avalanche 4WD V8-5.3L (2011)
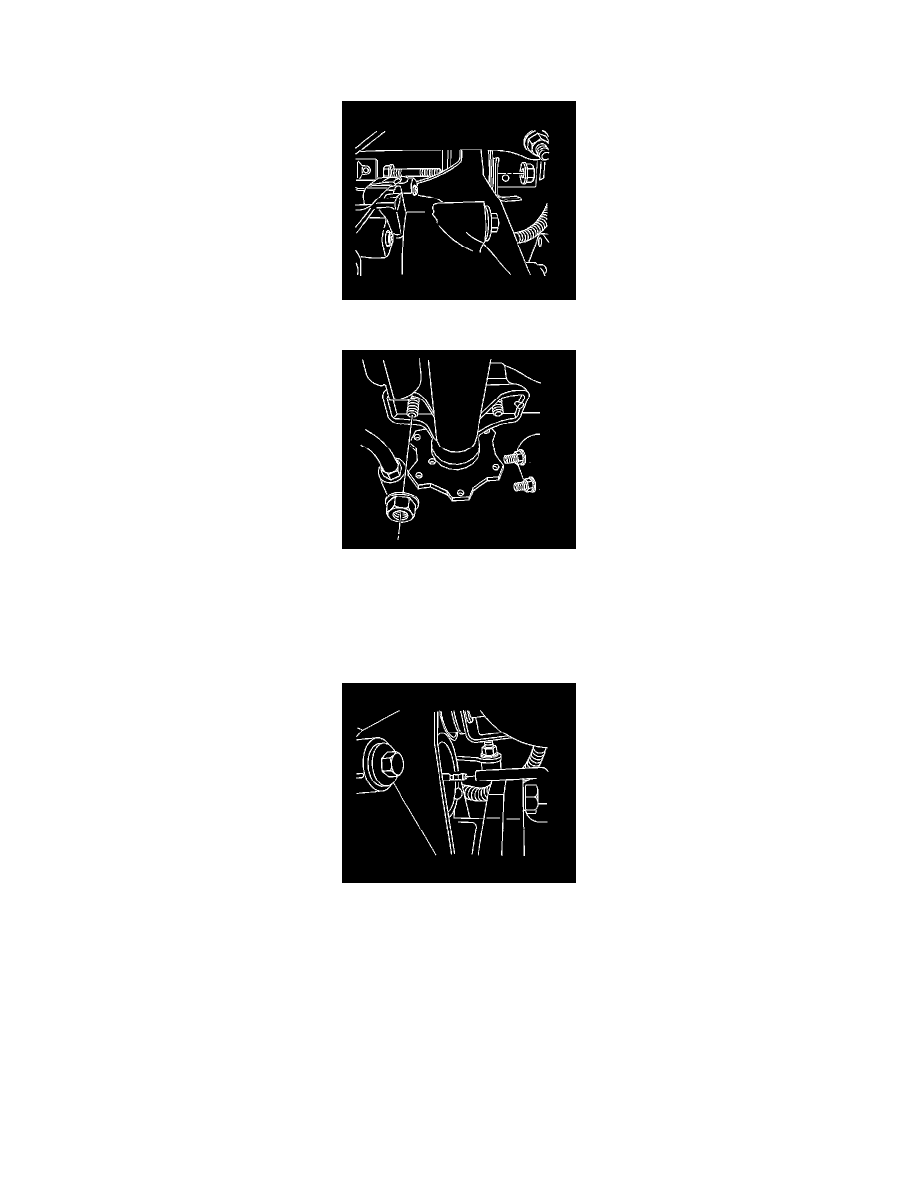
2. Install the differential carrier assembly lower mounting bolt and the nut.
Do not tighten the bolt at this time.
3. Pivot the differential carrier assembly up and back on the lower mount bolt while it is being supported by the transmission jack.
4. Install the differential carrier assembly upper mounting bolt and the nut.
Caution: Refer to Fastener Caution See: Service Precautions/Vehicle Damage Warnings/Fastener Caution.
5. Install the inner axle housing washers and nuts to the bracket and tighten.
*
The inner axle housing nuts to 100 Nm (75 lb ft).
*
The upper and the lower differential carrier assembly bolts to 100 Nm (75 lb ft).
6. Connect the vent hose to the differential carrier assembly.
7. Remove the transmission jack.