
Beretta L4-138 2.3L DOHC QUAD 4 HO MFI VIN A (1994)
TOOL REQUIRED
^
J 28467-A Engine Support Fixture
REMOVE OR DISCONNECT
1. Negative battery cable.
2. Air intake duct.
3. TV cable.
4. Power brake booster line and hose.
5. Install engine support fixture J 28467-A. Raise engine enough to take pressure from engine mounts.
6. Raise and support the vehicle.
7. Engine mount strut.
8. Left front wheel and tire assembly.
9. Left splash shield.
10. Crossmember.
11. Left front ABS wheel speed sensor connector and harness from suspension support.
12. Left front ball joint.
13. Left stabilizer bushing nuts.
14. Stabilizer shaft from left lower control arm.
15. Left suspension support.
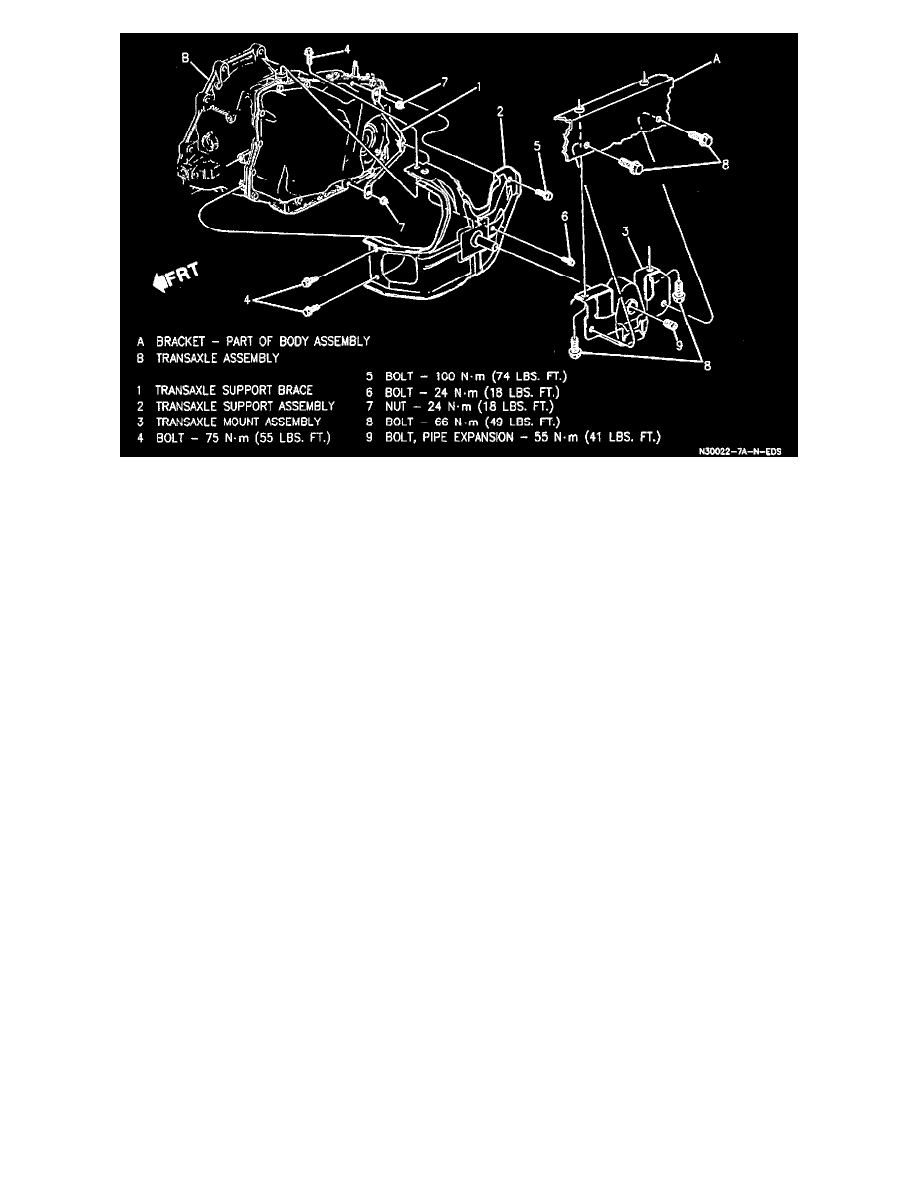
16. Left side drive axle from transaxle.
17. Transaxle cooler pipes and plug to prevent leakage.
18. P/S lines from P/S gear and plug to prevent leakage.
19. Transaxle mount to body bolts.
20. Pipe expansion bolt from transaxle support assembly.
21. Lower engine/transaxle assembly just enough to be able to remove transaxle support assembly and mount assembly.
22. Transaxle mount from transaxle support assembly.
23. Transaxle support assembly fasteners.
24. Transaxle support assembly.
INSTALL OR CONNECT
1. Position transaxle support assembly in vehicle and tighten fasteners.
2. Transaxle mount to transaxle support assembly.
3. Raise engine/transaxle assembly.
4. Transaxle mount to body bolts.
5. Transaxle pipe expansion bolt to transaxle support assembly.
6. P/S lines to P/S gear.
7. Transaxle cooler lines.
8. Drive axle to transaxle.
9. Left suspension support.
10. Stabilizer shaft to left lower control arm.