
Beretta V6-173 2.8L (1989)
Compressor Clutch Bearing: Service and Repair
Installation
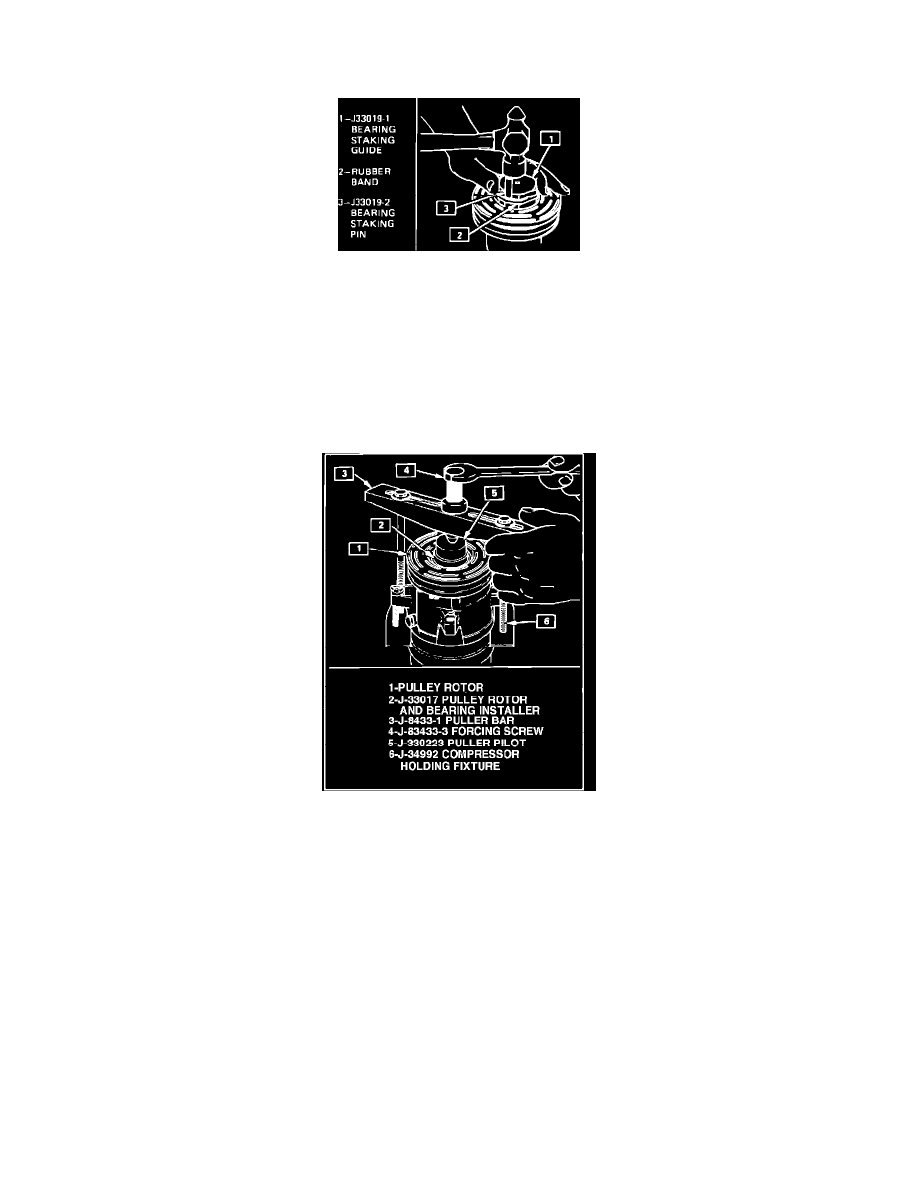
Fig. 4 Staking bearing in rotor hub bore
1.
Mount pulley rotor face up on support block J-35372 or equivalent.
2.
Align replacement bearing squarely with bore, then seat bearing in rotor hub using suitable driver. Do not support rotor by resting pulley rim
on flat surface during bearing installation, as rotor face will be bent.
3.
Position bearing staking guide J-33019-1 and pin J-33019-2 on hub bore as shown in Fig. 4.
4.
Shift rotor assembly on support block as needed to ensure that hub is fully supported under staking pin location.
5.
Strike staking pin with hammer until metal stake similar to the original is formed. Do not allow staking material to contact bearing outer race,
as bearing may be damaged.
6.
Repeat steps 3 through 5, staking bearing in 3 places, 120 degrees apart.
Fig. 5 Pulley rotor & bearing installation
7.
Mount rotor and bearing assembly over front head of compressor, then position installer J-33017 and pilot J-3303 directly over inner race of rotor
bearing, Fig. 5.
8.
Position puller crossbar J-8433-1 over pilot, then assemble puller through bolts and washers through bar and thread bolts into holding fixture, Fig.
5.
9.
Tighten center screw of puller crossbar to press rotor and bearing assembly onto compressor, ensuring that installer remains in direct line contact
with inner bearing.
10.
Remove installer assembly, then install rotor bearing snap ring and the clutch plate and hub assembly.